Dungeon & Lasers Wall Molds
I’m building modular terrain for Frostgrave and Mordheim, and the first step is creating elevation blocks. I defined a set of standard sizes: 30x30, 30x15, 15x15, and 15x7.5cm, all 5cm tall. Instead of cutting everything from scratch, I went looking for plastic boxes that already match these dimensions and could serve as solid bases.
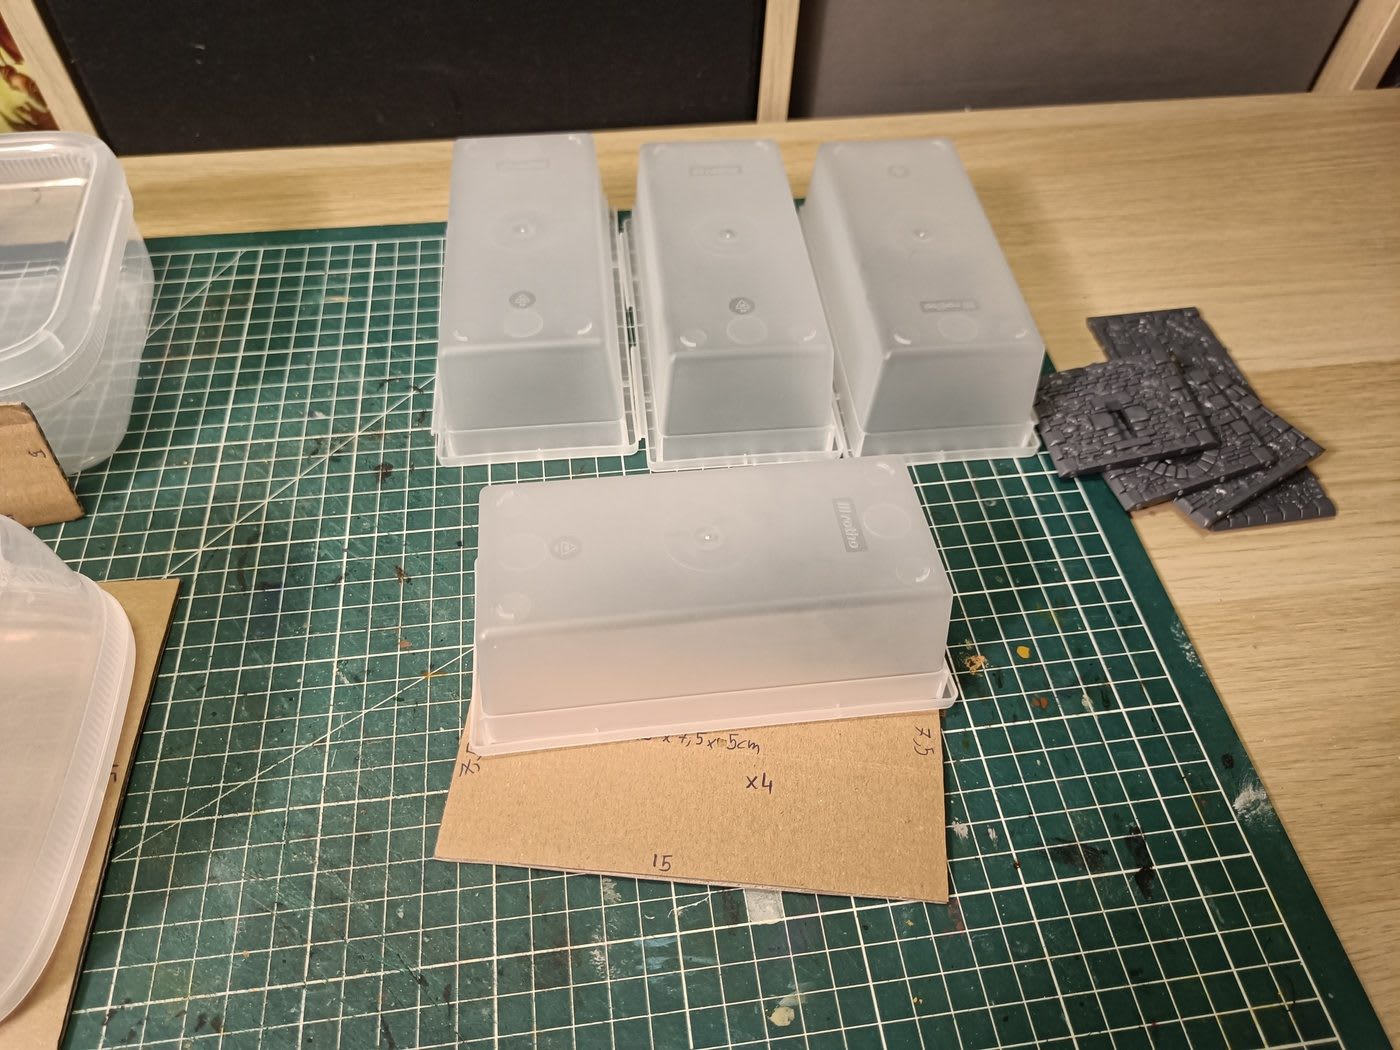
I found these rectangular boxes that are pretty close to the 15x7.5cm target. They’re actually 15x8cm, slightly off and slightly tapered, but very solid. I validated them despite the small size difference. The cardboard templates with the exact target dimensions are visible in front.
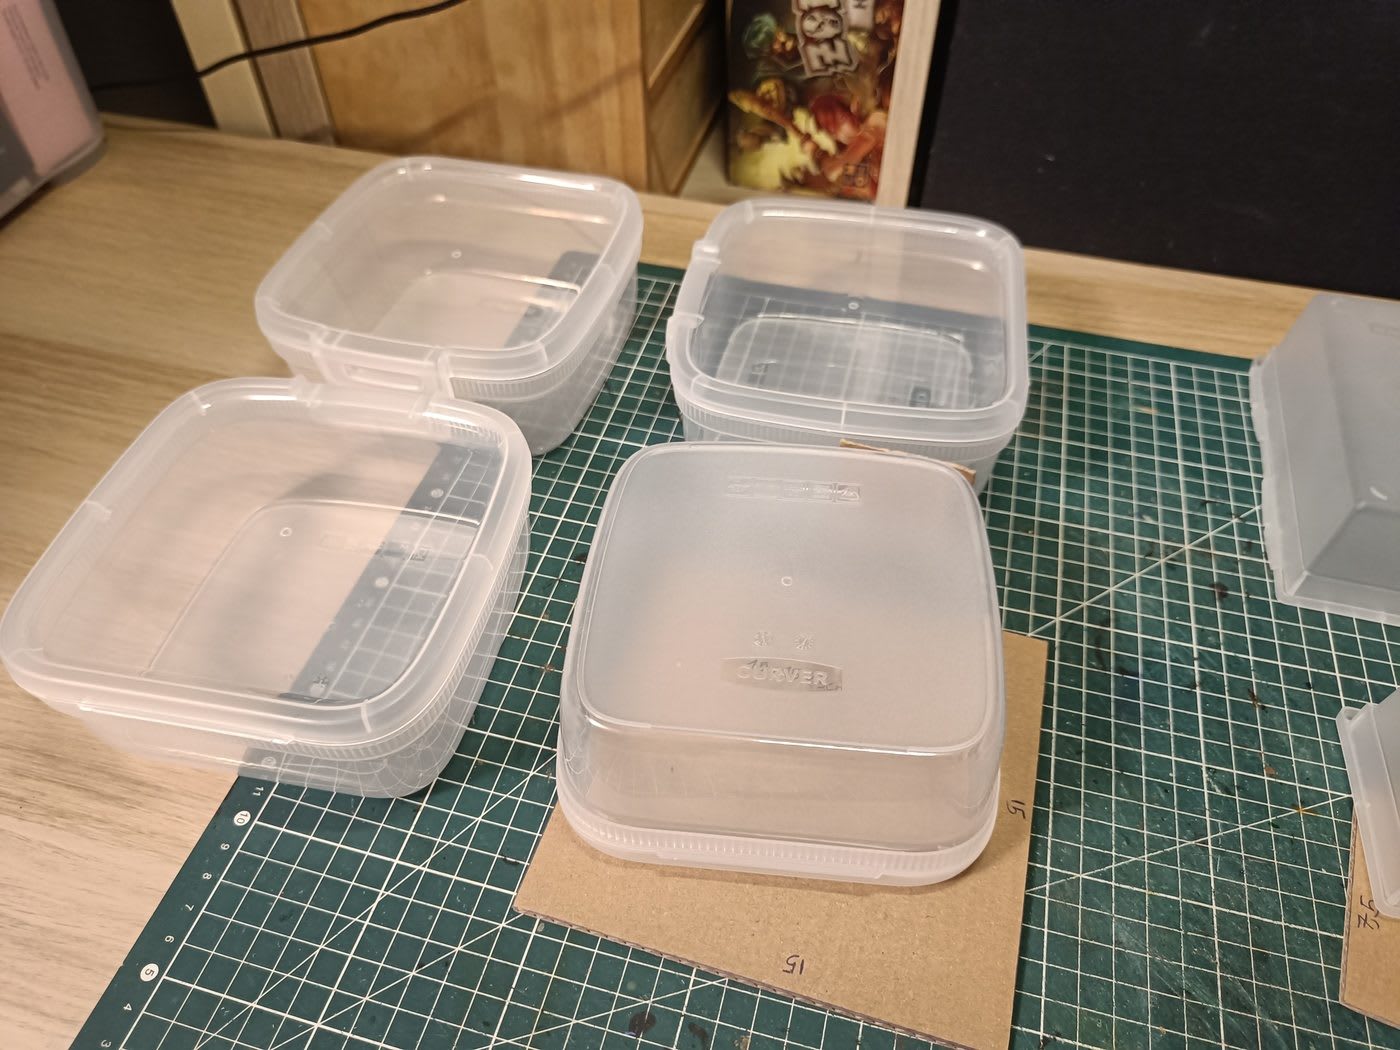
For the 15x15cm blocks, I found these square boxes with lids. I’ll need to cut the lids off before use.
The Dungeons & Lasers Royal Castle
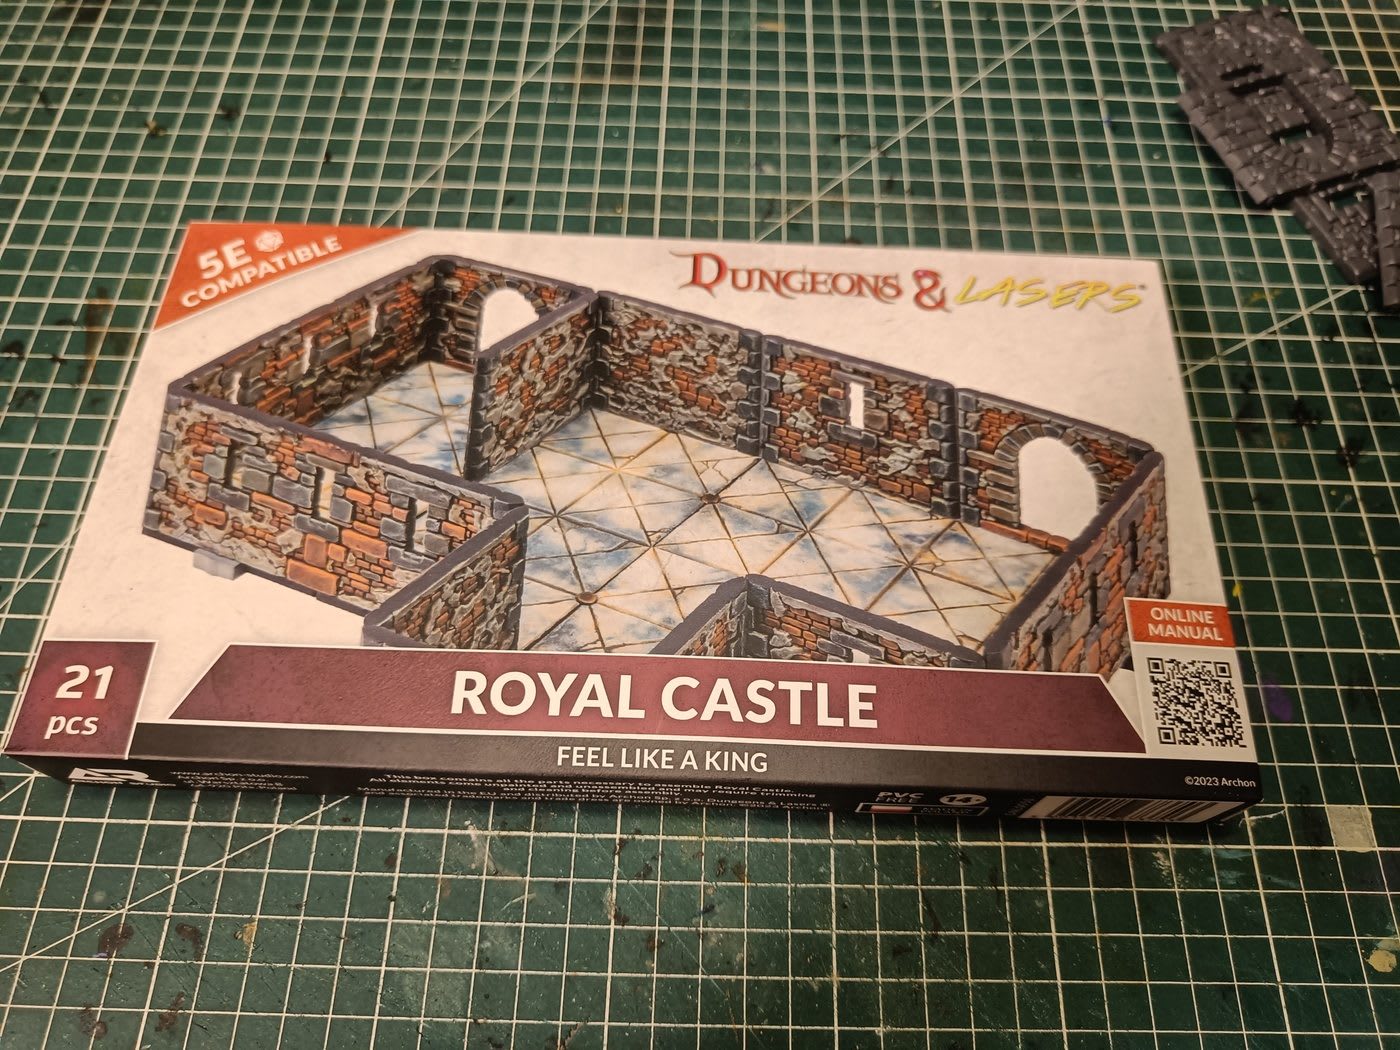
I also stopped at a tabletop gaming shop and picked up this Dungeons & Lasers Royal Castle set. What interested me wasn’t the full castle assembly, but the individual wall pieces. At 5cm tall, they’re exactly the height I need for my elevation blocks.
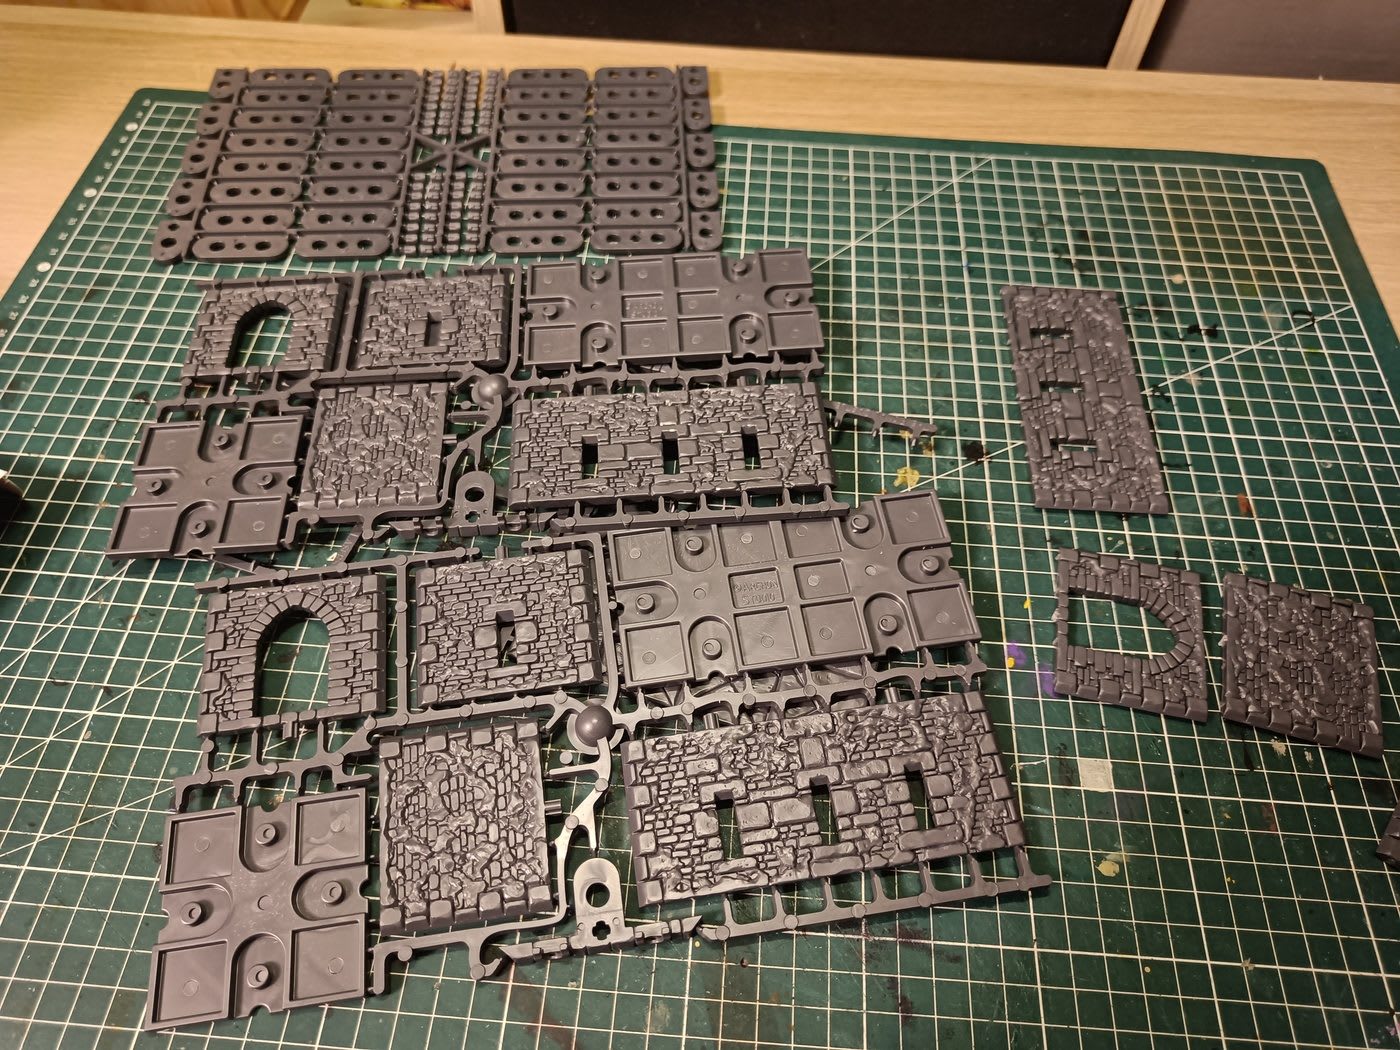
The box contains 4 sprues, but one of them is just connector pieces that I won’t use. The 3 useful sprues are identical, each containing one long wall with three arrow slits and three small walls: one solid, one with an arrow slit, and one with a door. There are also floor tiles, but I don’t find them very attractive so I’m setting those aside for now.
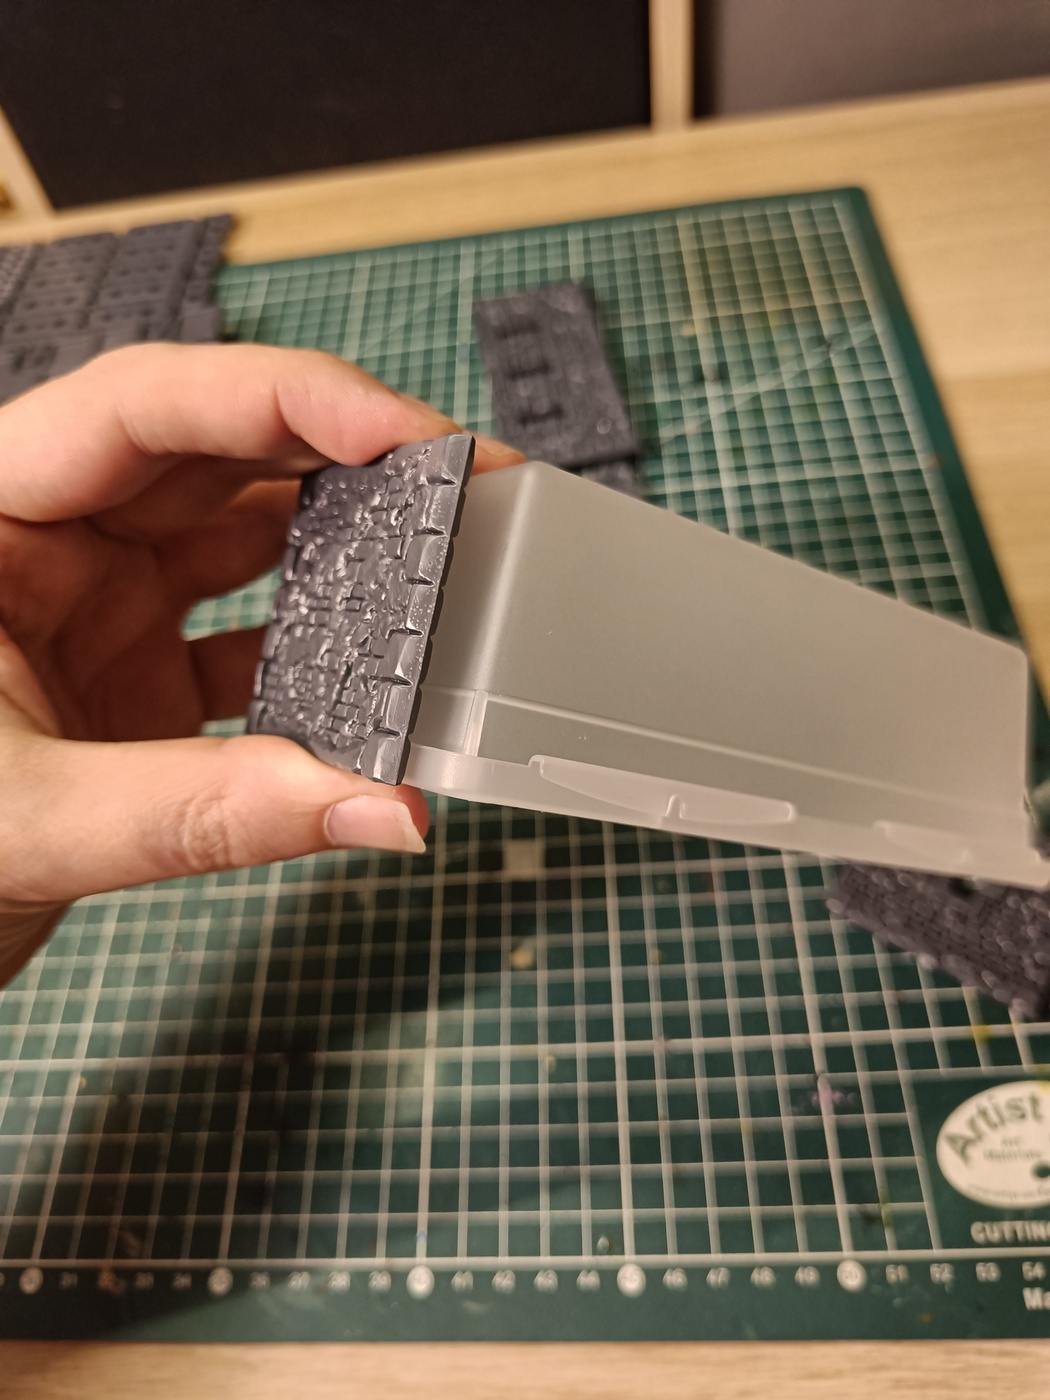
Here’s a small wall piece tested against one of the boxes. The small walls are 6cm wide, which fits in the middle of the 8cm side of the boxes.
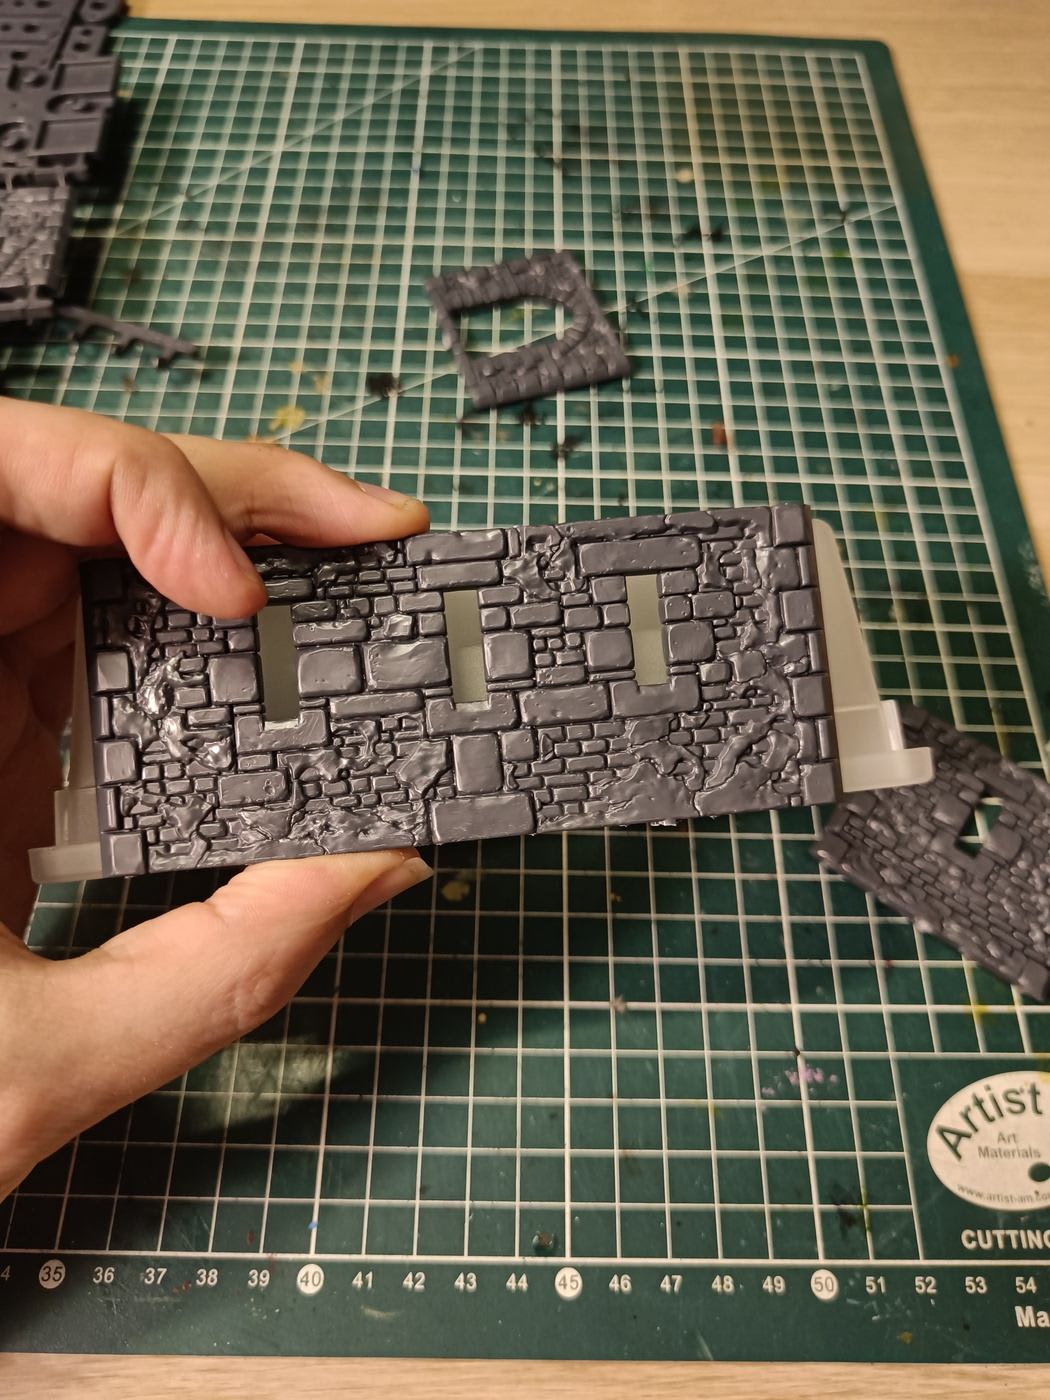
The sculpt quality is really good. The long walls are 12cm wide, a bit less than 15cm, but they’ll work centered on the longer sides of the boxes.
The only issue: at 25 euros for just 3 useful sprues, buying enough sets to cover all my terrain would be expensive. So the plan is to make silicone molds and cast copies in resin.
Detaching and Sanding
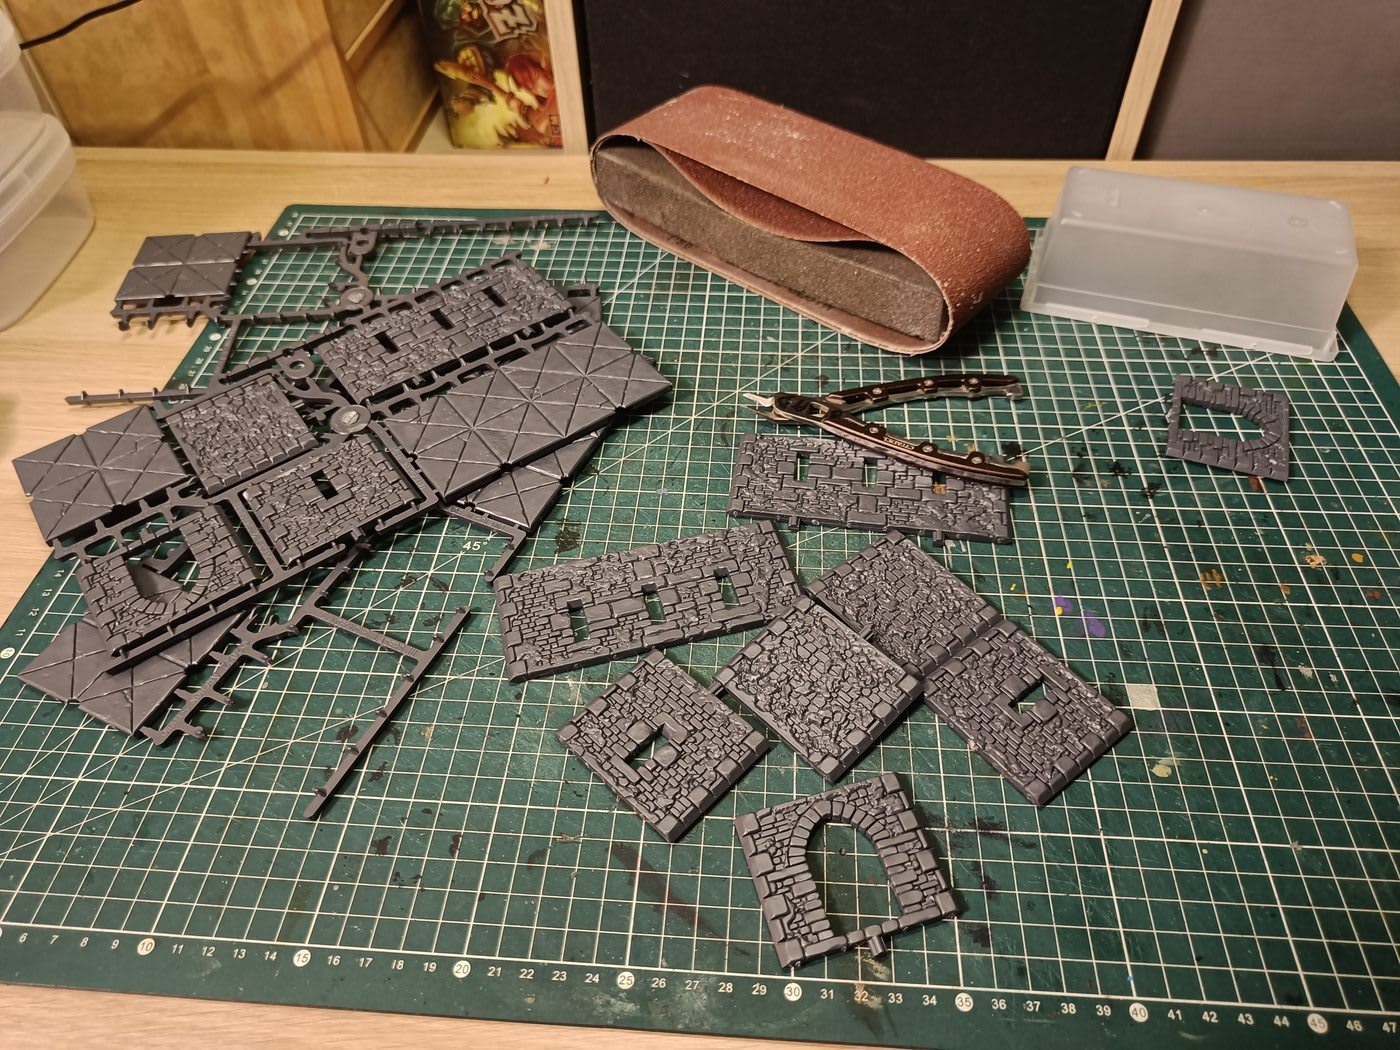
I detached every piece from the sprues. The plastic is thick and solid, which is nice but means the sprue attachment points don’t always break cleanly.
I also needed to remove the Dungeon & Lasers proprietary connection system: small pegs and corresponding holes on each piece. The silicone mold needs to work from clean, flat-backed pieces.
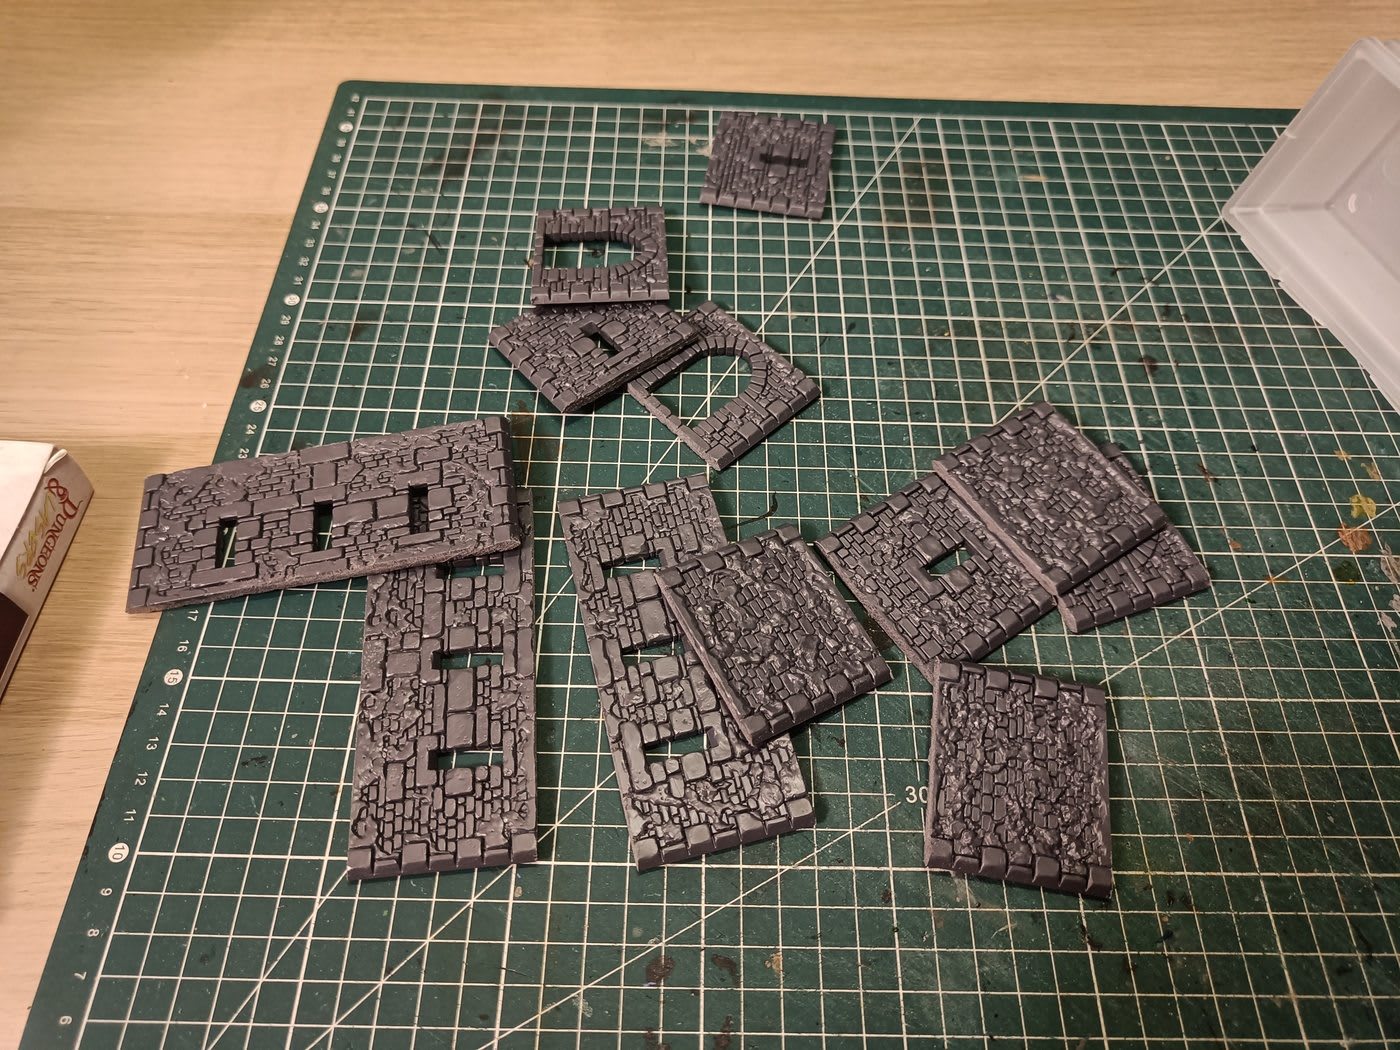
After sanding all the sprue attachment points and removing the connection pegs, here are the cleaned-up pieces. Every edge is flush and smooth, ready for mold-making.
Planning the Molds
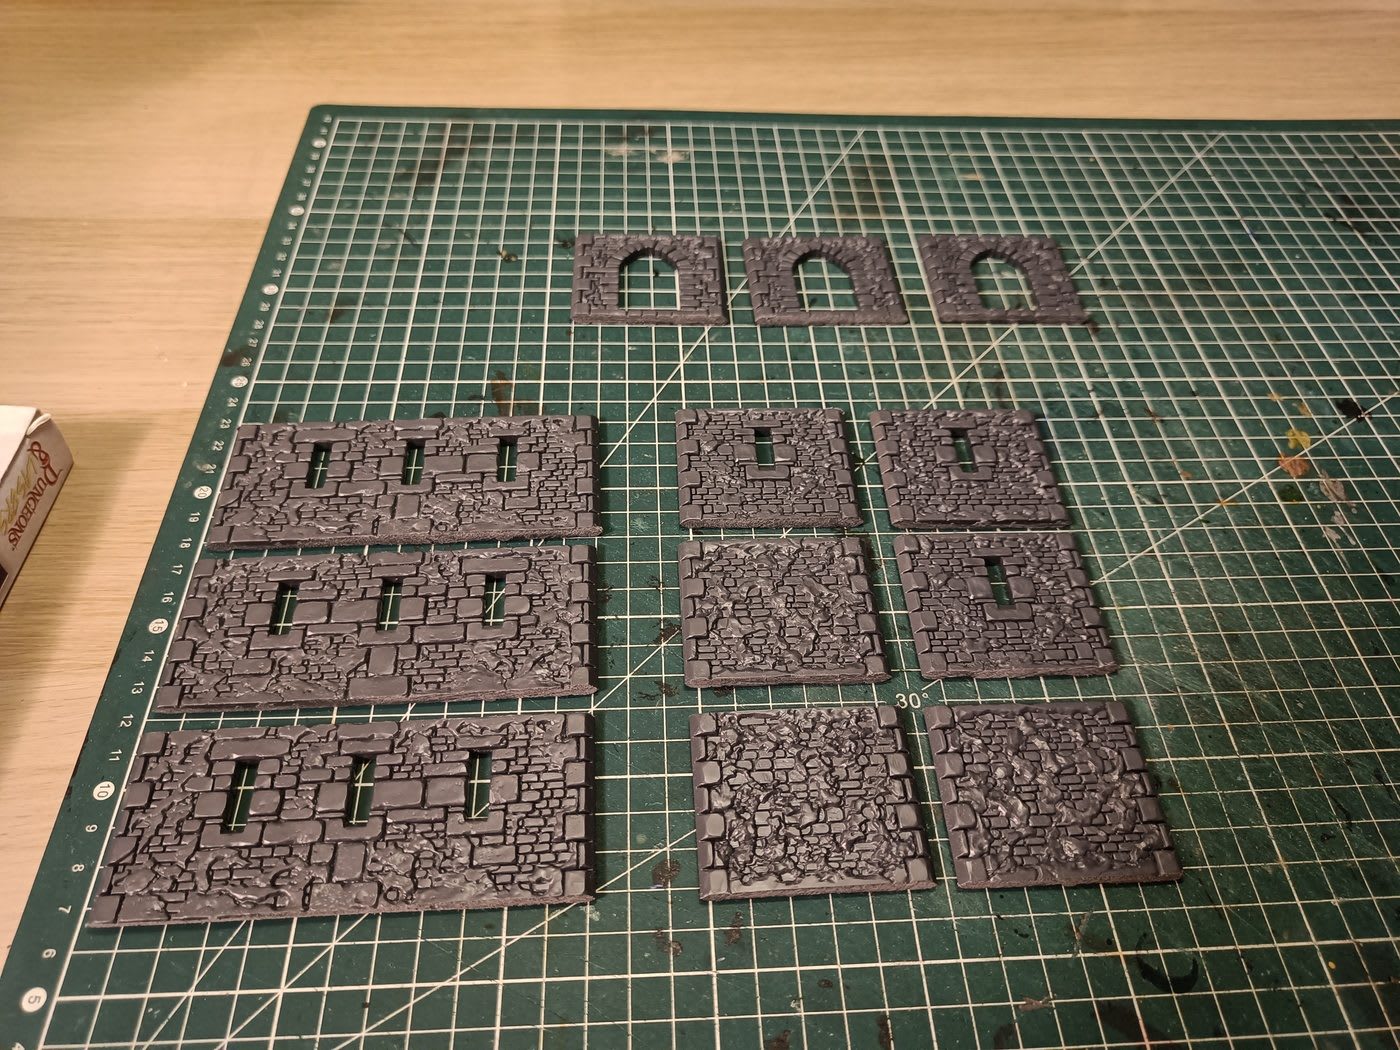
Now comes the key question: how to organize the molds? Since these walls will be glued flat against the boxes, only one face is visible at a time. That means I can make simple open molds (one-sided) instead of complex two-part molds.
Each piece has two different sculpted faces (face A and face B). I decided on a rule: one mold = one variant, never mixed. That way I can freely choose what to produce at each casting session without being locked into a fixed ratio.
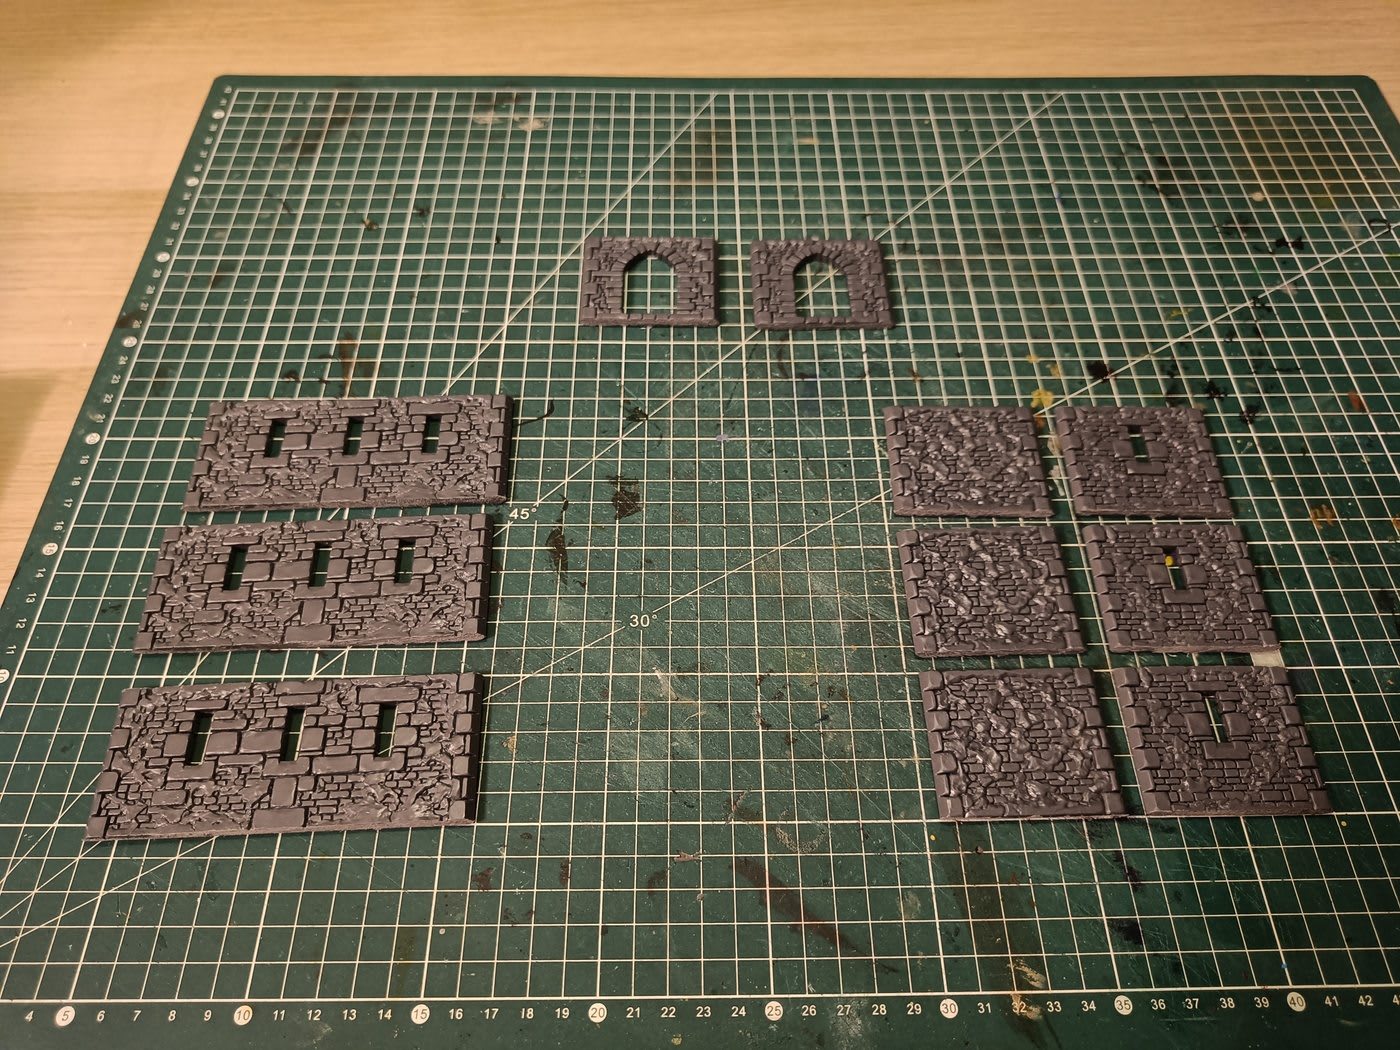
Here’s the final layout. Long walls: face A on the left, face B on the right, three of each. Small walls: I grouped solid walls and arrow-slit walls together since functionally they’re the same (an arrow slit doesn’t change gameplay). Six cavities per mold, mixing solid and arrow-slit variants. Door pieces get their own small mold at the top, just two cavities, since I’ll need fewer doors.
Building Mold Frames with Lego
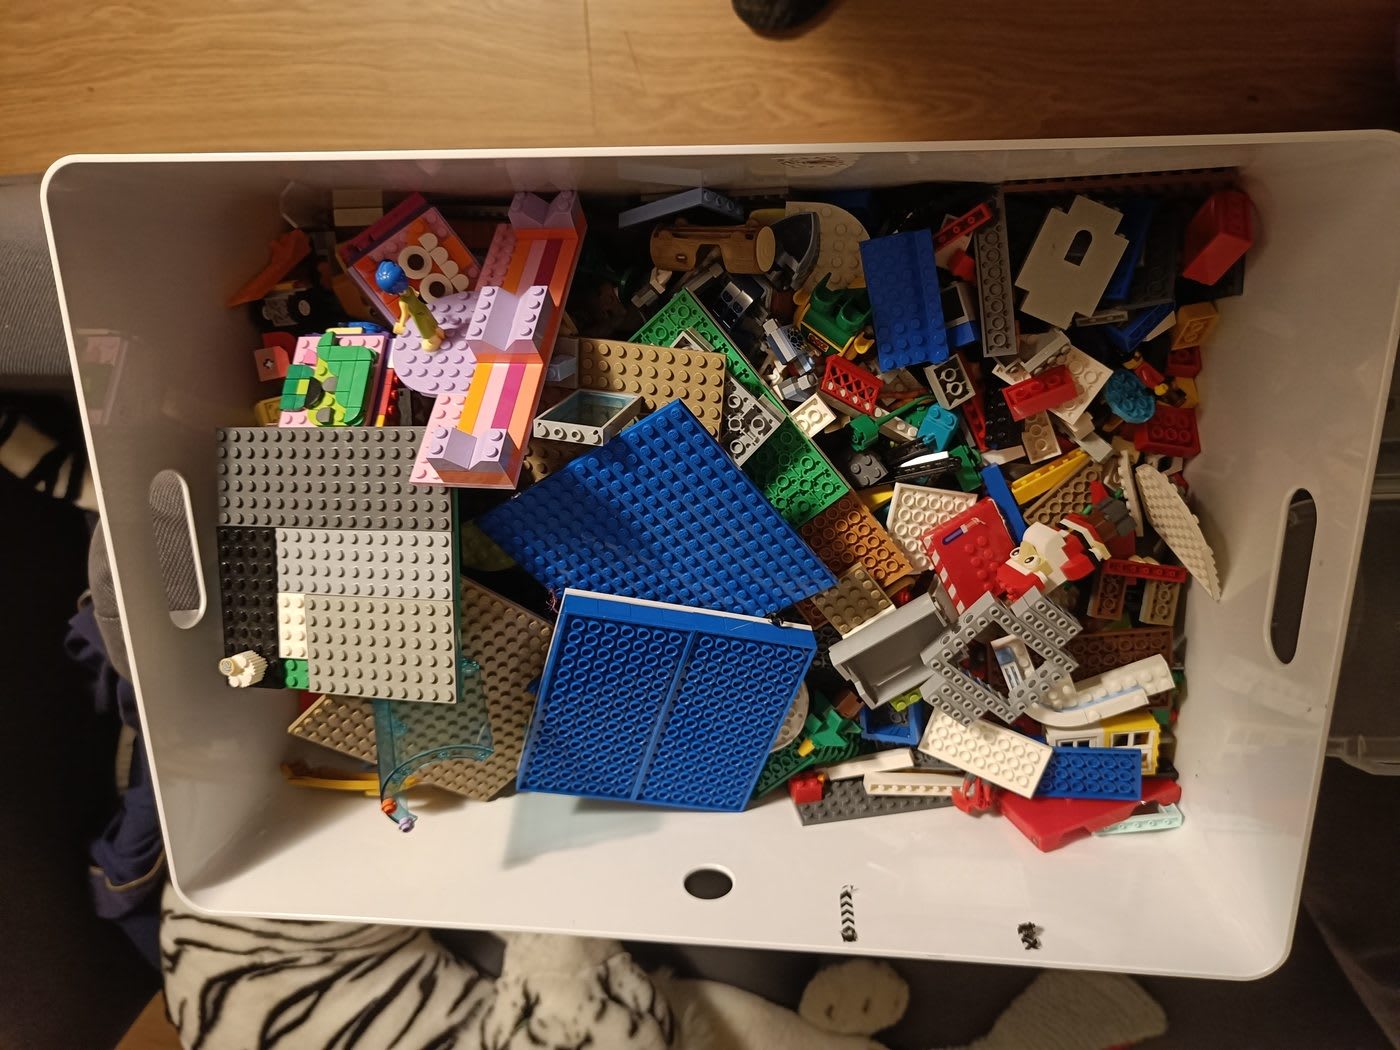
Time to build the actual mold frames. I raided the kids’ Lego bin.
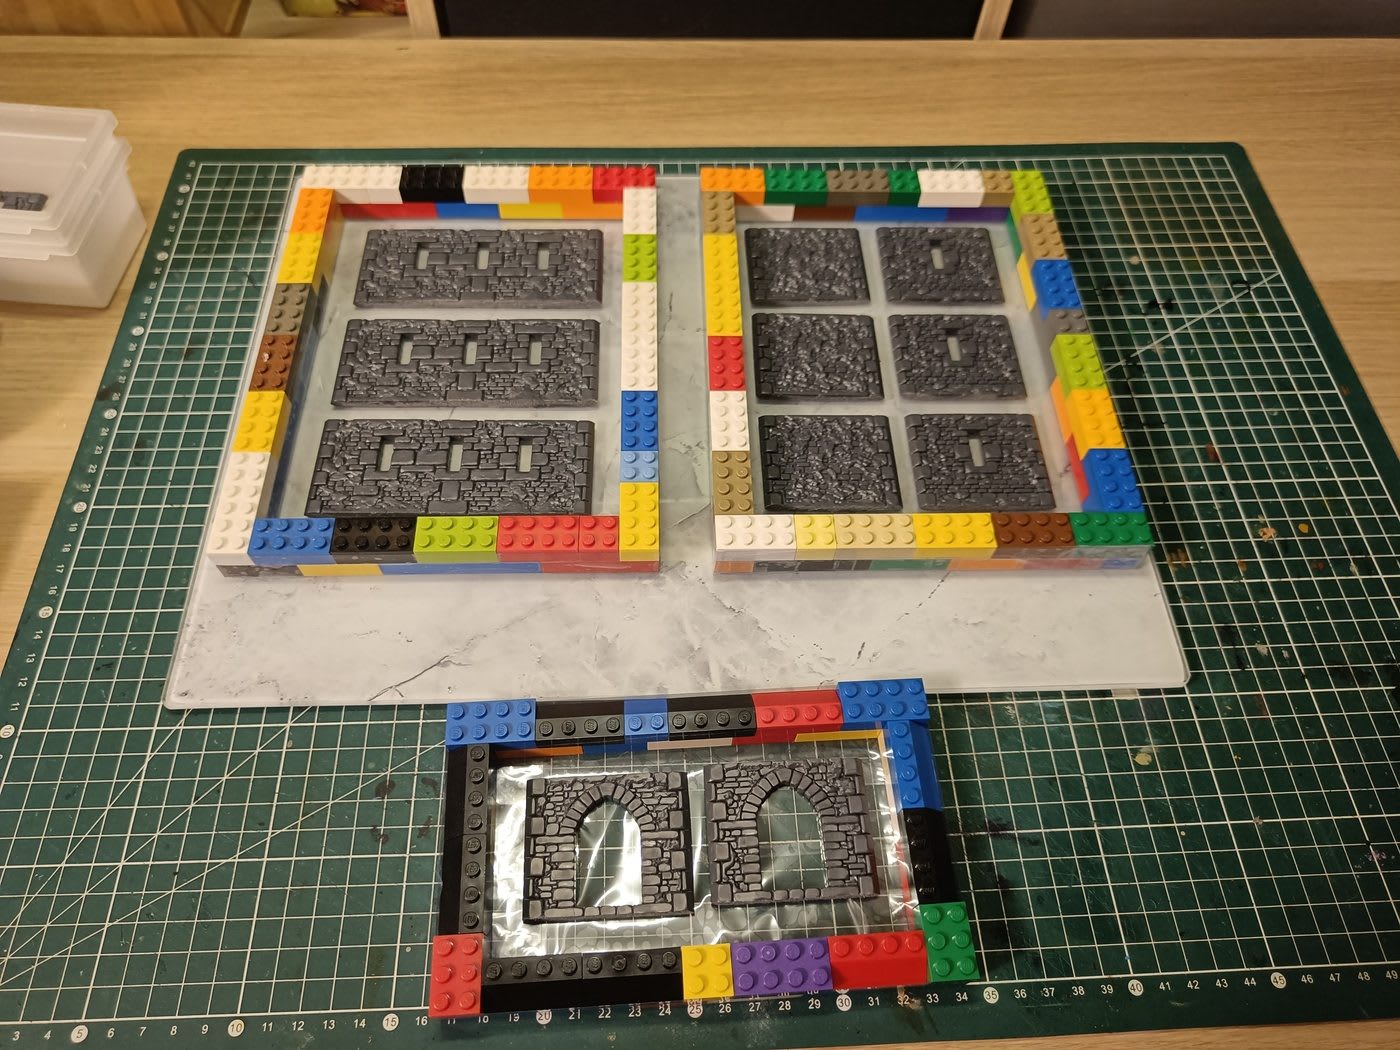
This took longer than expected. Three frames built from Lego, on two levels for height. The two larger frames hold the small wall pieces (face A and face B), and the smaller frame holds the door pieces. The outside is taped to prevent silicone from leaking through the Lego gaps, and the bottom is covered with tape sticky side up to hold the wall pieces in place during the pour.
First Silicone Pour
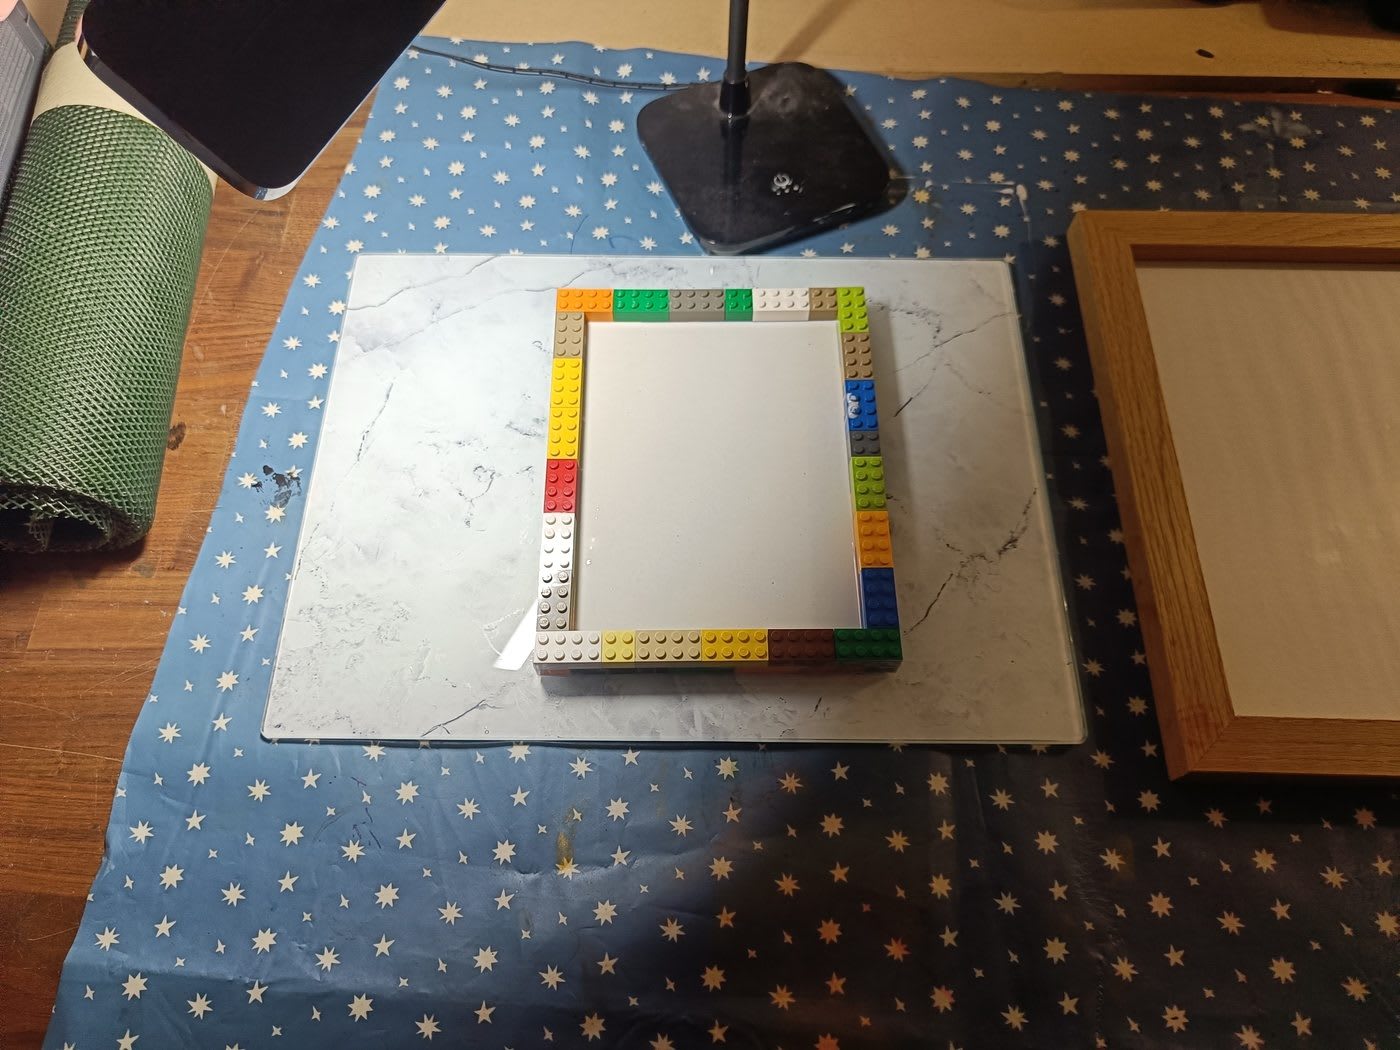
I only had enough silicone left from an old stock (well past its theoretical expiry date, but it’s worked before) to fill one mold. I went with the small walls first.
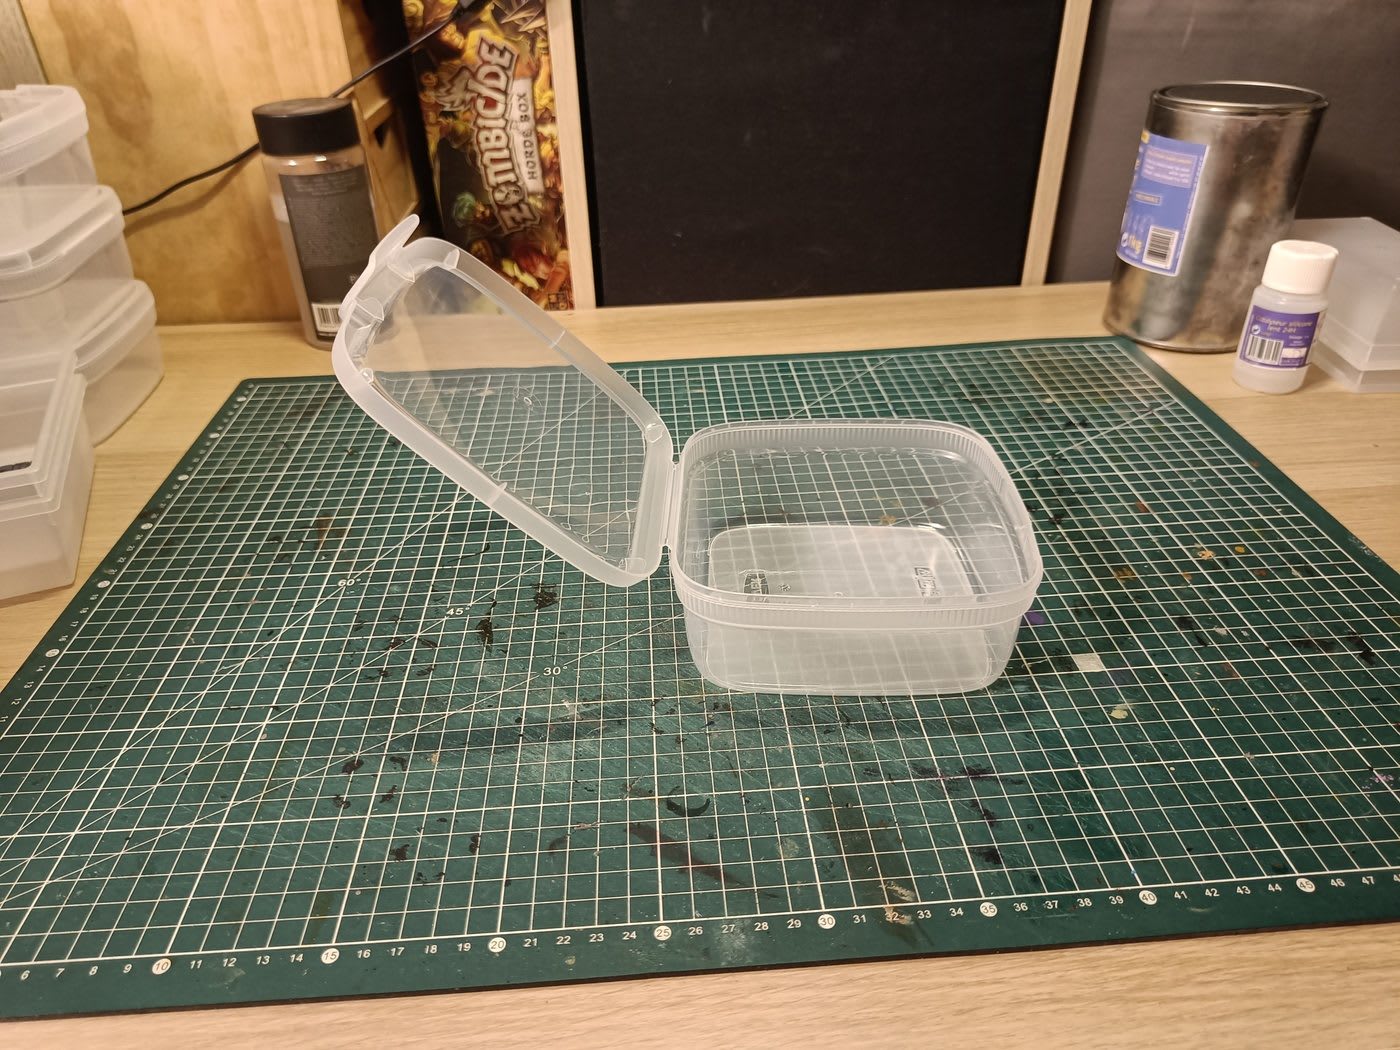
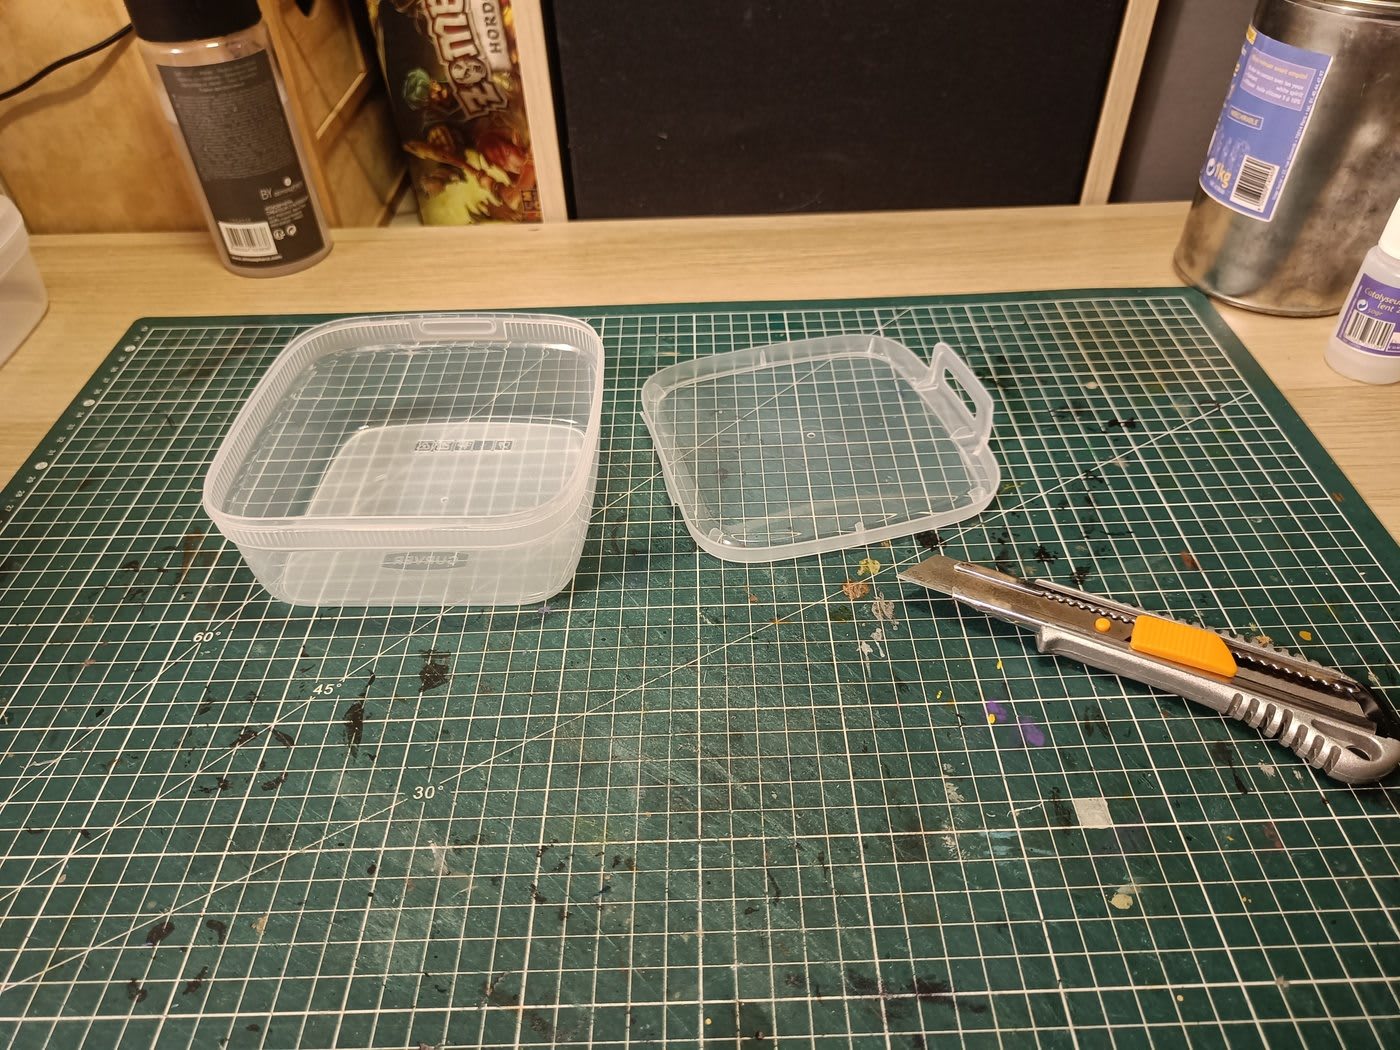
While waiting, I also started prepping the boxes by cutting the lids off the containers.
The silicone is now curing overnight. I’ll need to buy more silicone to cast the remaining two molds (long walls and doors). Next session: check the mold, and if it worked, start the first resin cast.