Craft Log #2: Garage Sale Loot and Cutting Bricks
Today’s session was a mix of things: a yard sale find, a long foam brick cutting session, some online orders, and demolding the silicone mold I poured yesterday.
Yard Sale Find
I picked up an Angry Birds board game at a yard sale for 1 euro. I don’t care about the game itself, but the plastic pieces inside have real potential for scatter terrain.
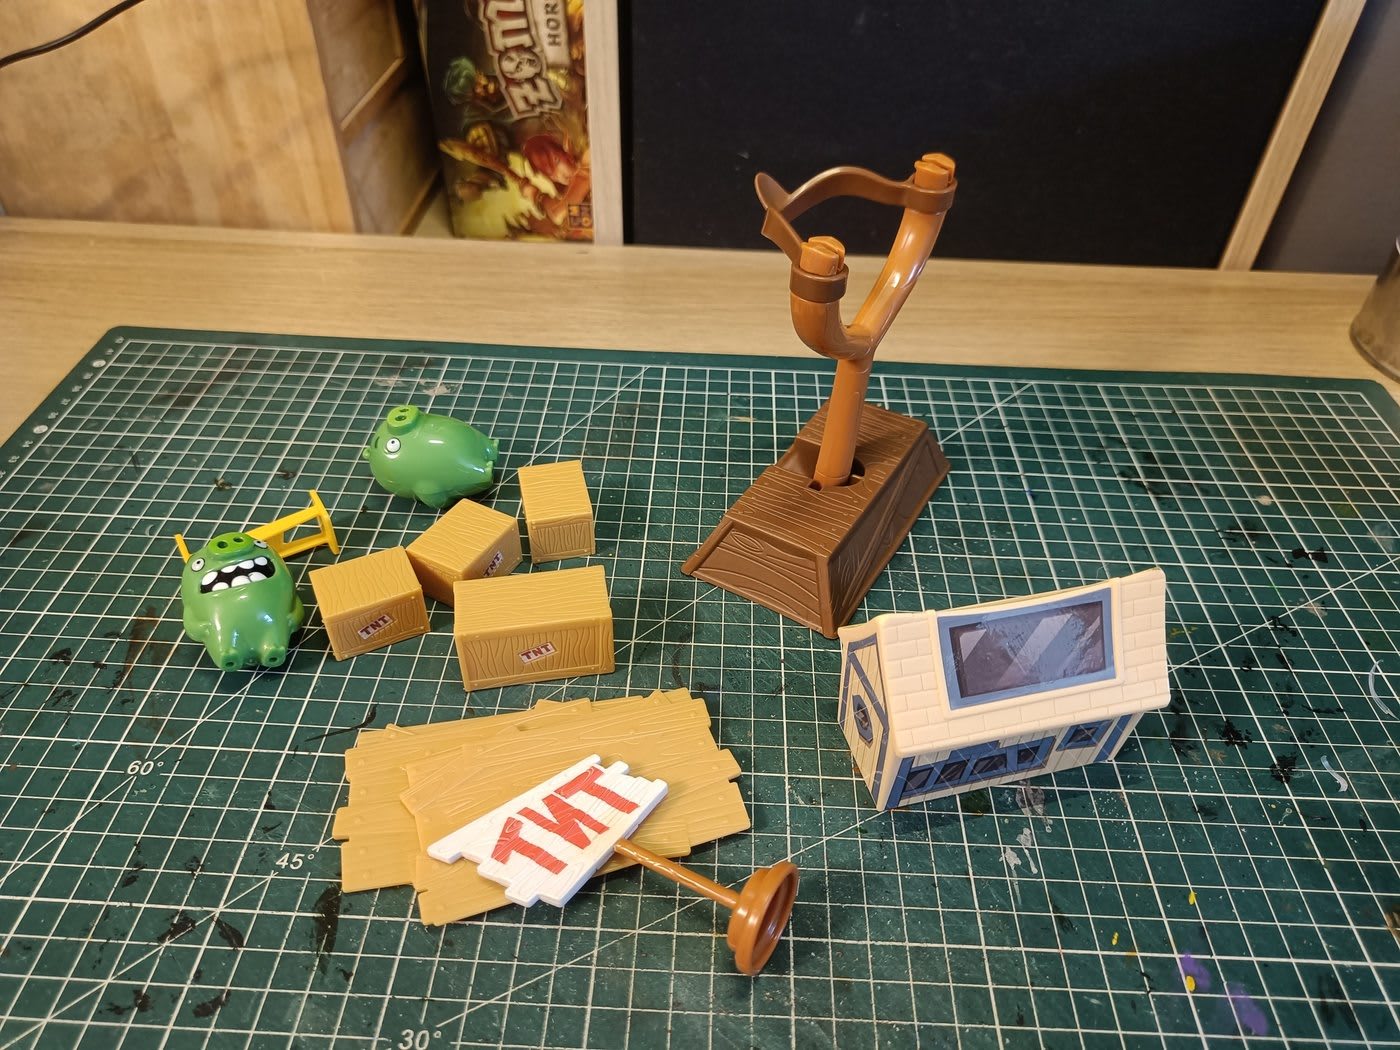
Here’s the inventory:
- 4 TNT crates: great scatter terrain potential, just need a coat of paint.
- 2 plastic planks with a wood grain texture: a bit cartoonish but solid, they’d make good bridges.
- 1 sign on a post: the sign itself looks too cartoony, but the plank part is salvageable.
- 1 small house shape: covered in plank texture, could easily become a little shed.
- 1 slingshot: hard to reuse as-is, but the base could work as a raised platform.
- 2 Angry Birds figurines: useless, straight to the bin.
- 1 support piece: not sure what to do with it, probably won’t keep it.
Good ratio for 1 euro. Several pieces are directly usable as scatter terrain with just paint and maybe a bit of rework.
Orders
I also placed a couple of online orders today. First, a battle map: the Cobblestone Battlefield 2, from Urban Matz, to serve as the playground for our upcoming Frostgrave games (and to let me eyeball if I have enough terrain or not).
Second, some new silicone: Moldstar 15 Slow from creationsilicone.com, a local supplier in Brittany. I picked it for its low viscosity (better at releasing air bubbles) and its simple 1:1 mix ratio. Price is about the same as what I’ve been using before, but hopefully it will be easier to mix.
Cutting Polystyrene Bricks
The main project of the day: turning leftover polystyrene scraps into miniature bricks. These will be used to fill gaps around terrain pieces, covering areas where the molds don’t reach. I’m thinking ruined city walls for Frostgrave and Mordheim.
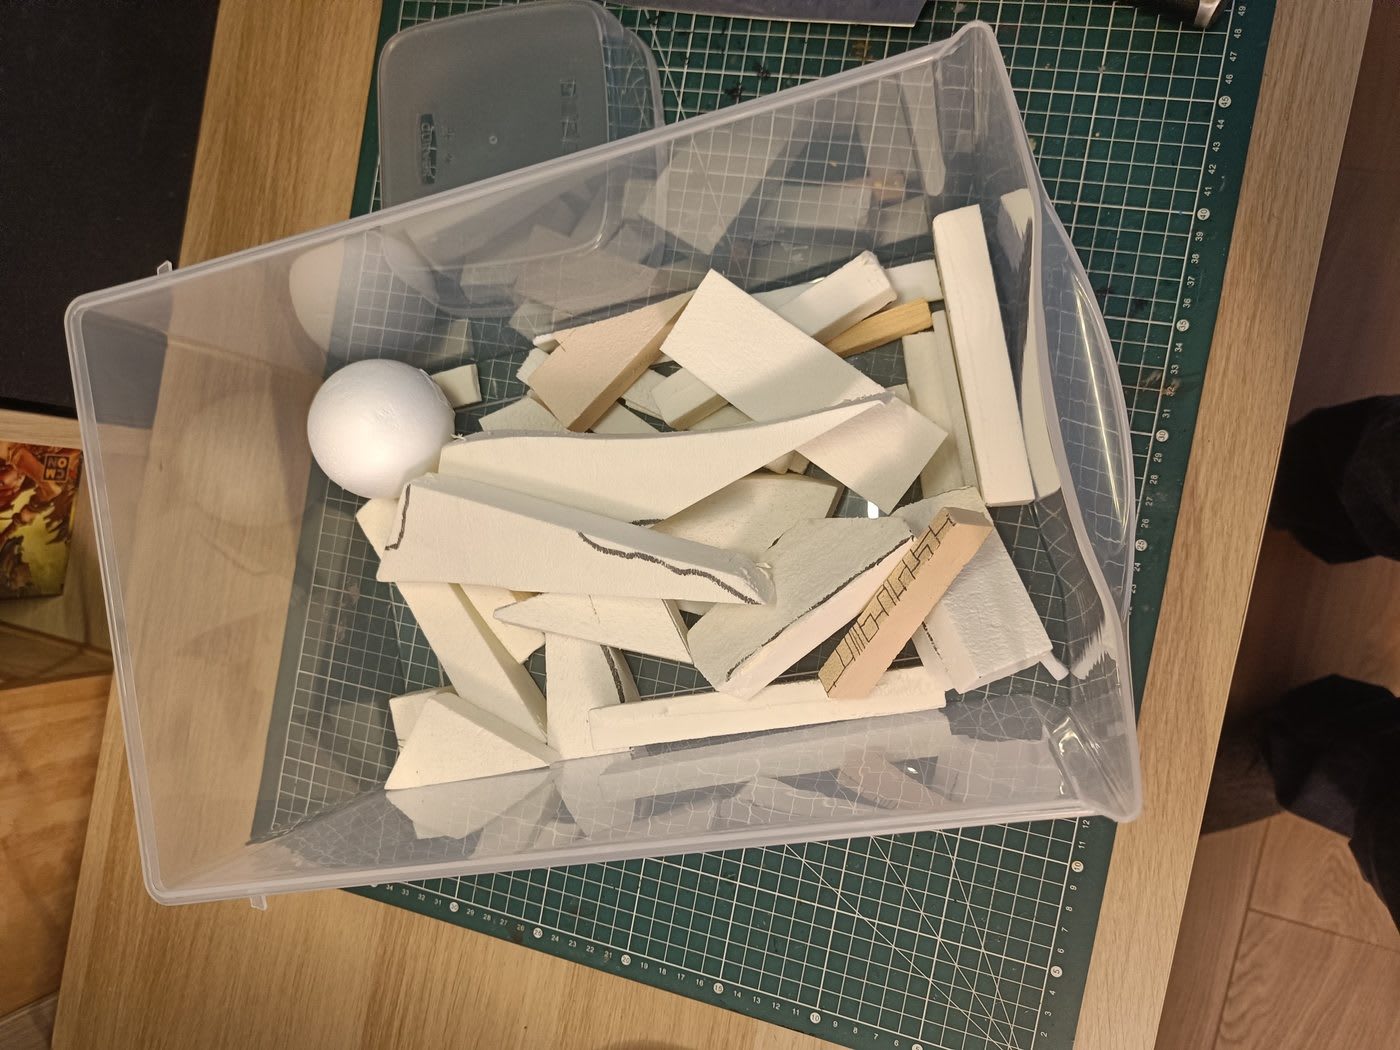
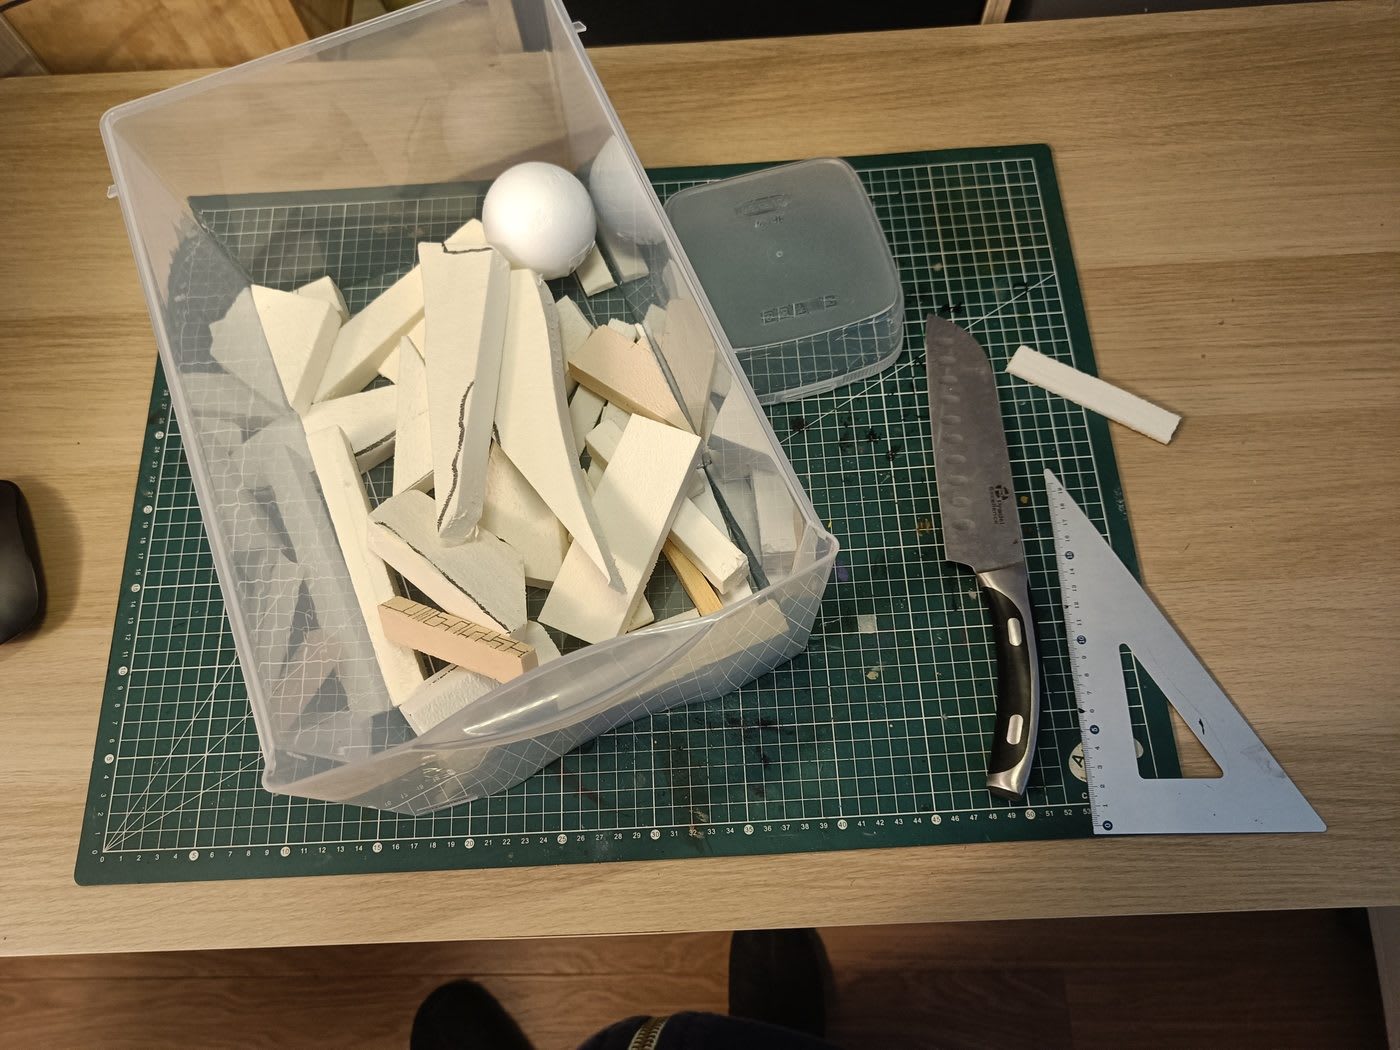
Starting material: a box of leftover polystyrene pieces from previous projects. All sorts of shapes, mostly irregular. The goal is to extract as many usable brick shapes as possible from these.
I don’t have a Proxxon hot wire cutter, so everything is done by hand. I’m aiming for something close to the large brick size from the Dungeon & Lasers sets, roughly 0.5cm tall by 1cm wide. The foam sheets are about 2cm thick, so they need to be split in half first.
Finding the Right Technique
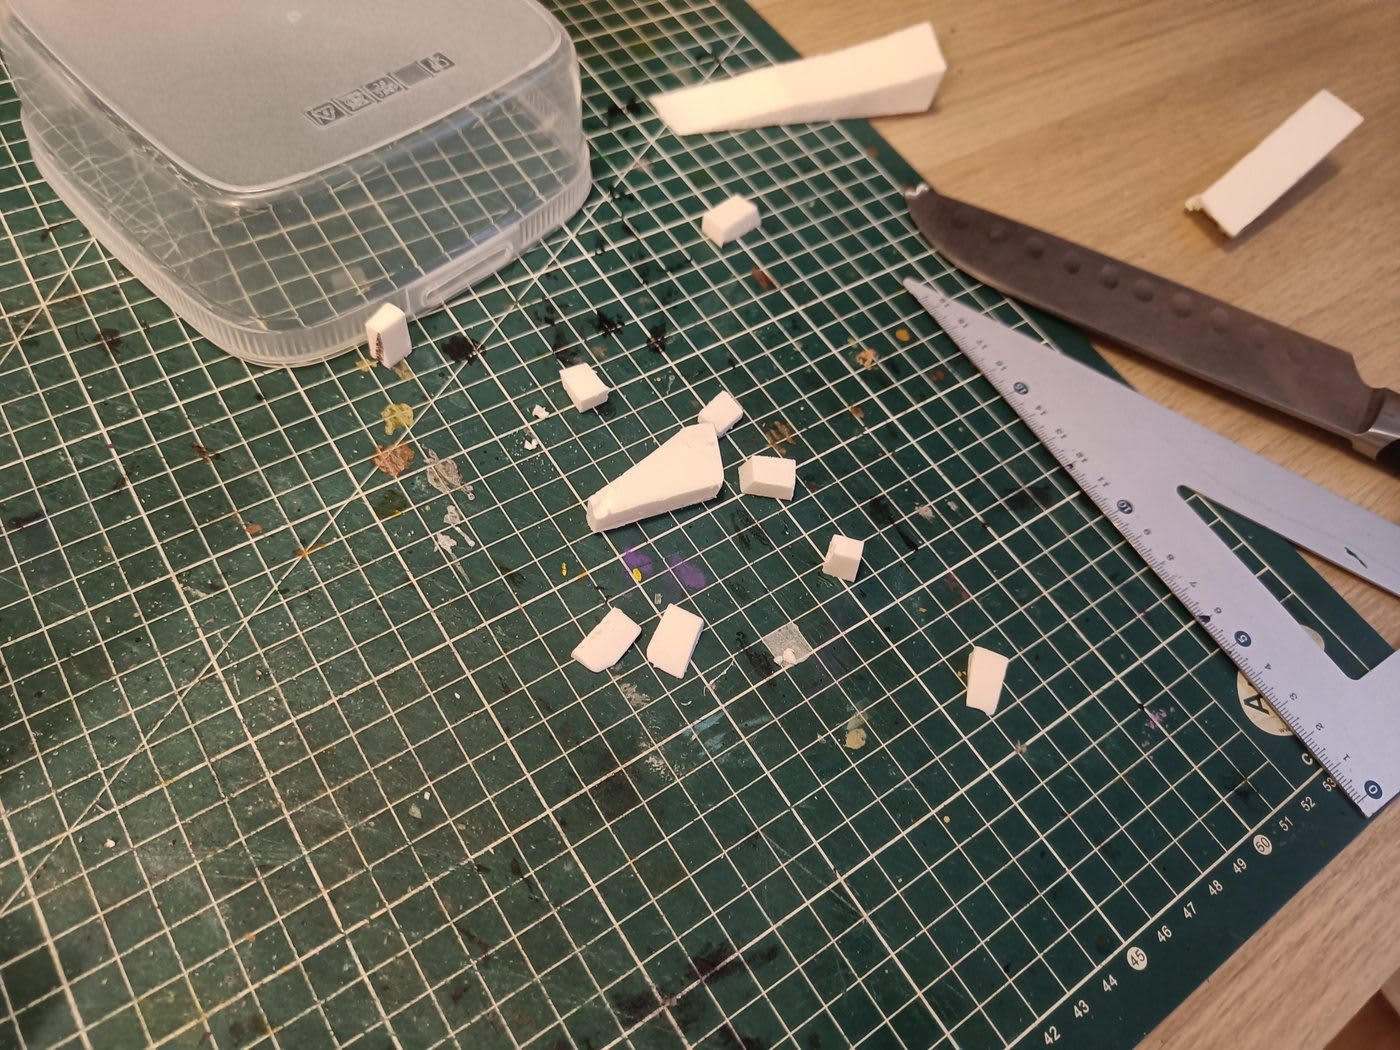
First attempts at cutting. I landed on a two-tool approach: the cutter for some cuts, and a kitchen knife for others, each used where it works best.
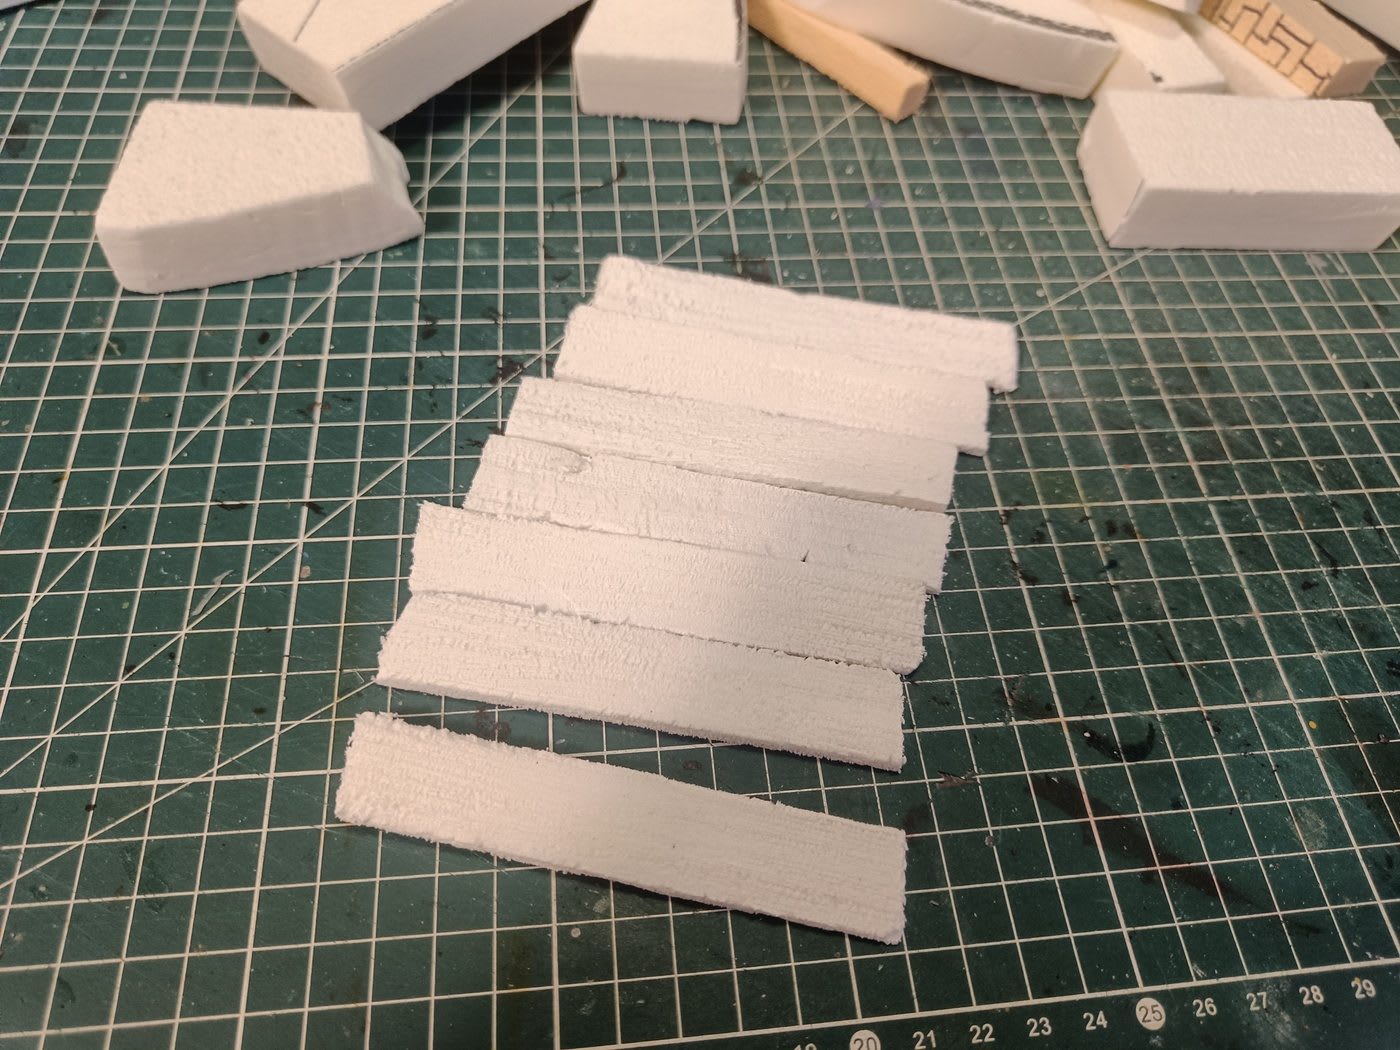
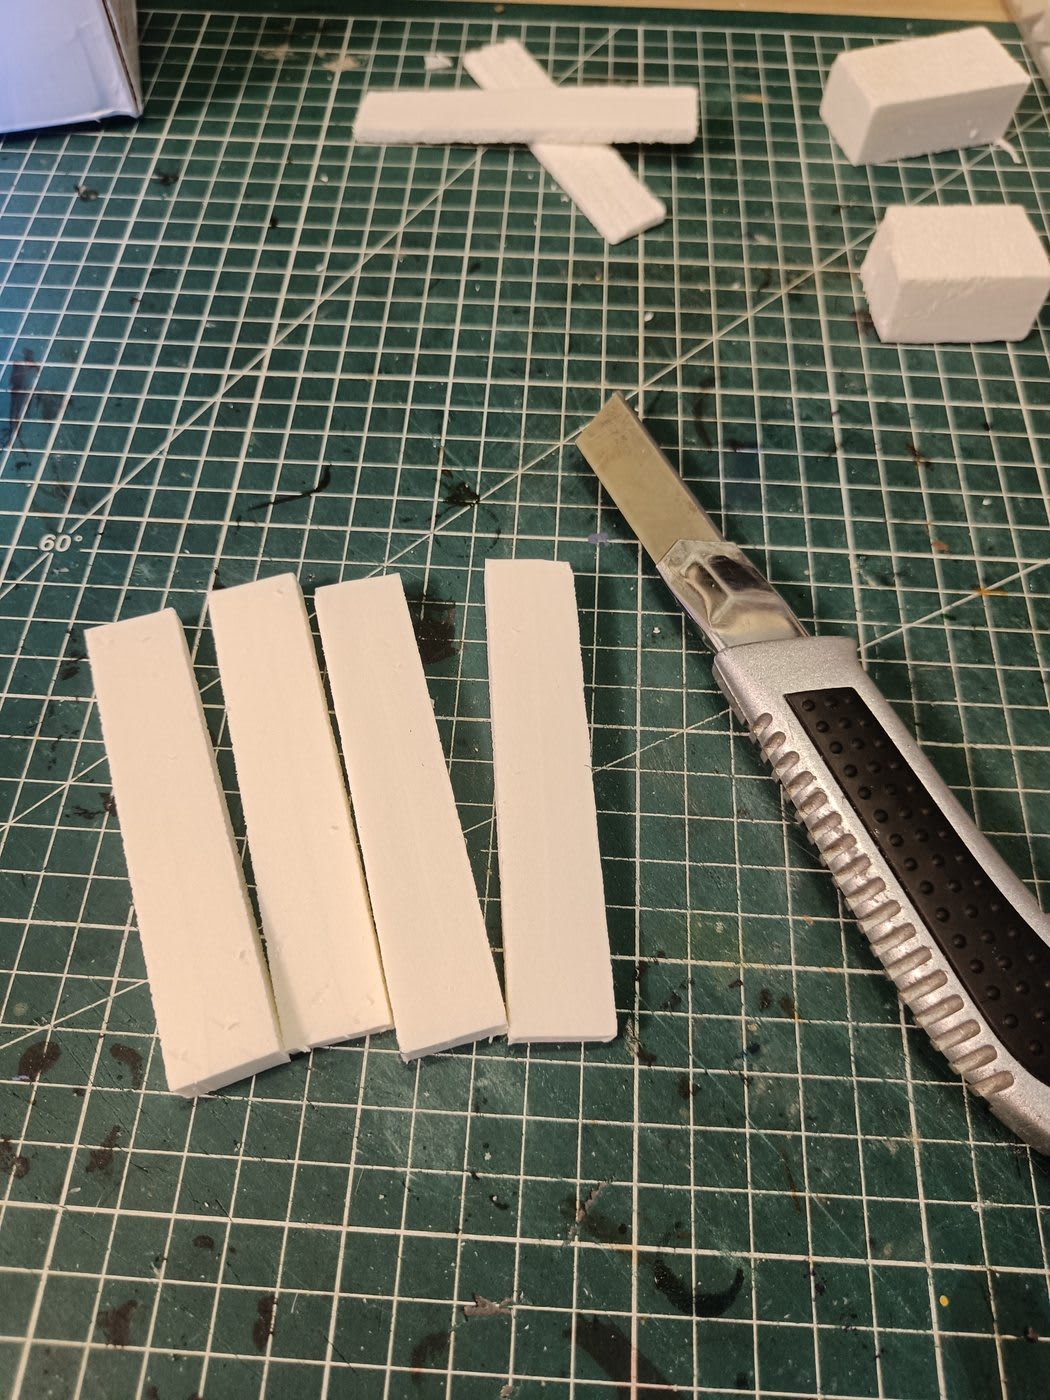
The cutter is great for slicing the block into strips. The trick is to make multiple small passes (two or three) rather than one deep cut. This avoids tearing even with a slightly dull blade: the first pass creates a groove, and subsequent passes deepen it cleanly.
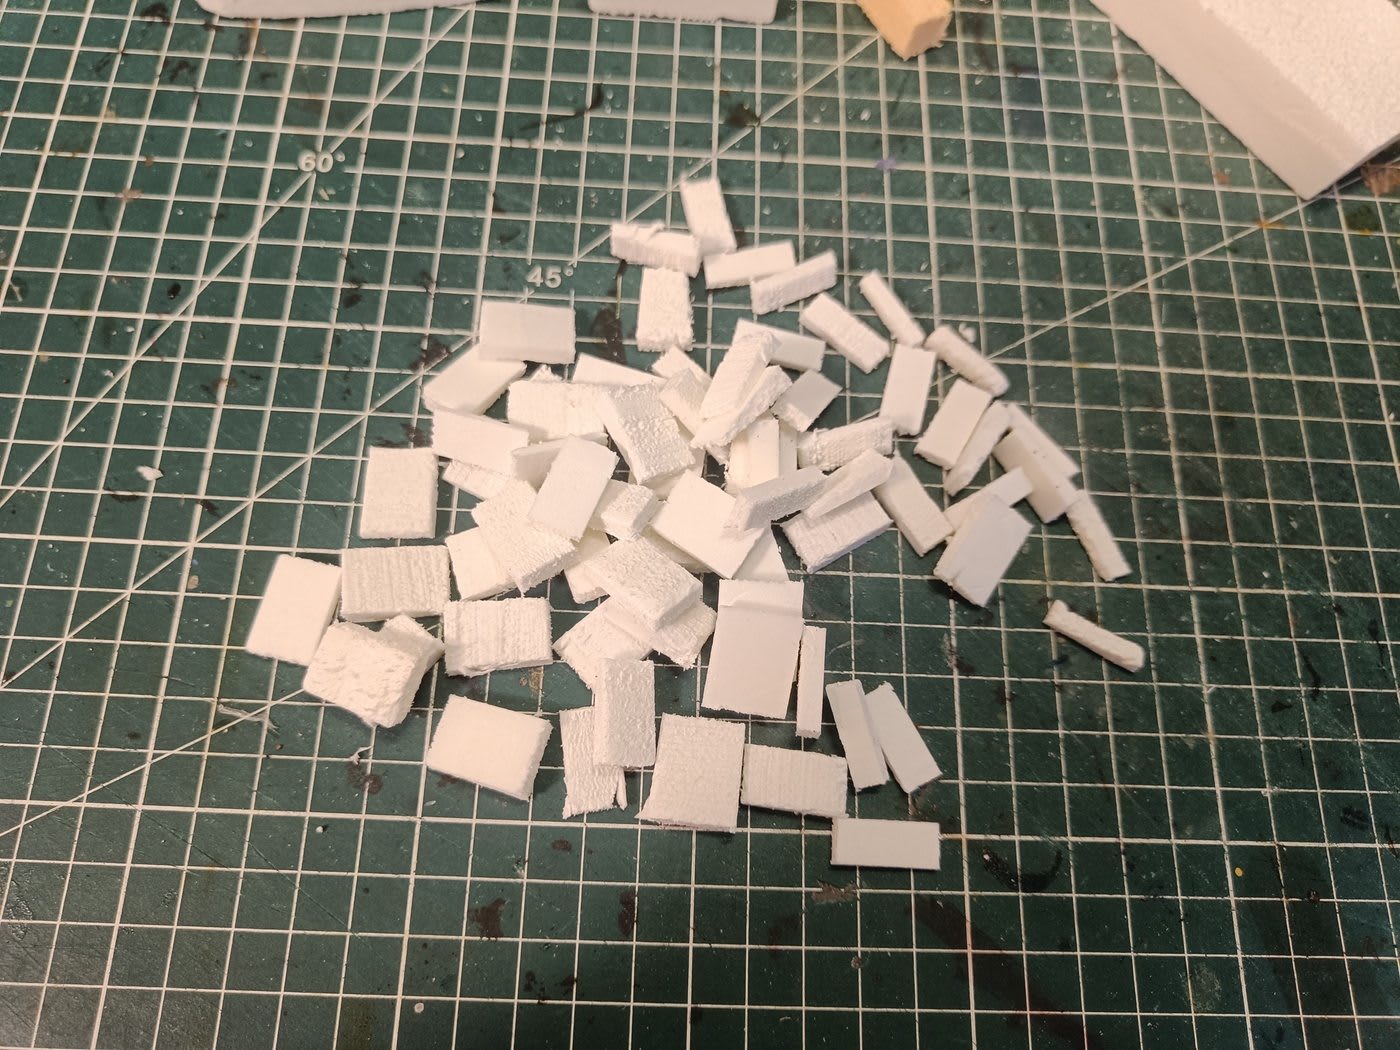
First batch done. The kitchen knife technique comes from Bard’s Craft, a defunct terrain crafting channel. Once you have a bunch of strips lined up side by side, the knife can cut across all of them in one pass. Very efficient for that kind of cross-cut. Less ideal for repeated width cuts, where the craft knife is faster.
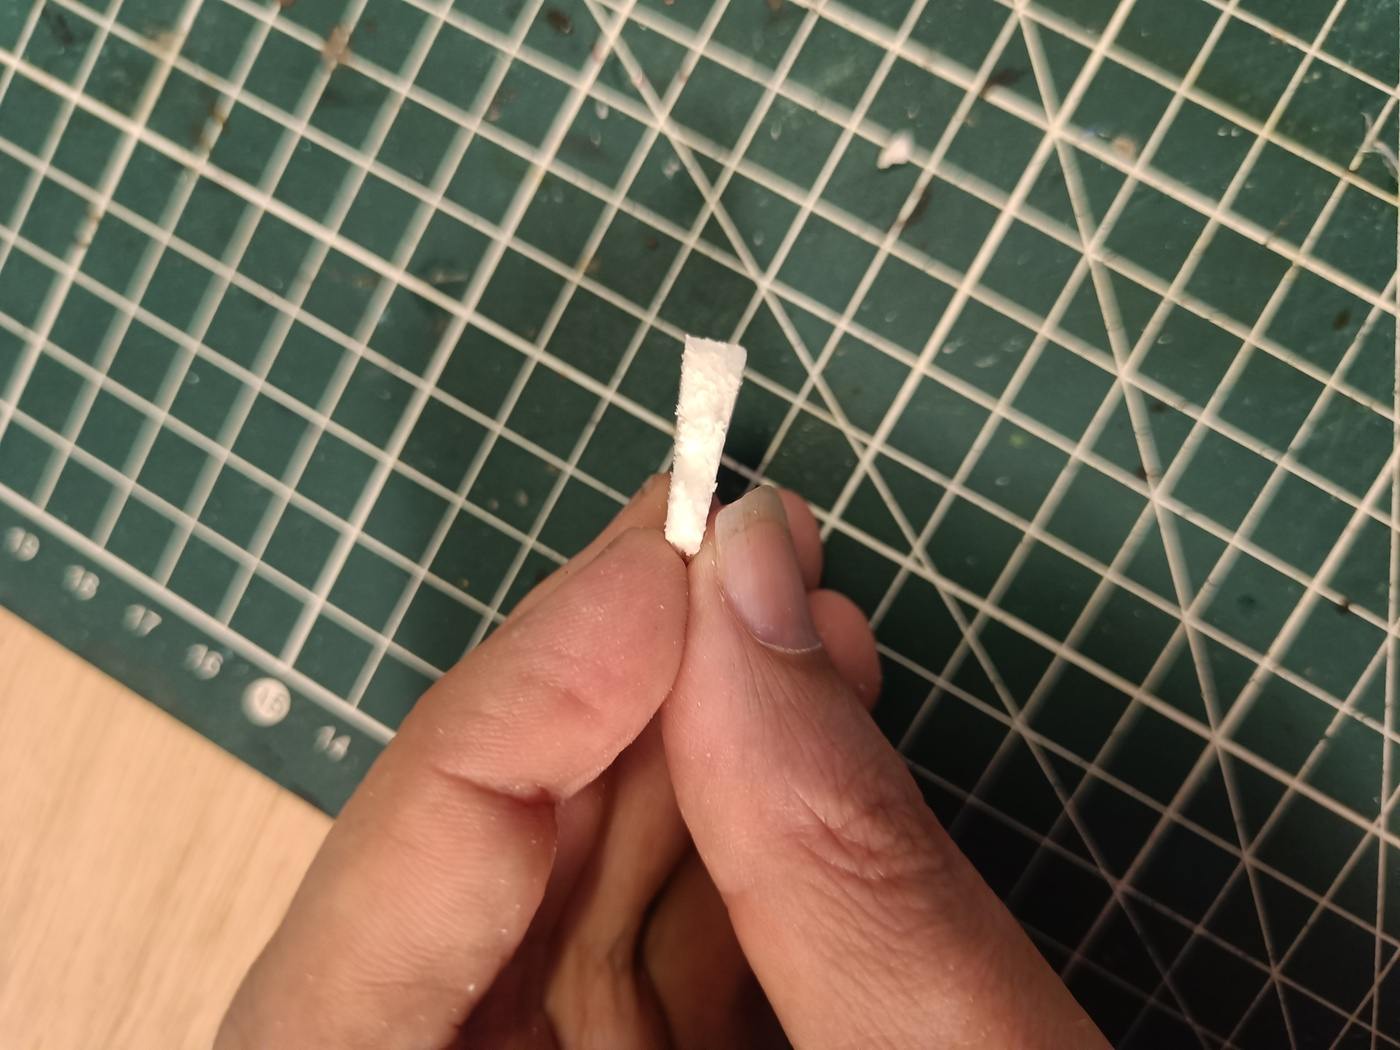
I hope this slanted look will help make the walls look irregularly shaped.
Sorting the Scraps
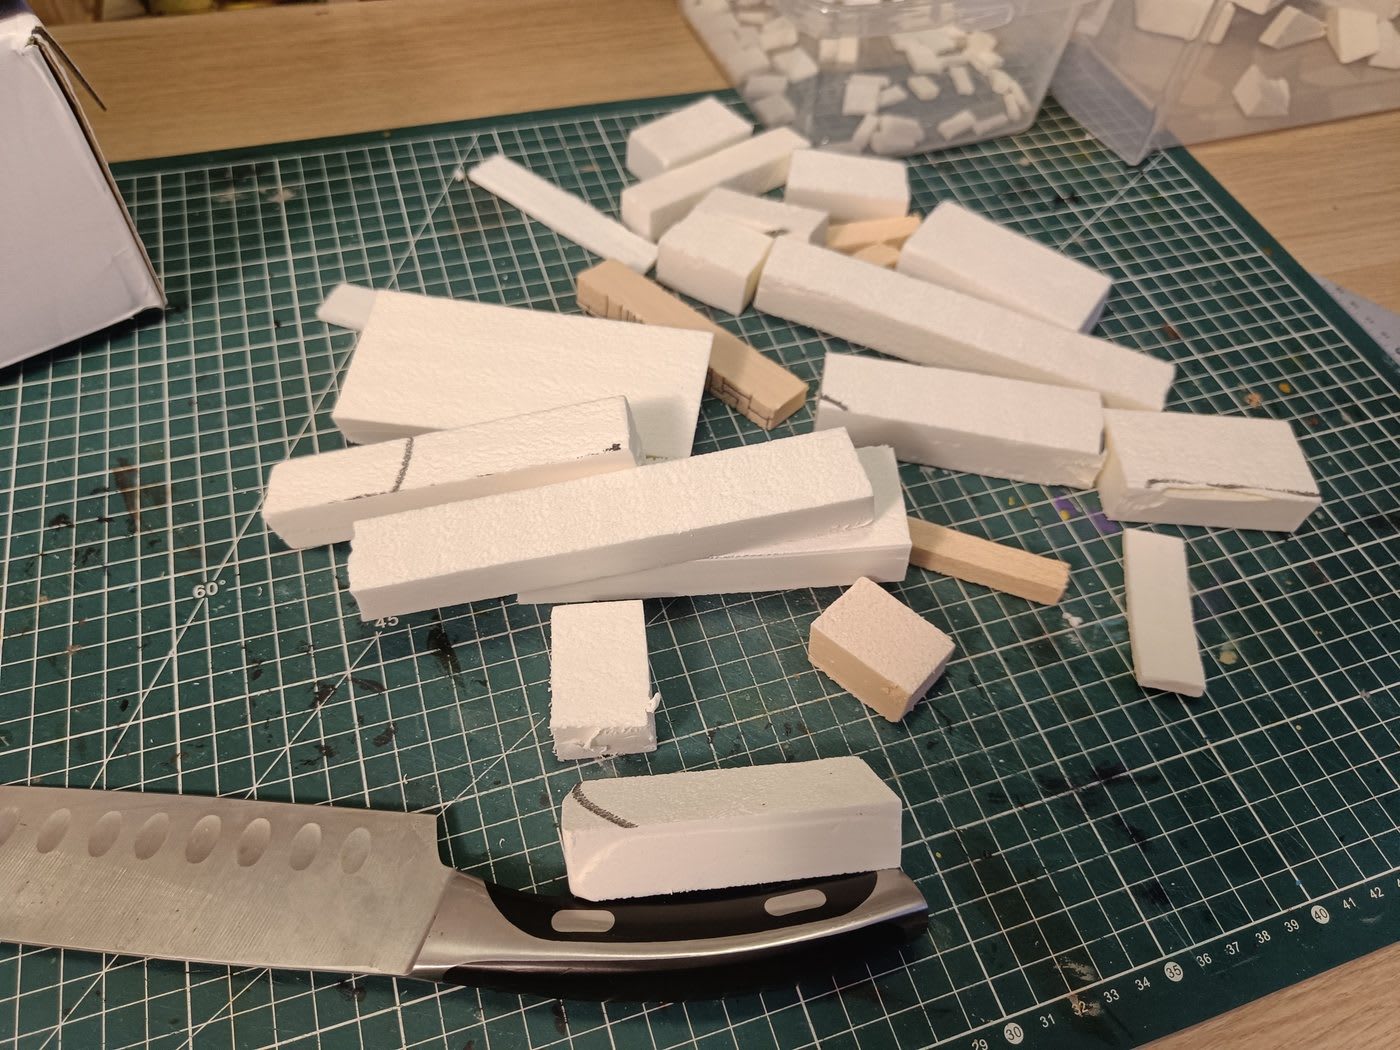
One challenge: many of the scraps are twisted or triangular. My approach was to extract the largest possible rectangle from each piece and set aside the ones that were too irregular.
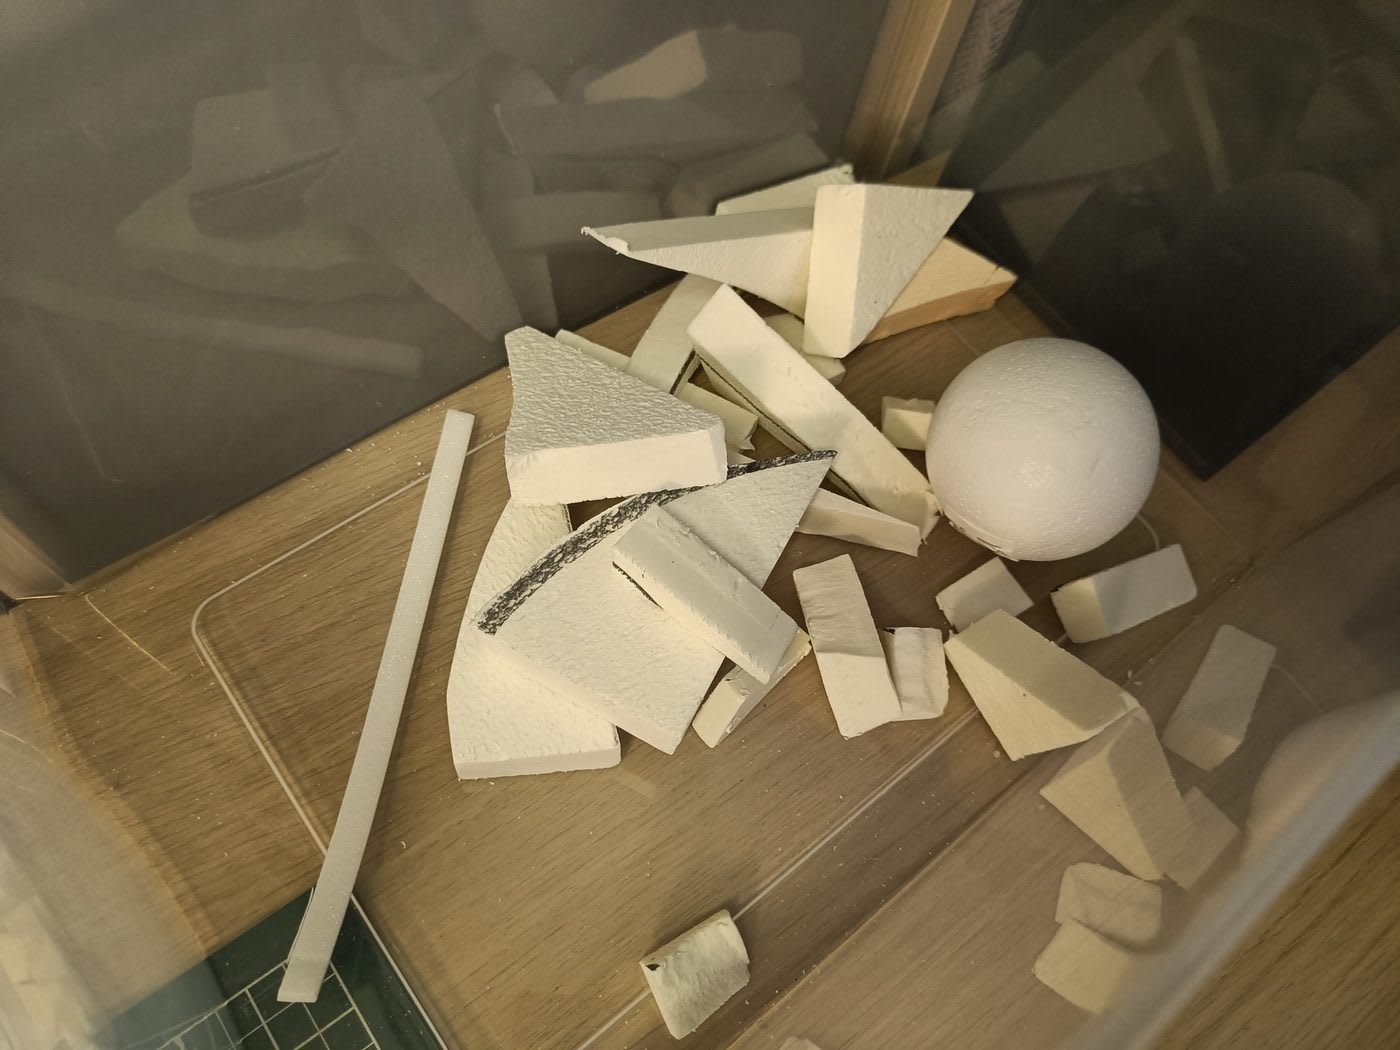
The reject pile: triangular and rounded pieces that don’t yield clean rectangles. These go back in the scrap box for a different use later.
Refining the Workflow
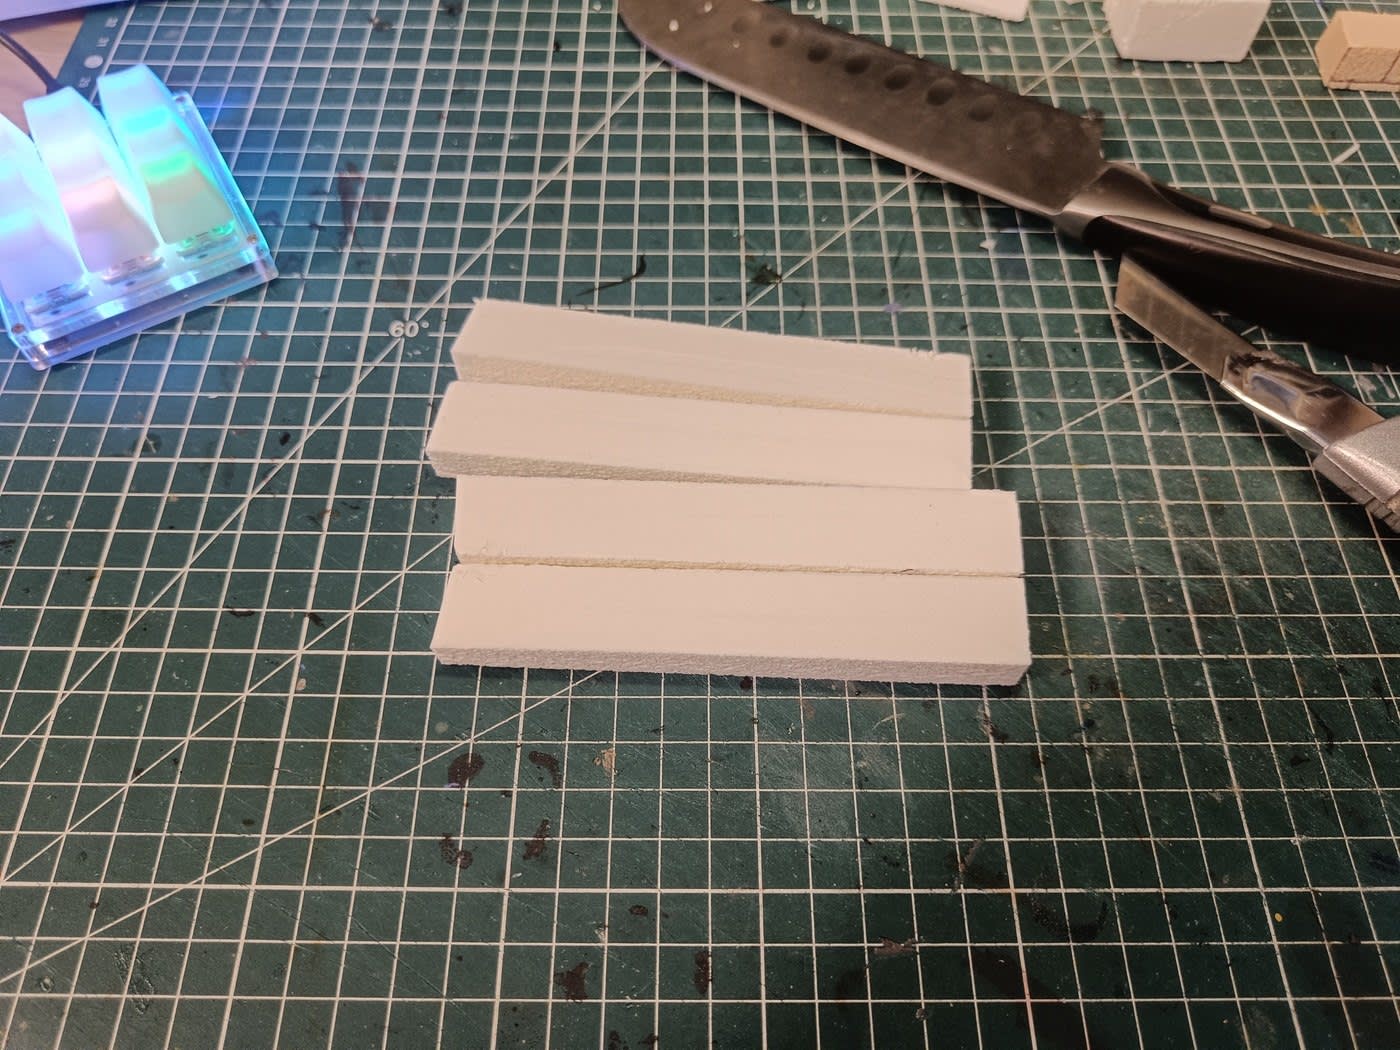
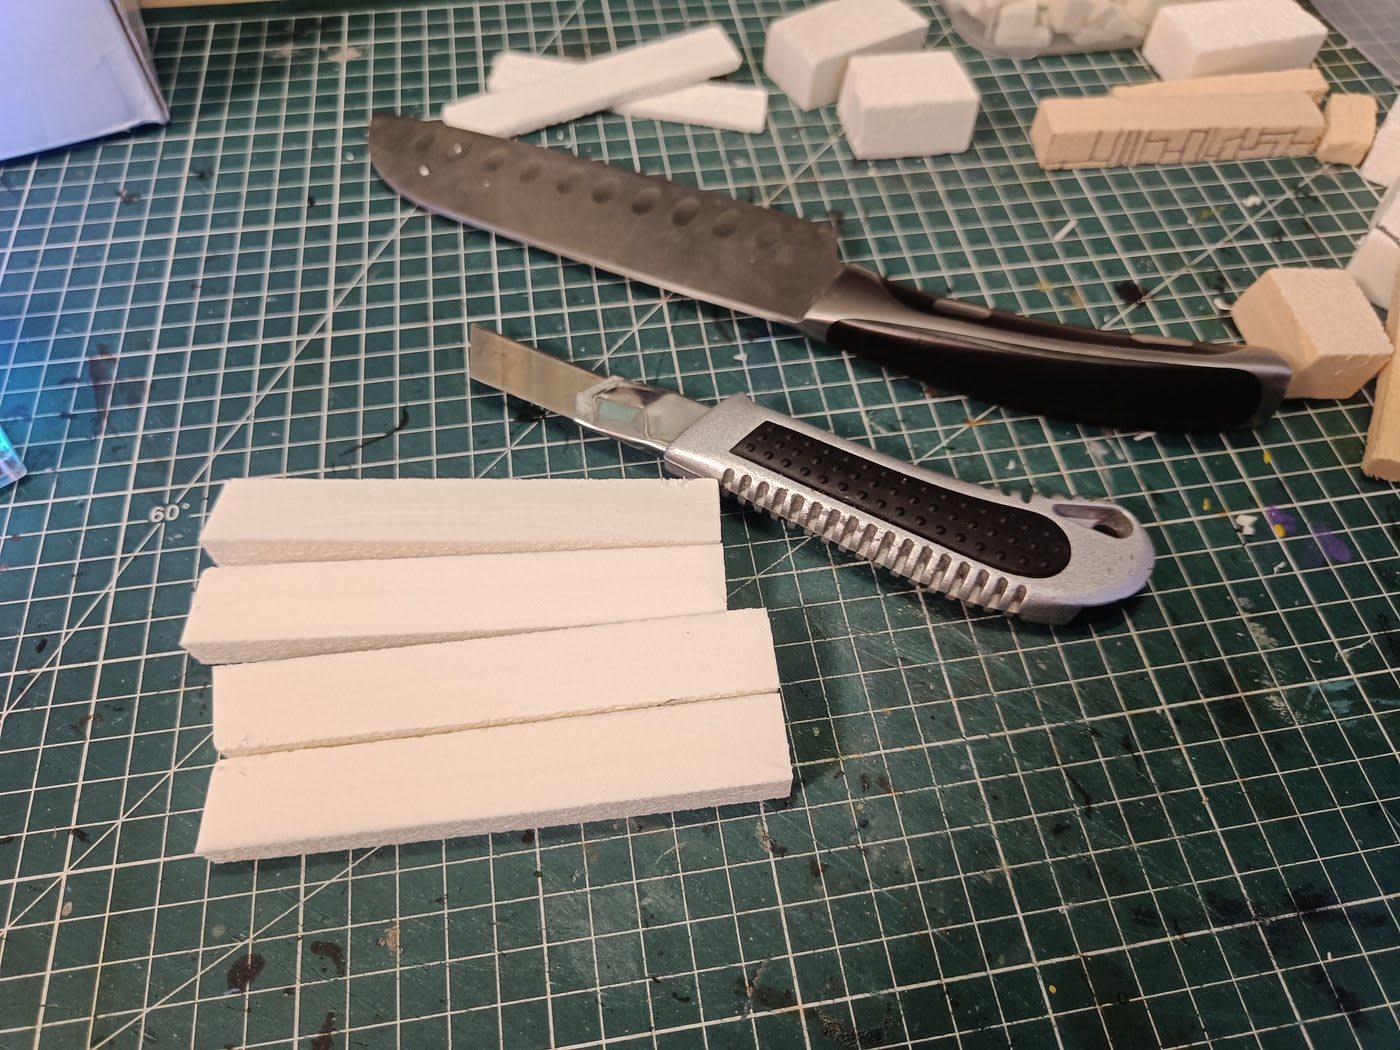
I noticed some cuts had small imperfections, like torn edges. After testing, I figured out the culprit: it’s the knife when used on thick pieces. On thin strips, the cuts are perfectly clean.
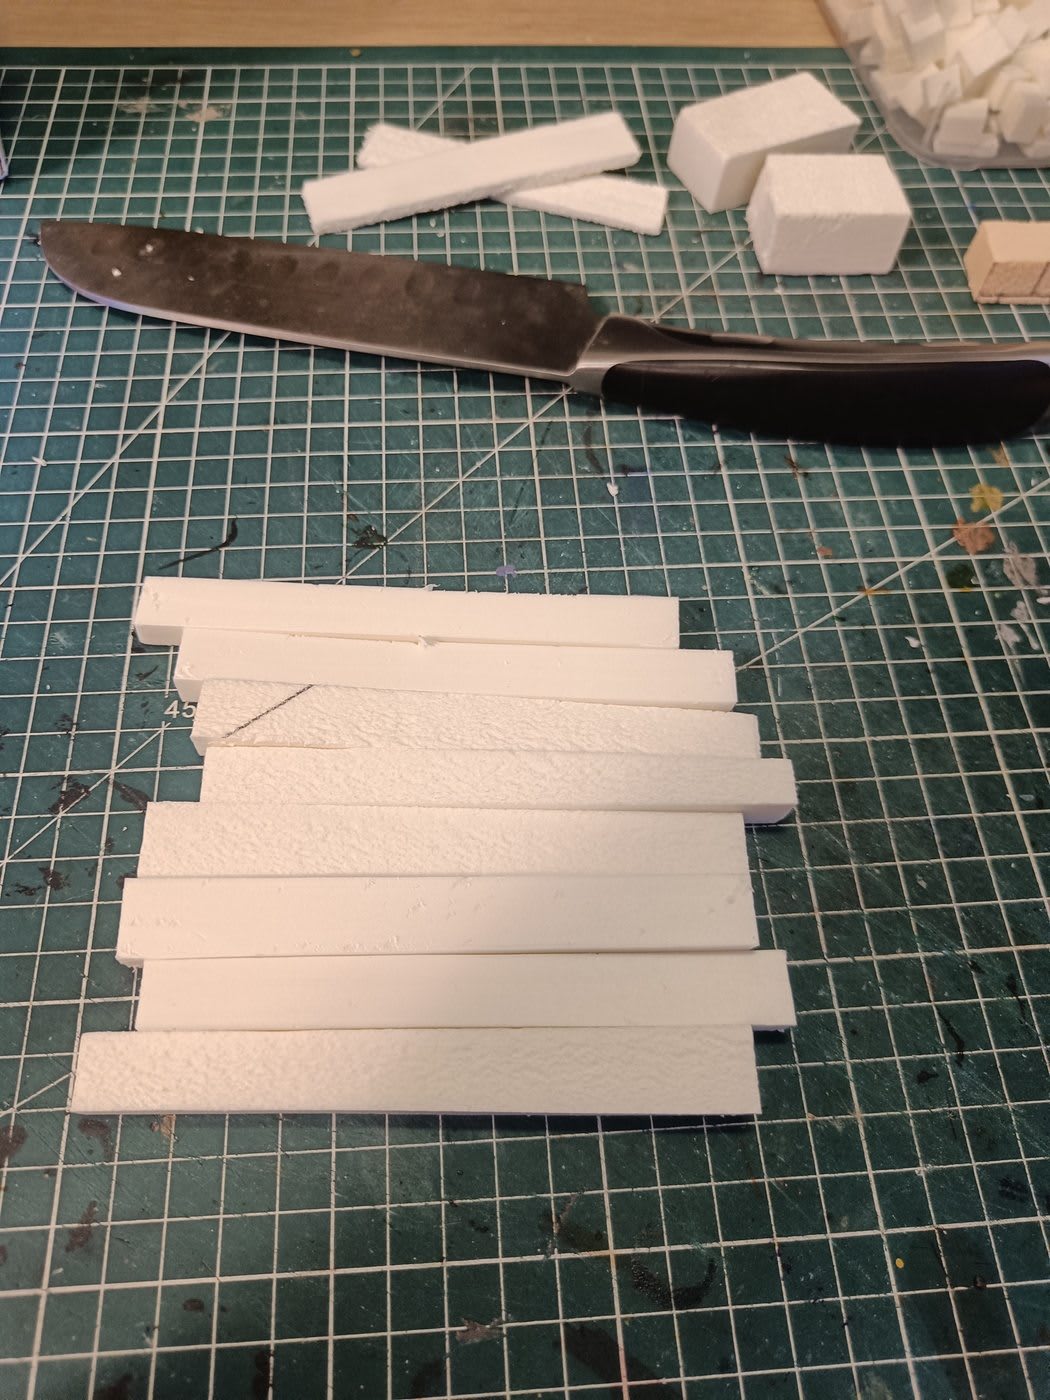
This led to my final workflow:
- Craft knife: slice the big block into thin strips right away, at the target brick height. No need to cut in half then in half again. Multiple light passes.
- Kitchen knife: cut those thin strips into individual bricks. At this thickness, the cuts come out clean every time.
Some of the thin scraps already had a wood texture from a previous project. I wasn’t sure if that texture would interfere with the brick look. Since these bricks will mostly cover flat wall surfaces (no depth needed), it might actually be fine. Something to evaluate later.
Square vs. Rectangular
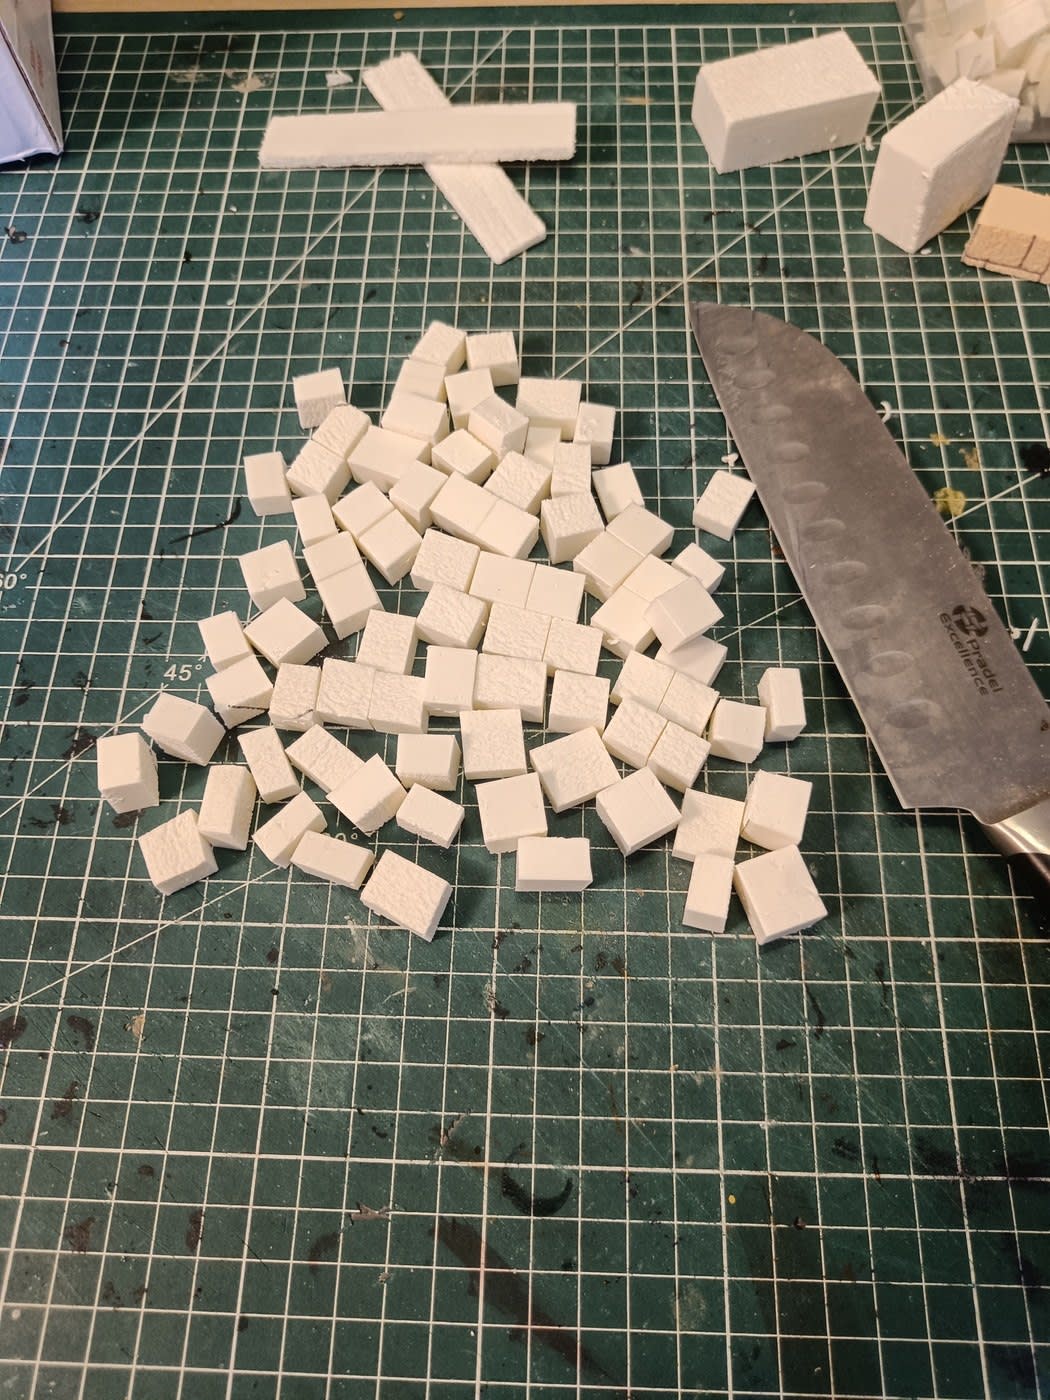
First observation: the bricks I was producing were coming out pretty square. More rectangular shapes would look more realistic.
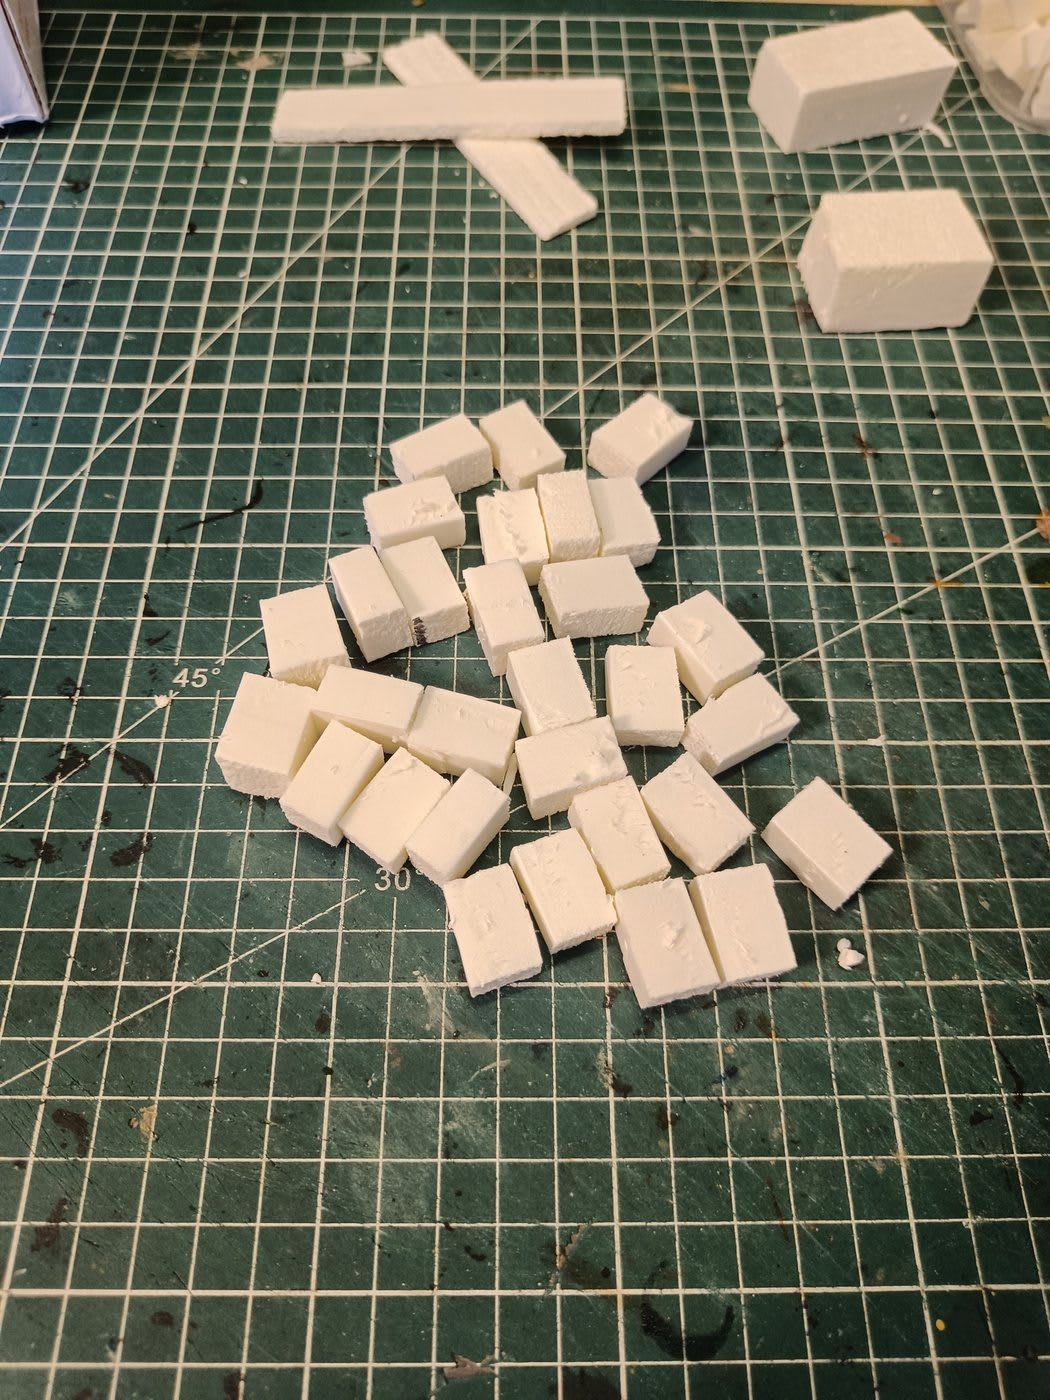
Simple fix: skip the second cut that was making them square. One cut in half instead of two gives a more rectangular brick. Much better looking.
Spacing Lesson
One thing I realized: the spacing between cutter passes directly determines the brick height. I initially cut strips too wide and had to re-split them, which is annoying. Better to get the spacing right from the start and cut the initial block into three strips rather than two that need further splitting.
End Result
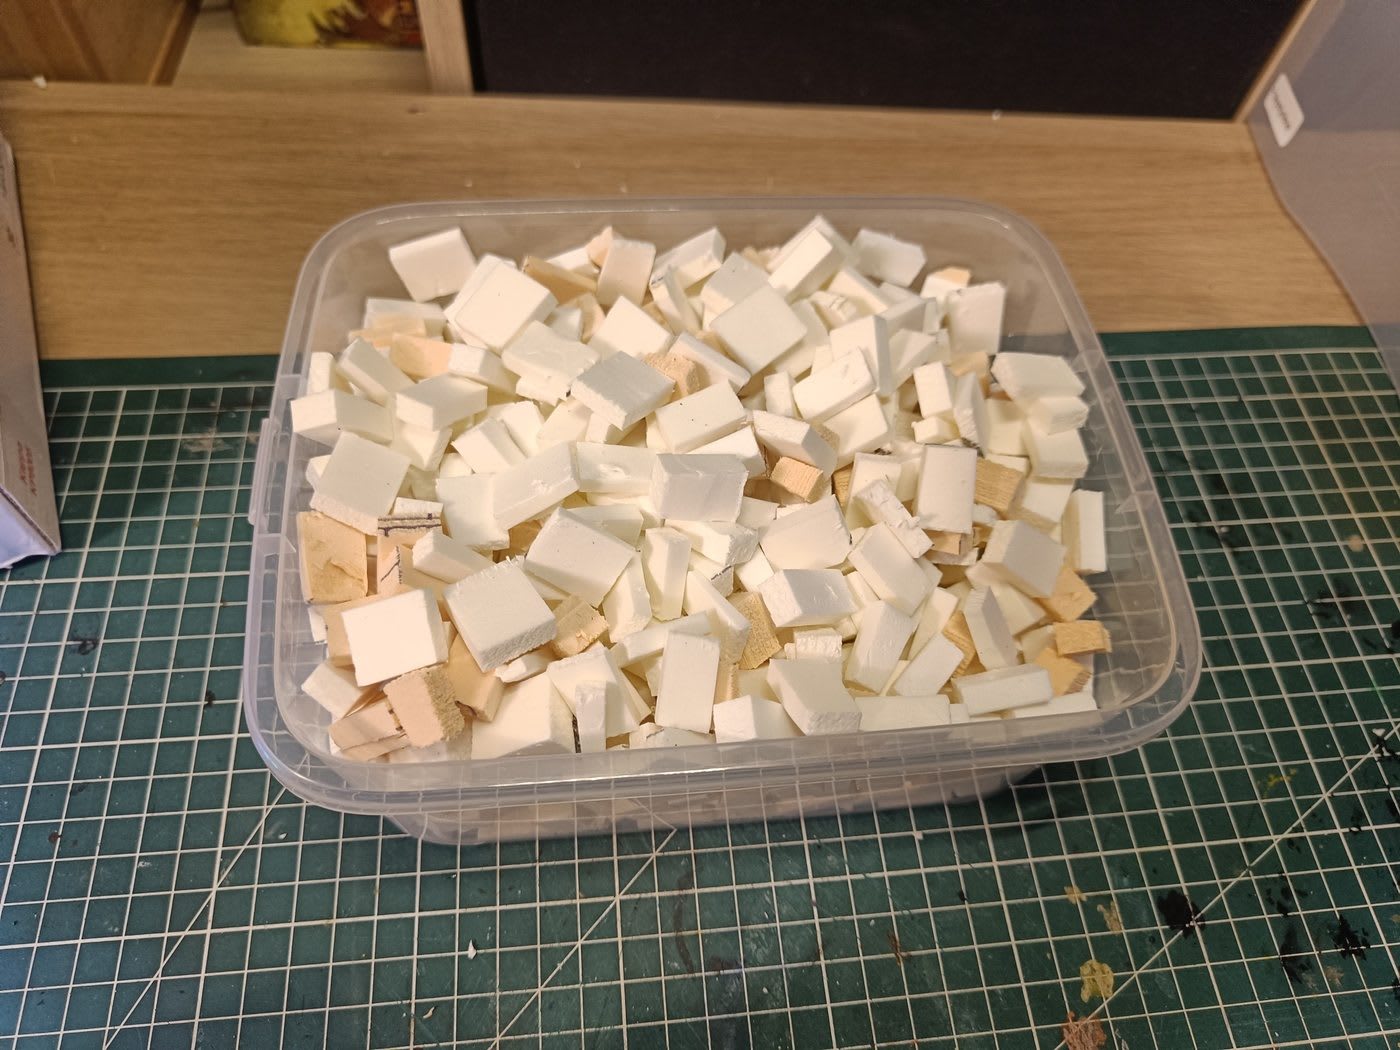
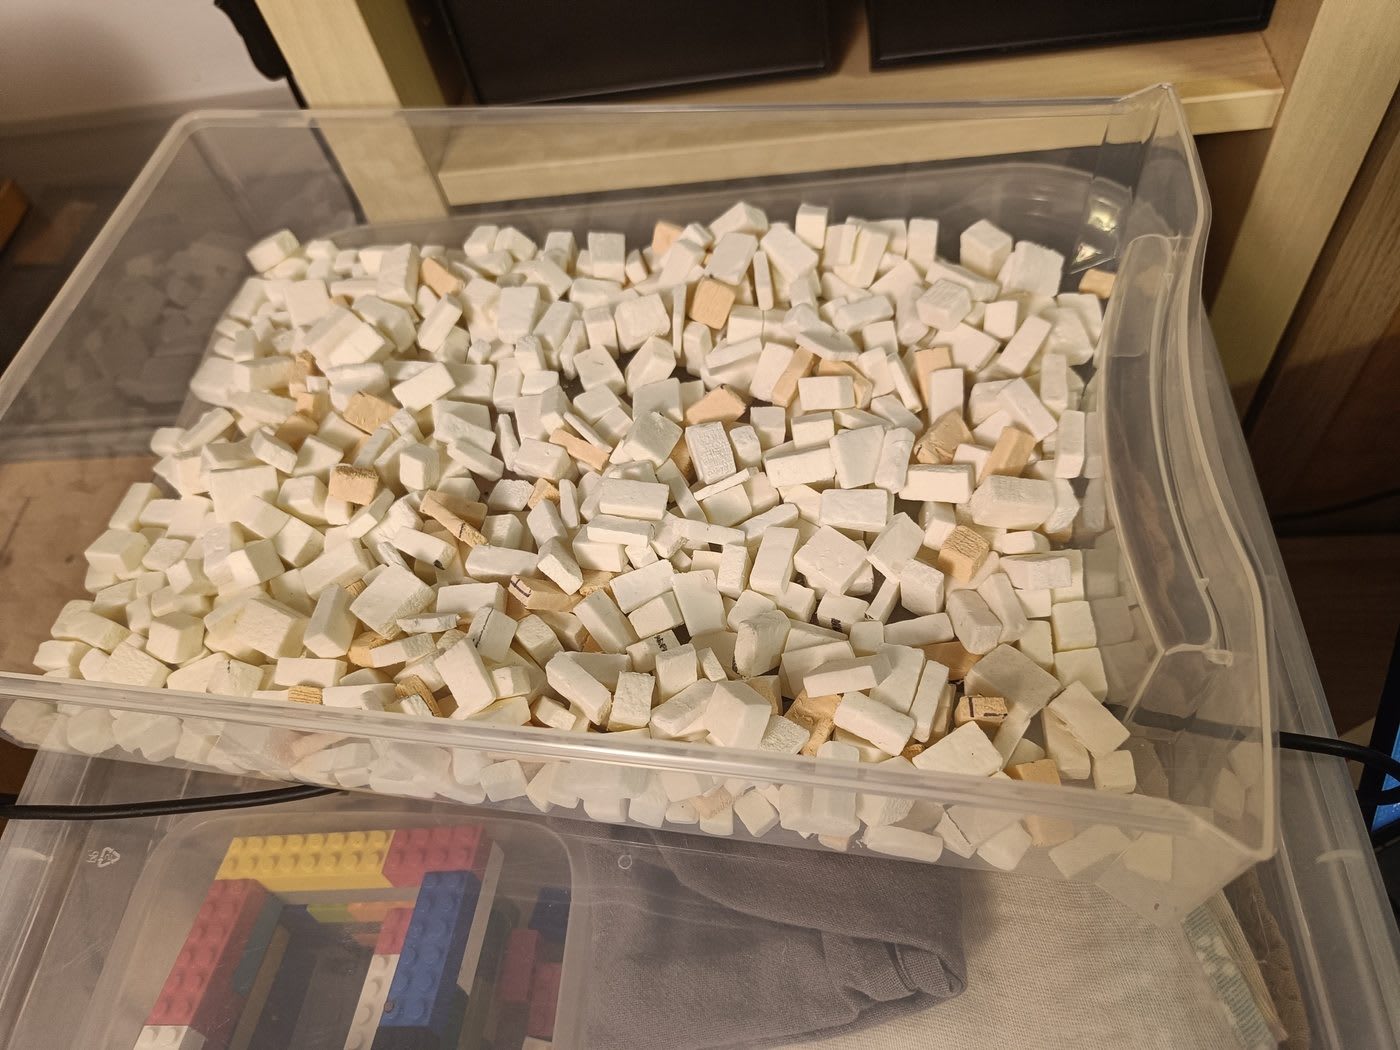
Session done. The final collection is a big box of bricks in all sorts of sizes, no particular standard. Given that the goal is covering ruined city walls, this variety might actually look great. The risk is that gluing such inconsistent sizes could be tedious. We’ll see.
Overall I see this session more as technique practice than final production. The workflow is now solid for next time.
Tumbling
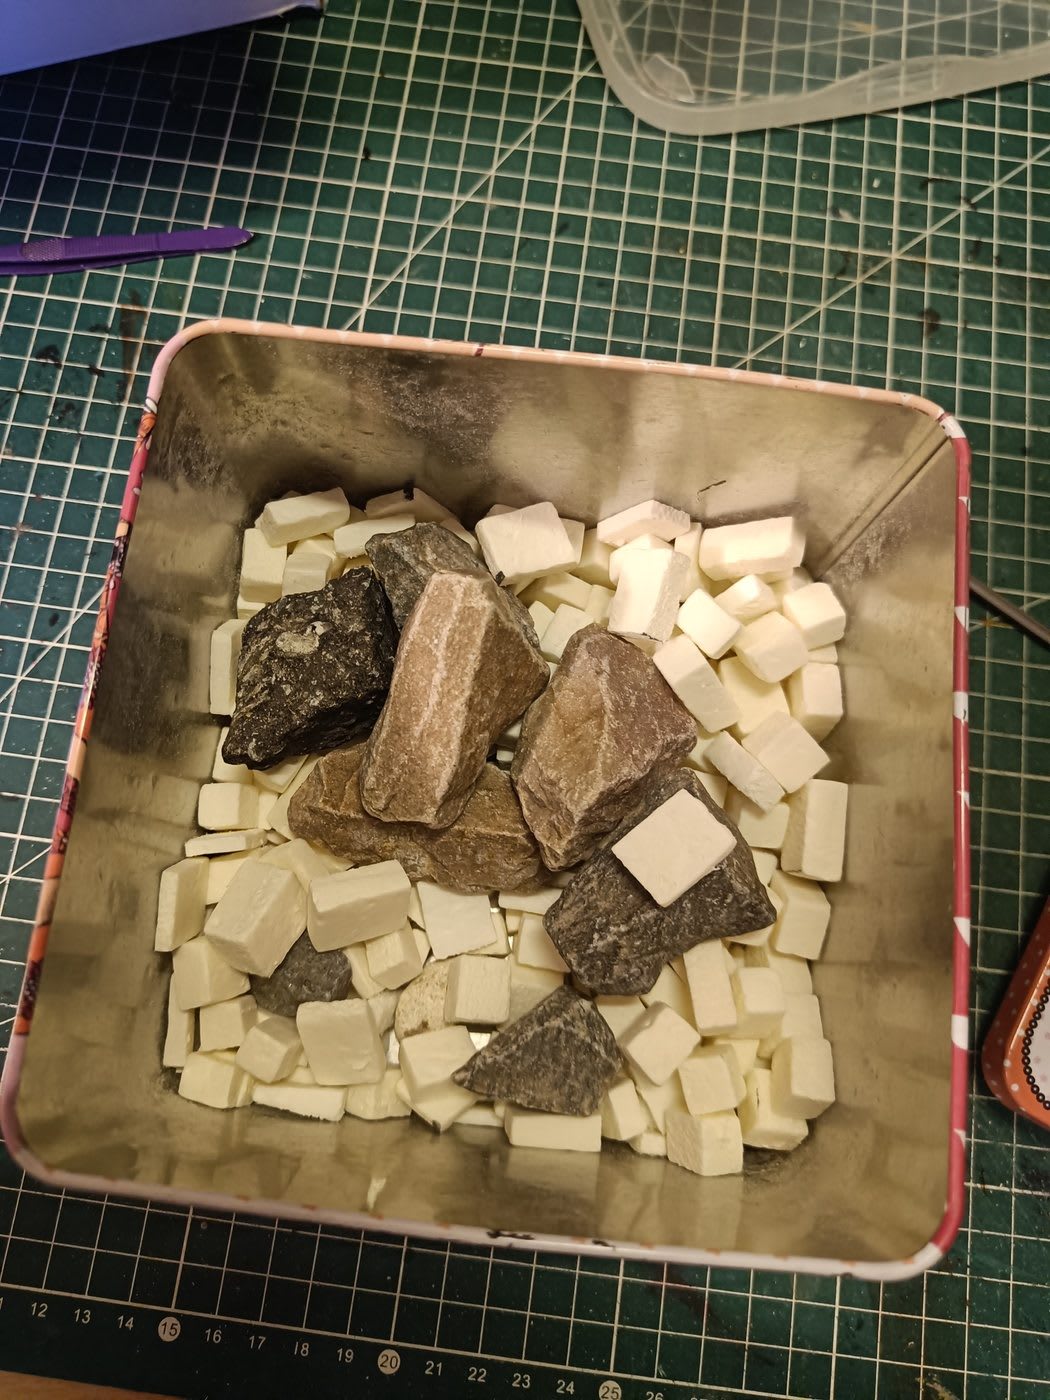
Later in the evening, I put all the bricks in a metal tin with some large rocks and shook it around to rough up the edges. This tumbling technique adds small chips and wear marks that make the bricks look less perfectly cut. Should help with the ruined city aesthetic.
Demolding Yesterday’s Silicone Mold
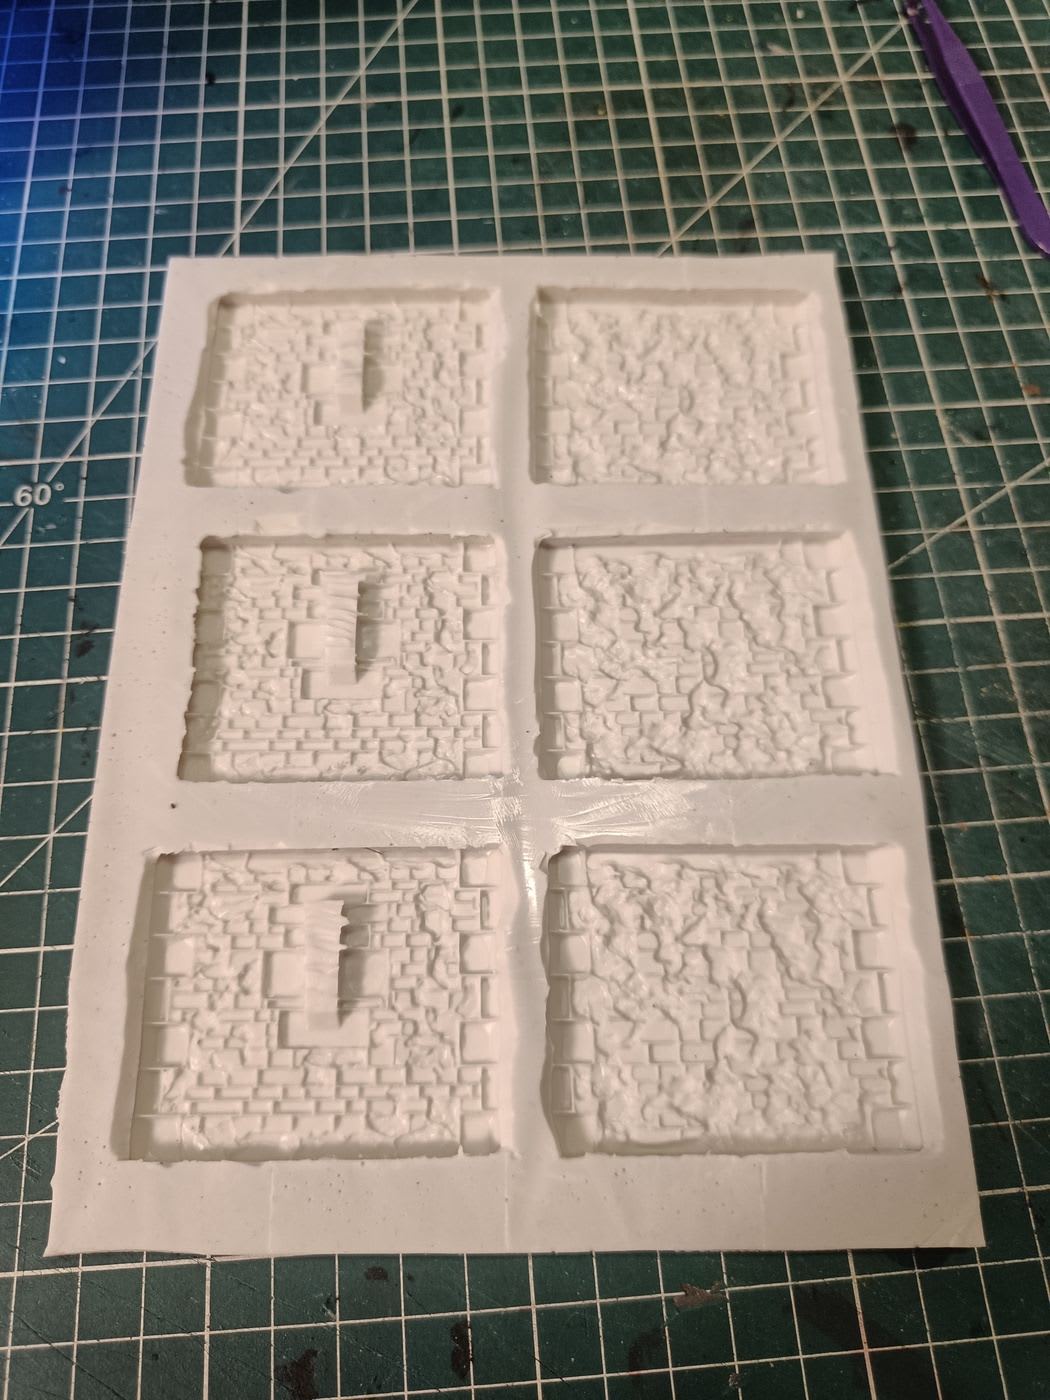
The silicone mold I poured yesterday in the Lego jig was ready to come out. I wanted to keep the Lego frame intact since it took a while to build and I’ll reuse it for more molds of the same size.
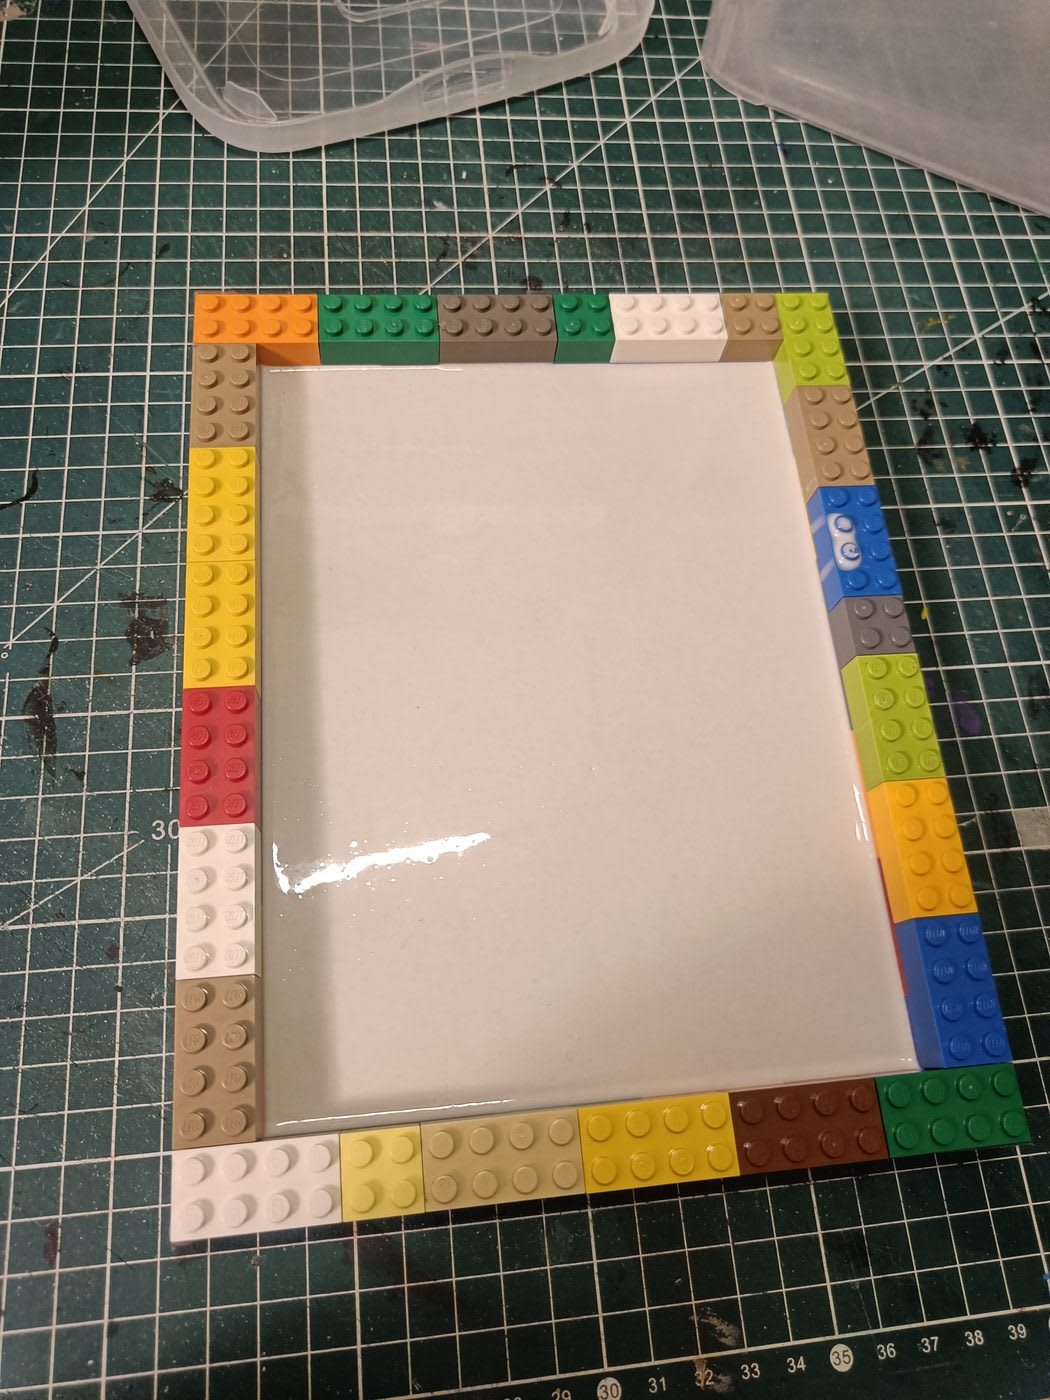
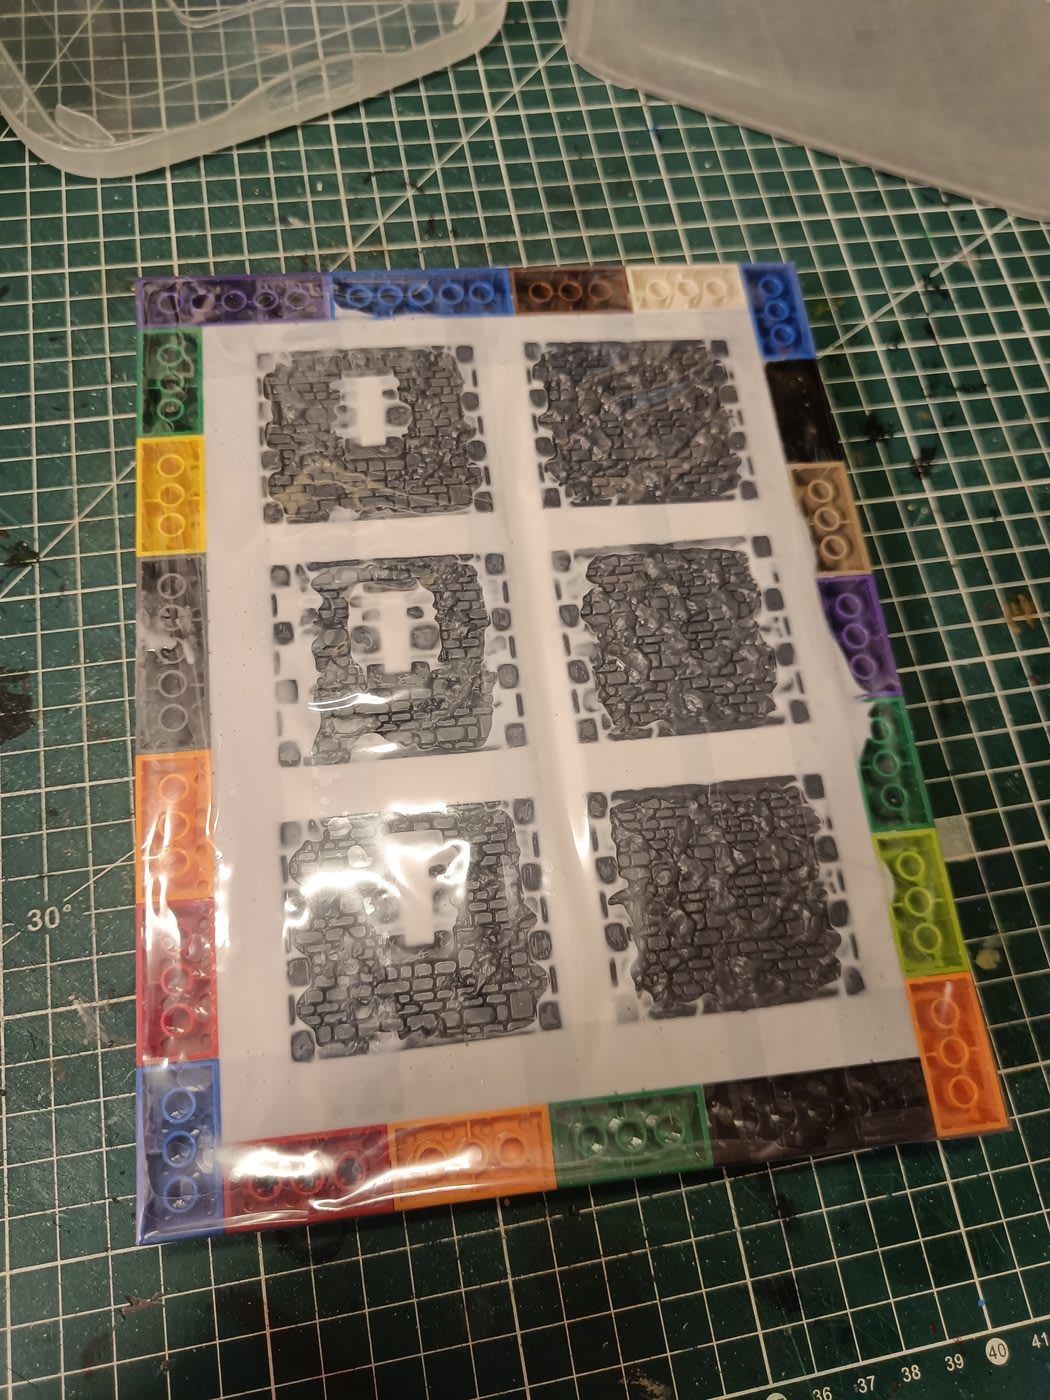
I swapped in a fresh blade on the craft knife and carefully cut only the tape on the bottom to slide the silicone block out without disassembling the Lego. It worked, though the silicone was thick enough that I had to push the blade in quite deep.
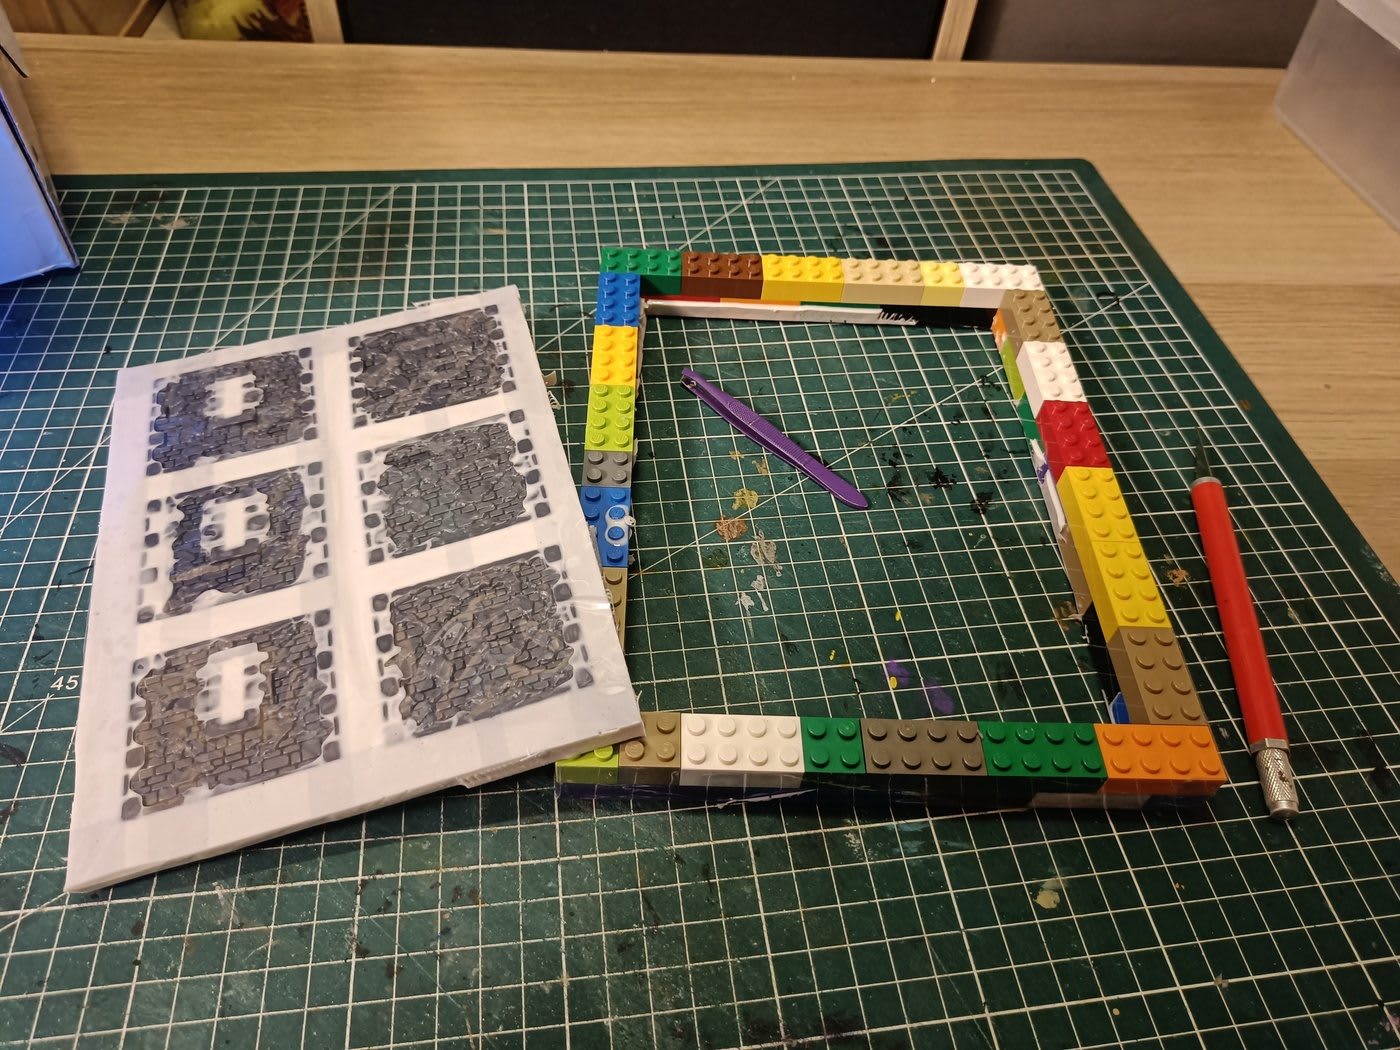
The tape stuck to the bottom of the silicone was a pain to remove. The spots where strips overlapped at the corners were especially stubborn. I was a bit worried about tearing the silicone while pulling, but it held up well. Slow, steady pulling did the trick.
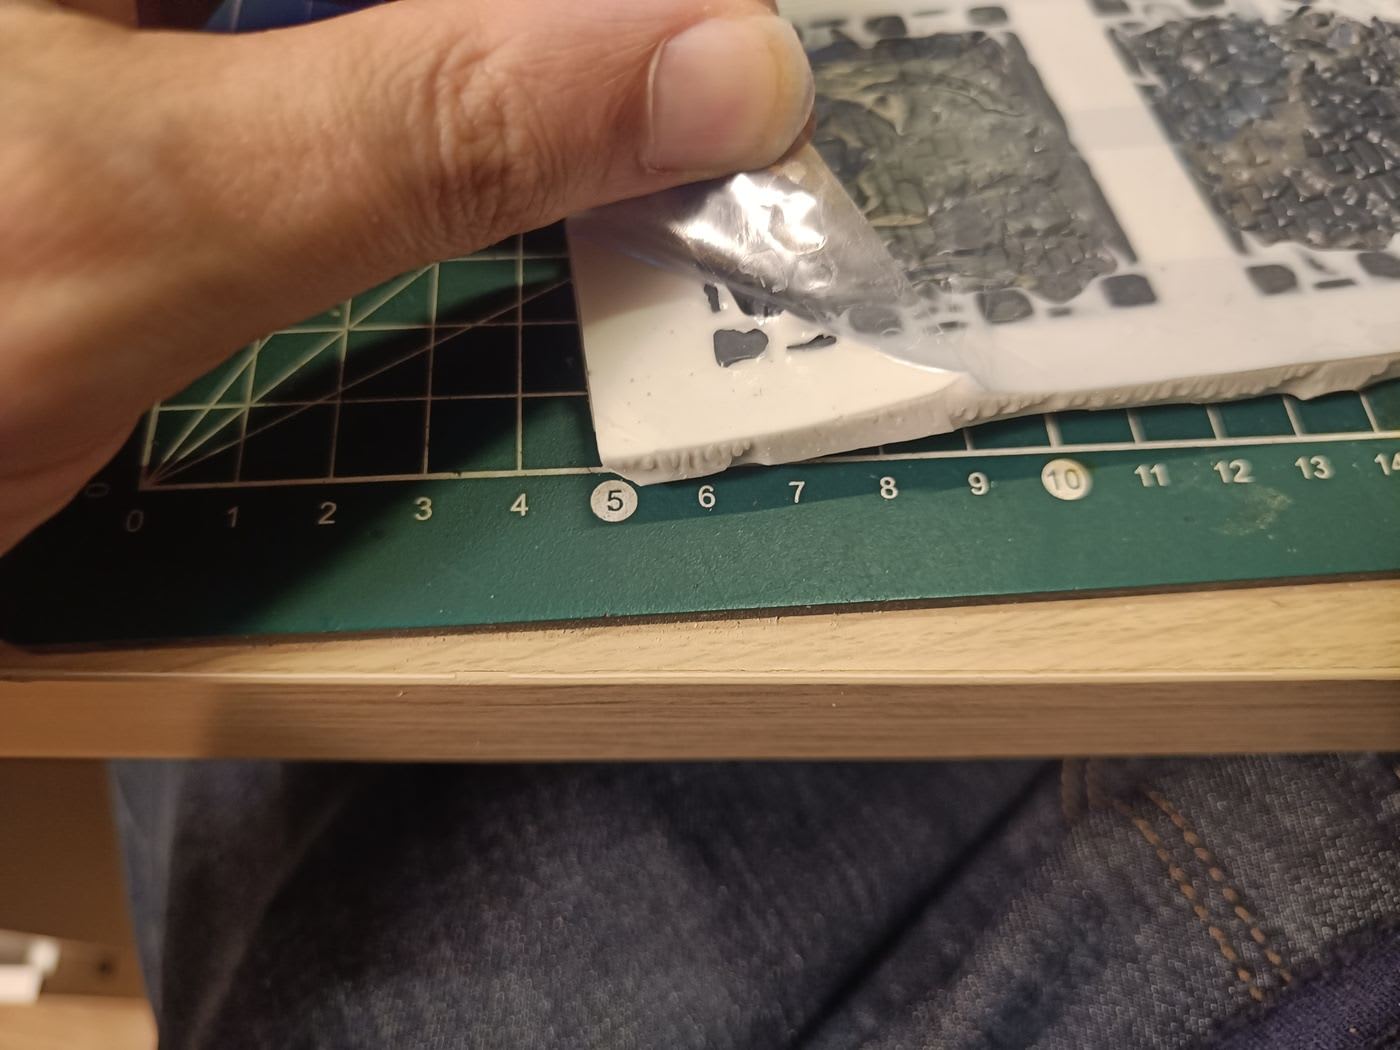
Good news: the Dungeon & Lasers pieces came out of the mold with zero silicone stuck on them. Clean impressions all around, which means the mold was poured well.
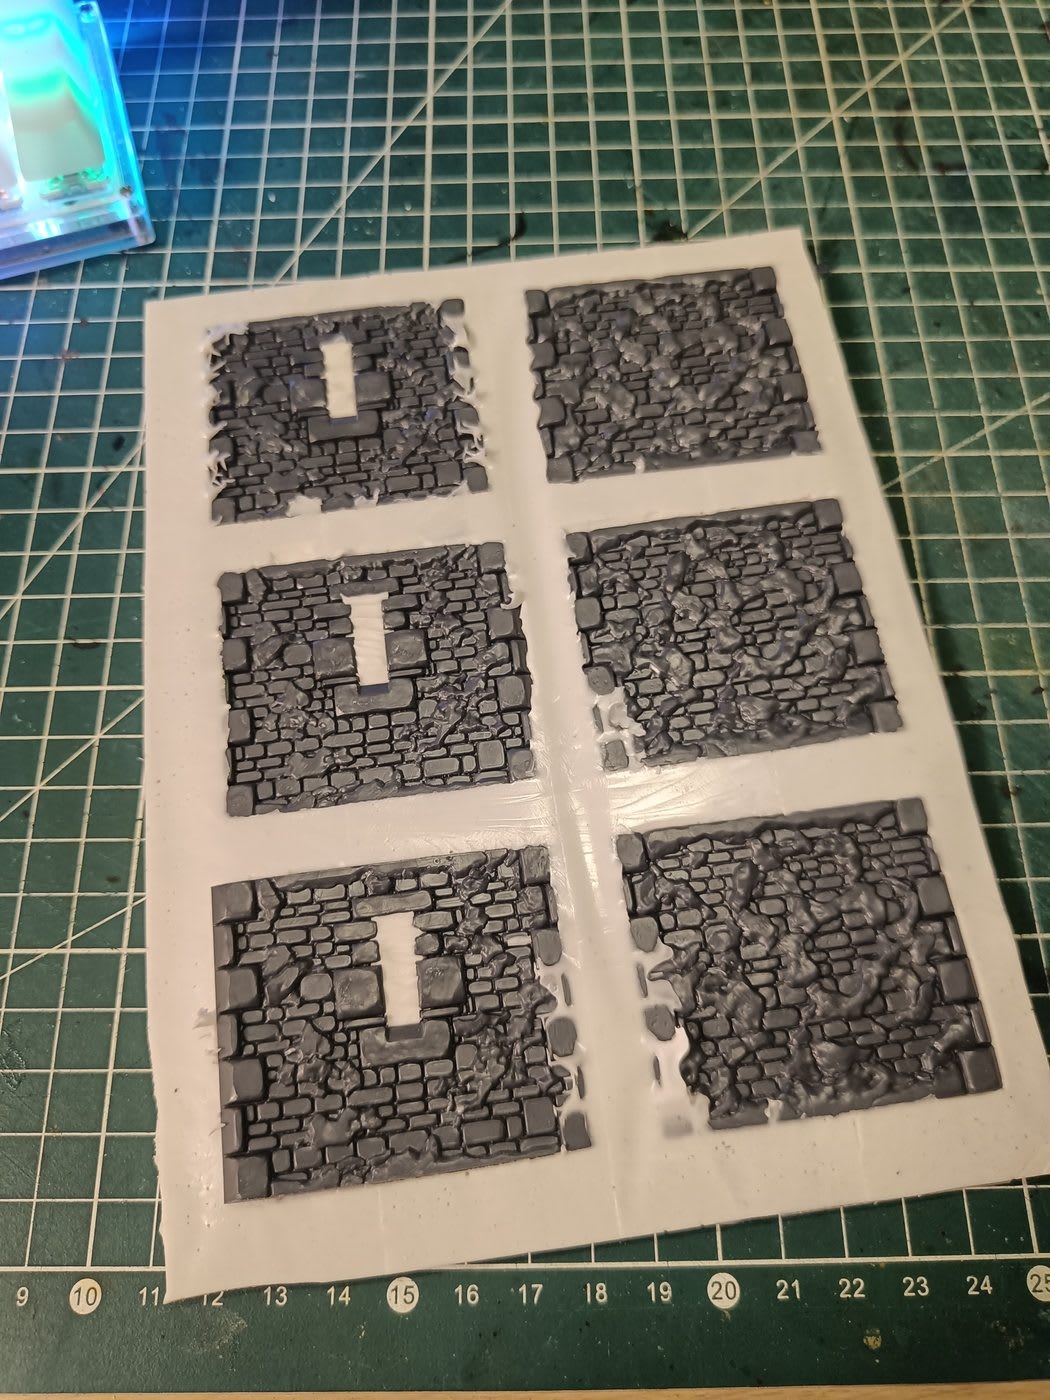
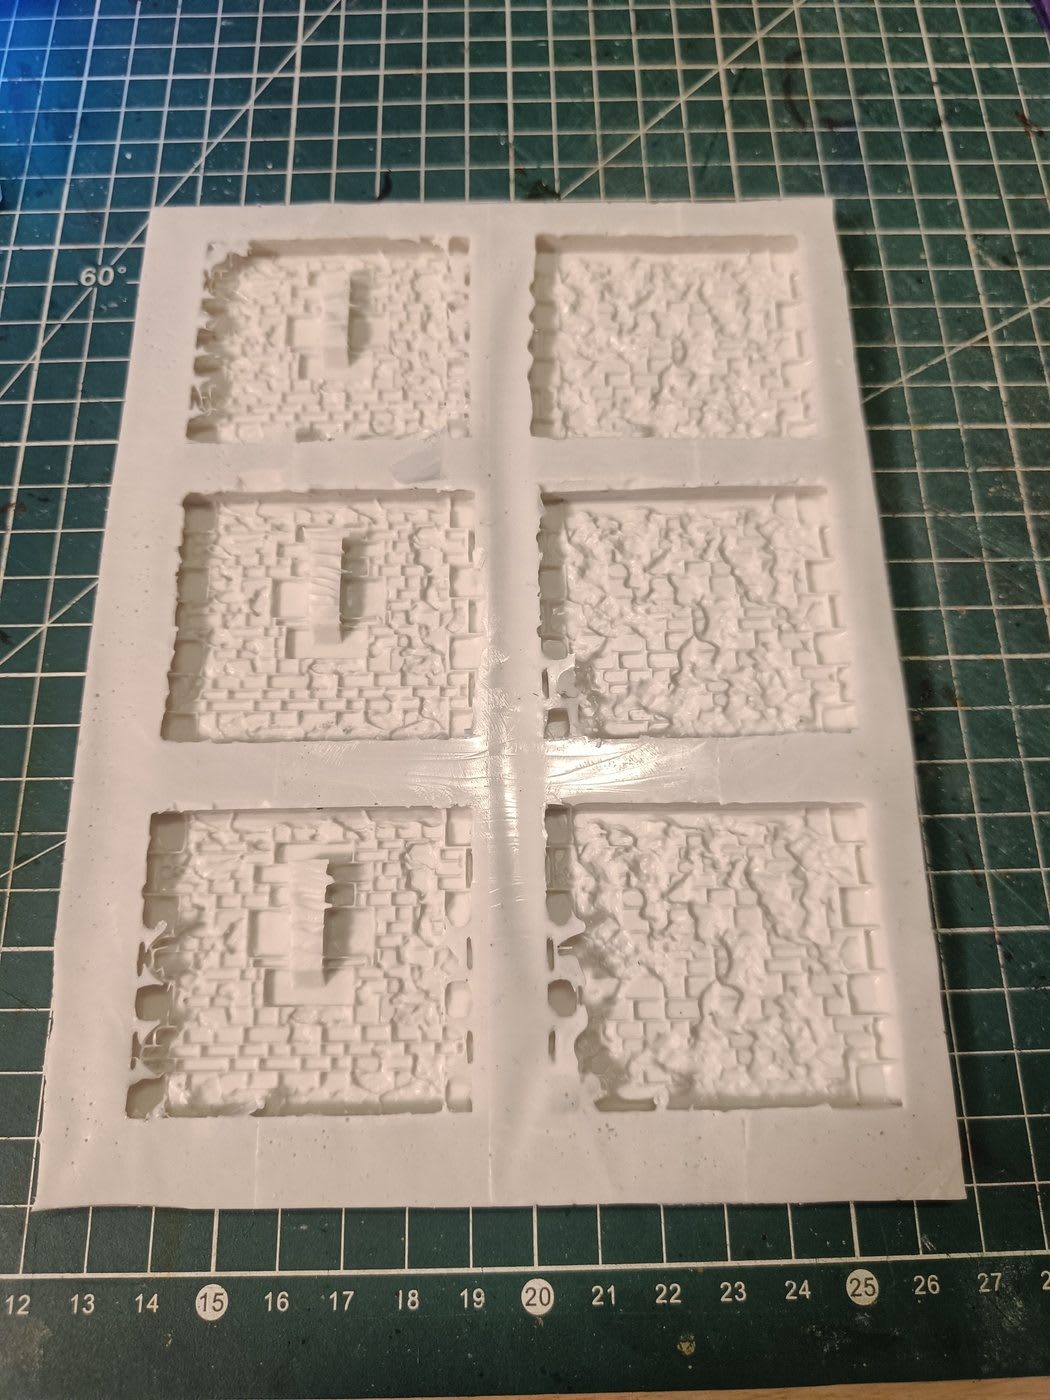
I cleaned up the edges of the mold so future resin casts will sit flat. The mold is now ready. I thought about doing a test resin pour tonight to validate it, but decided to leave that for another day. The new Moldstar 15 Slow silicone should arrive soon for the remaining two molds (long walls and doors).
End of Session
Called it a night around 11:30pm. No more hands-on crafting, just watching some crafting videos for inspiration before bed.