Misc 2024
For once, this post will be a mix of many things. Lots of photos I took as I went along crafting, without there really being an underlying theme above it all. But I wanted to share a little bit of the state of my workshop throughout the different productions of 2024.
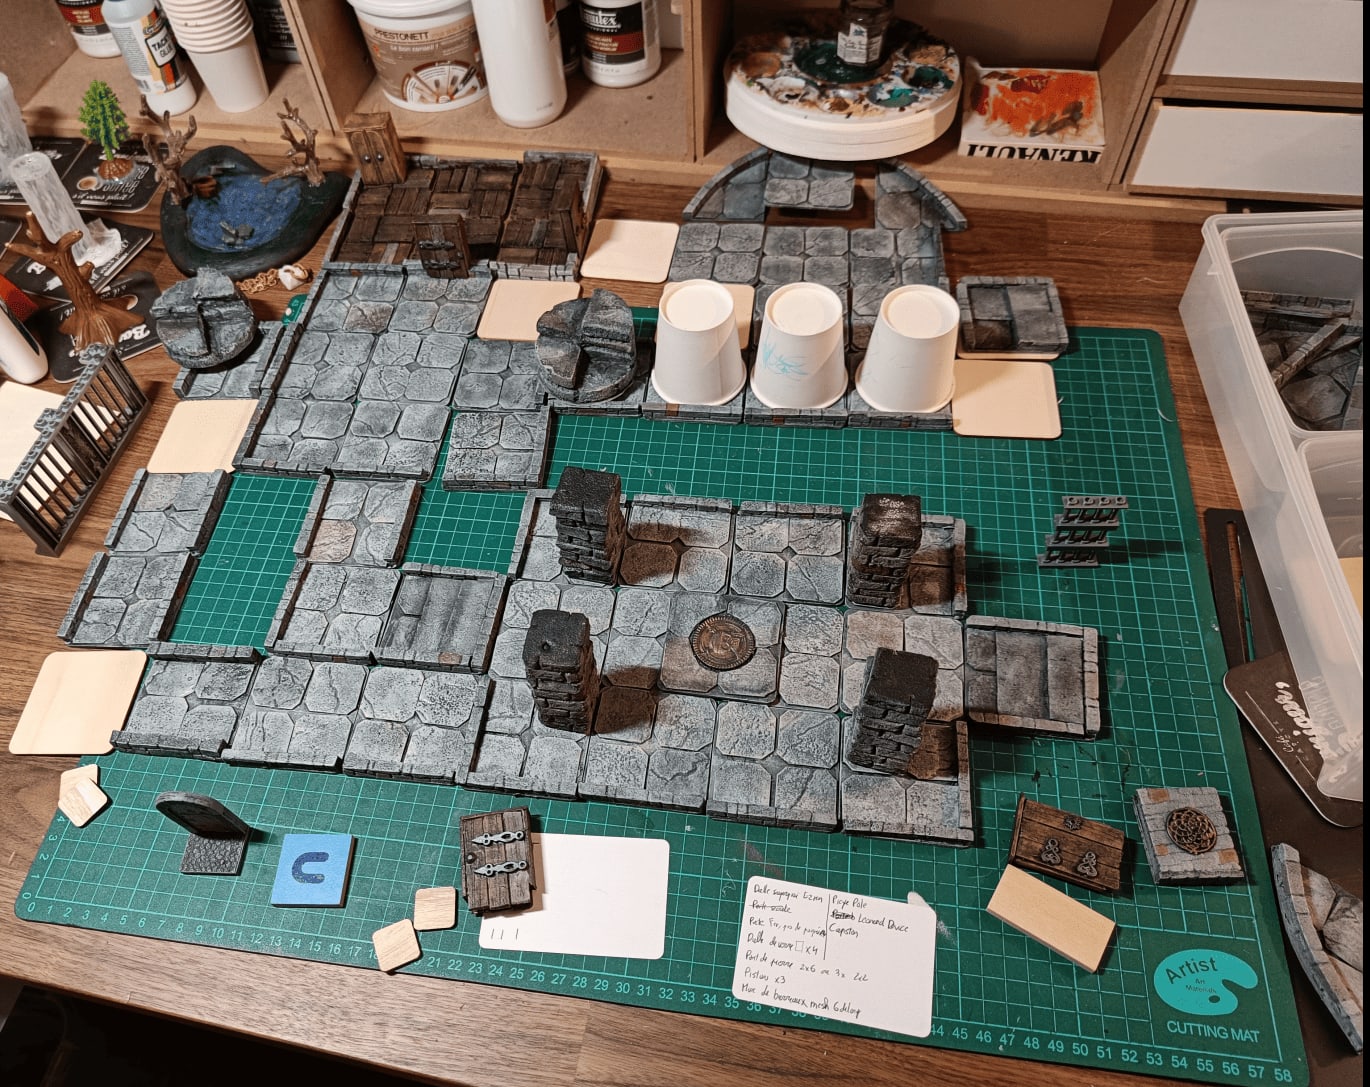

Here is a test run of a dungeon I created for my players to wrap up a campaign we had in Magnimar. It's heavily inspired by and very slightly adapted from Jelinda's Gauntlet, which was made by Wyloch. It's a dungeon that plays with time travel mechanics.
The players go through the dungeon twice: once in the present and then once in the past, where the events they witnessed previously now impact what they're doing in that moment. I wanted to test if I had enough tiles to pull it off. I had almost everything, but still needed to craft a few more pieces.
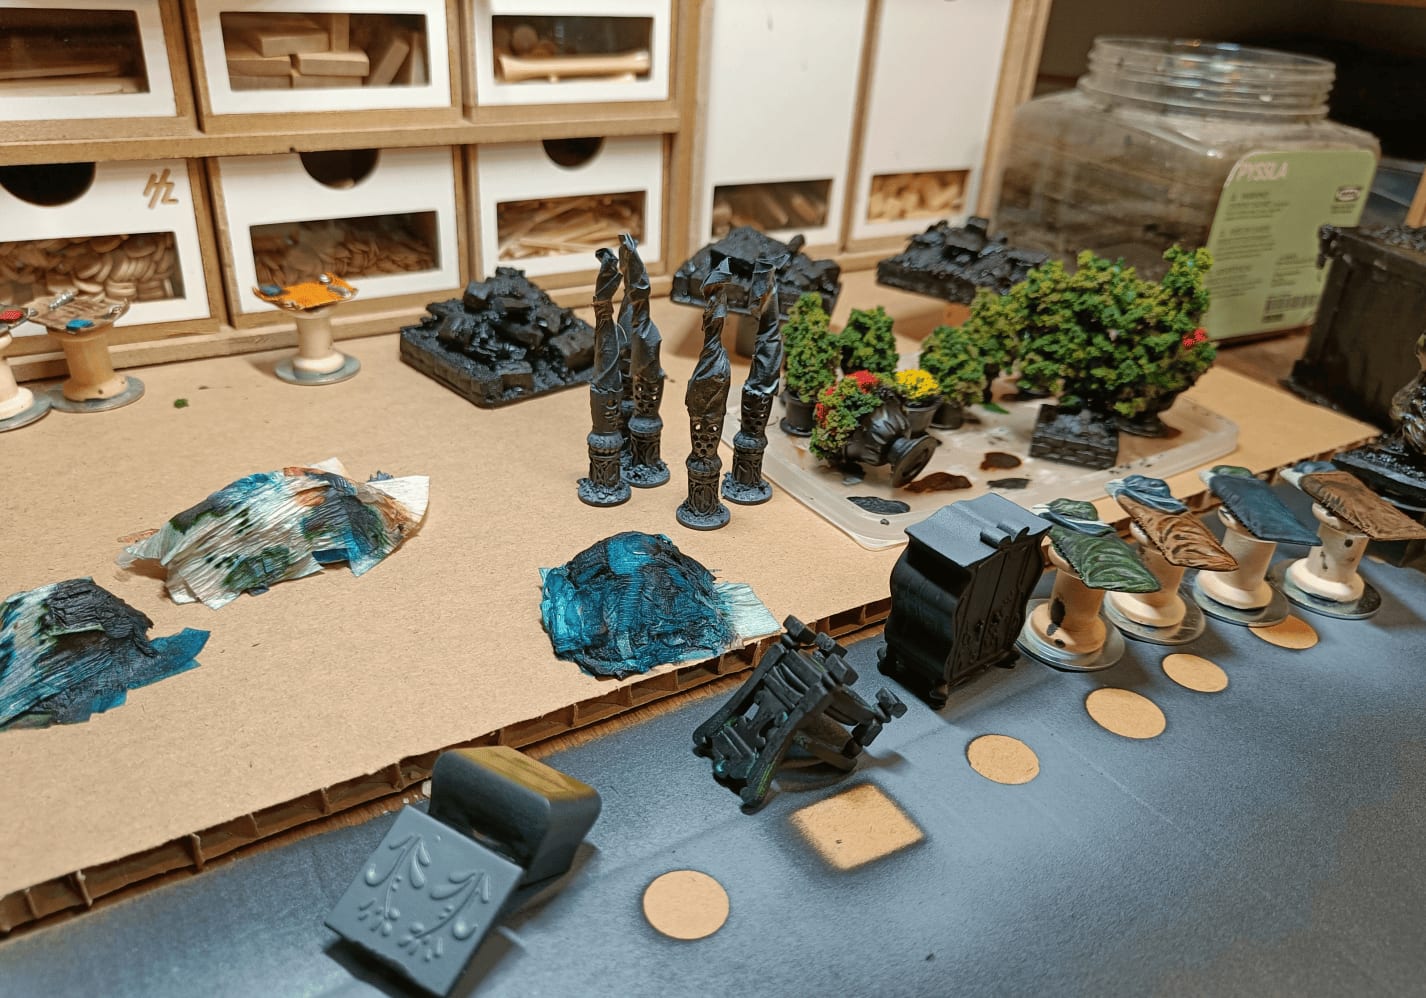
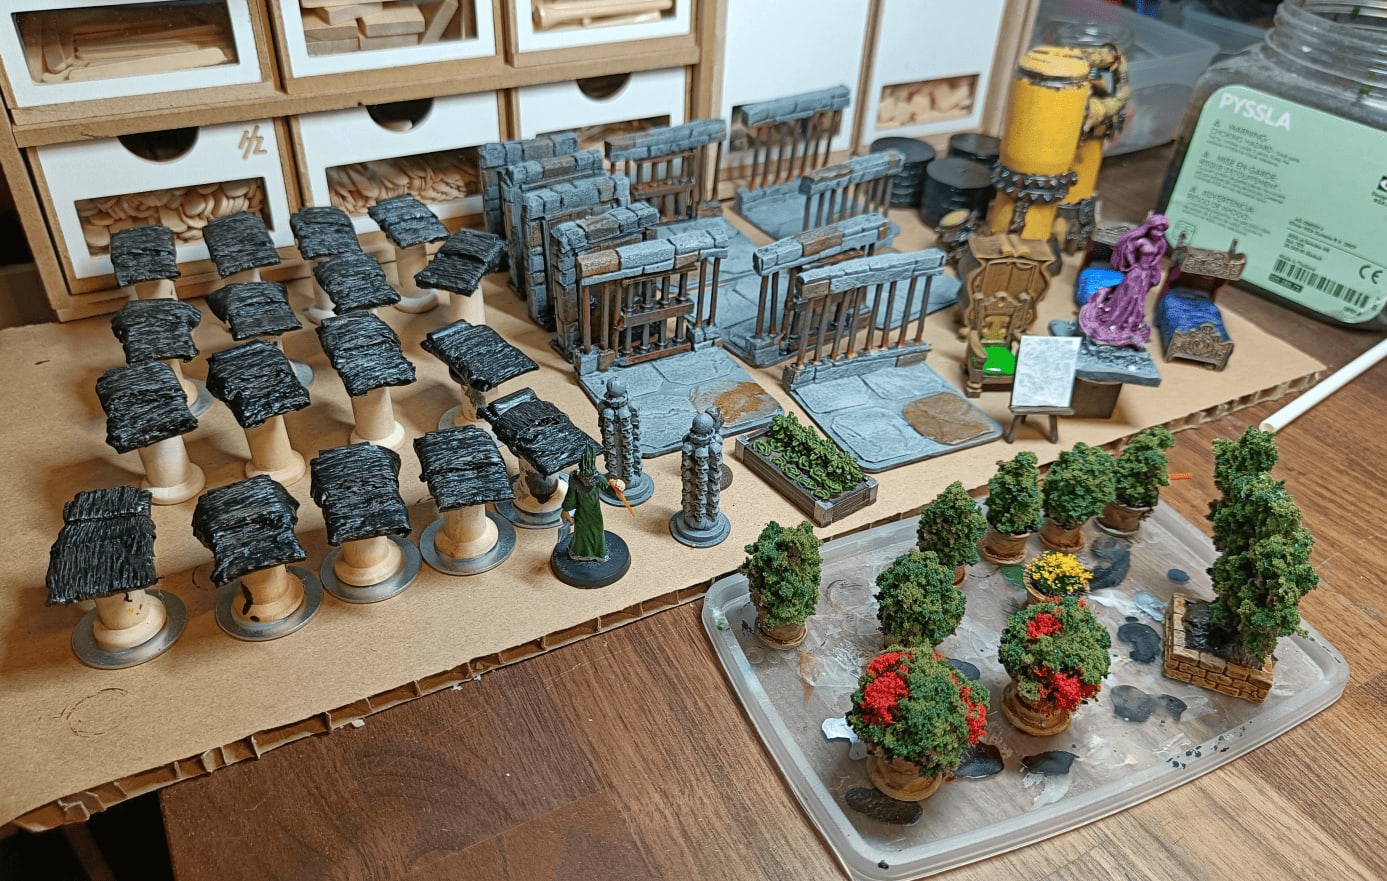
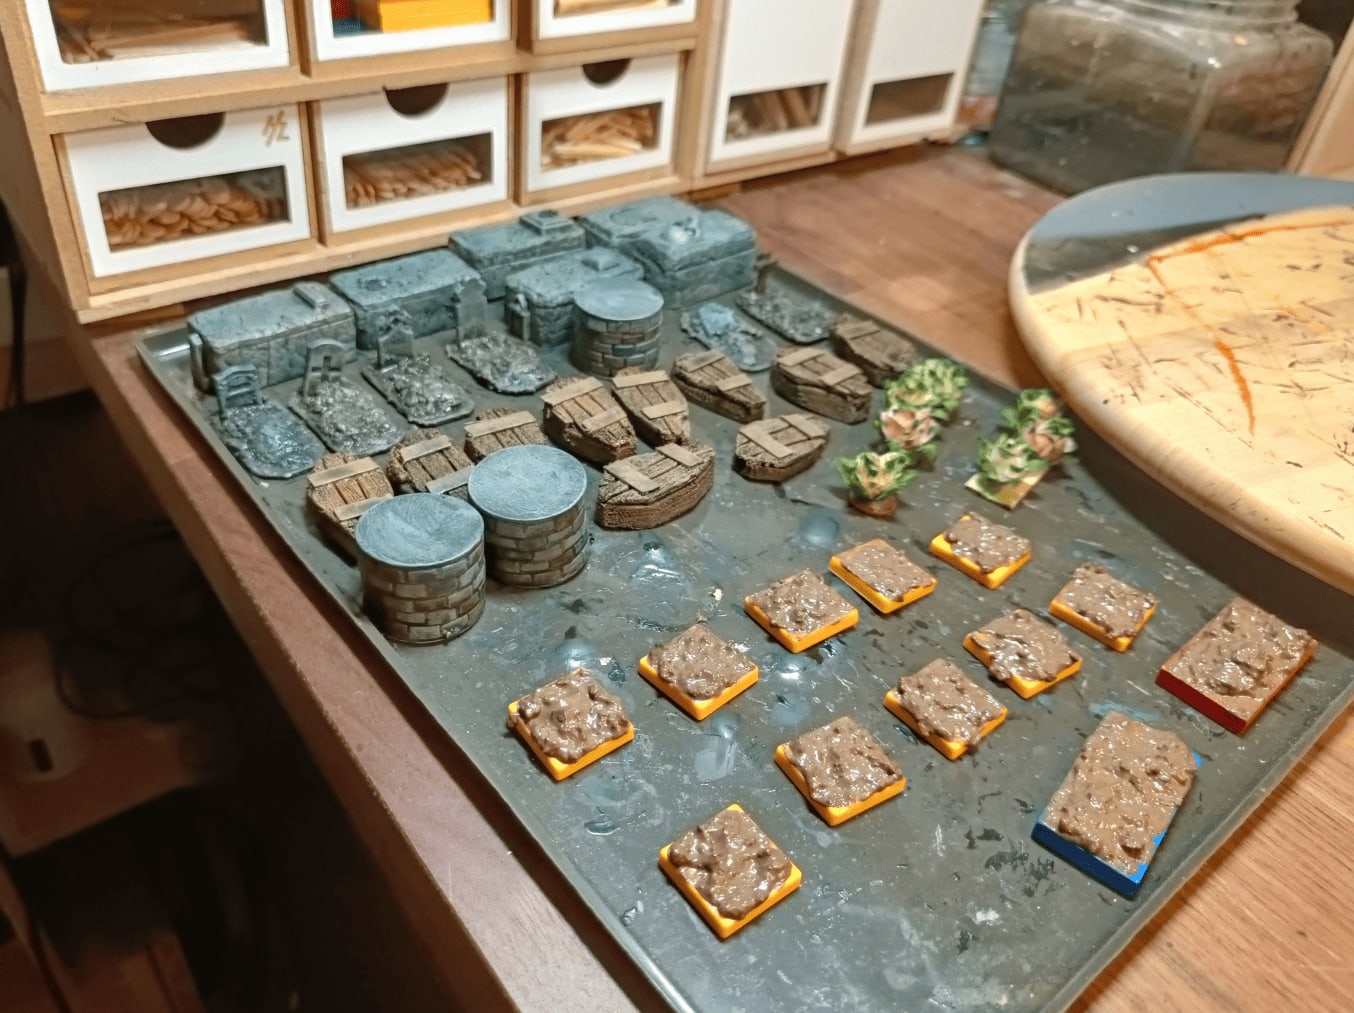
This time it's a set of tiles and scenery pieces that I made for a different campaign, the one where they're in the Briarstone Asylum. I painted tons of stuff from Mantic Crates. My workbench was packed with a mix of things I was actively building and pieces in the painting stage.
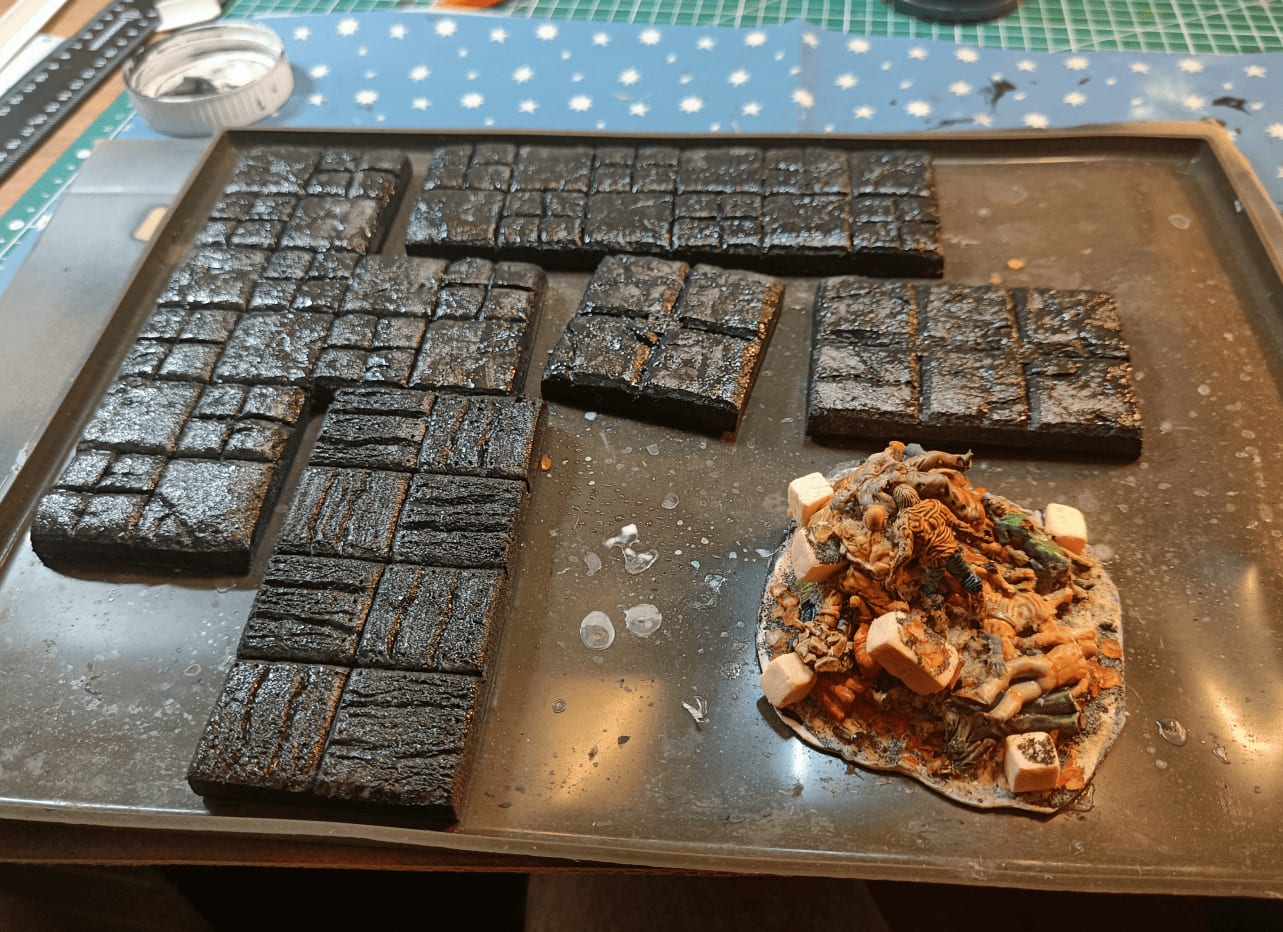
Once again, a very eclectic side here. I've got tiles I made for the different corridors of the asylum, and then there's something the players discover in one of the very first rooms: a pile of corpses they have to climb over to get out of the basement. They only encounter it once, but I figured whether for a role-playing game session or for wargames, a pile of corpses is something that should come in handy pretty often.
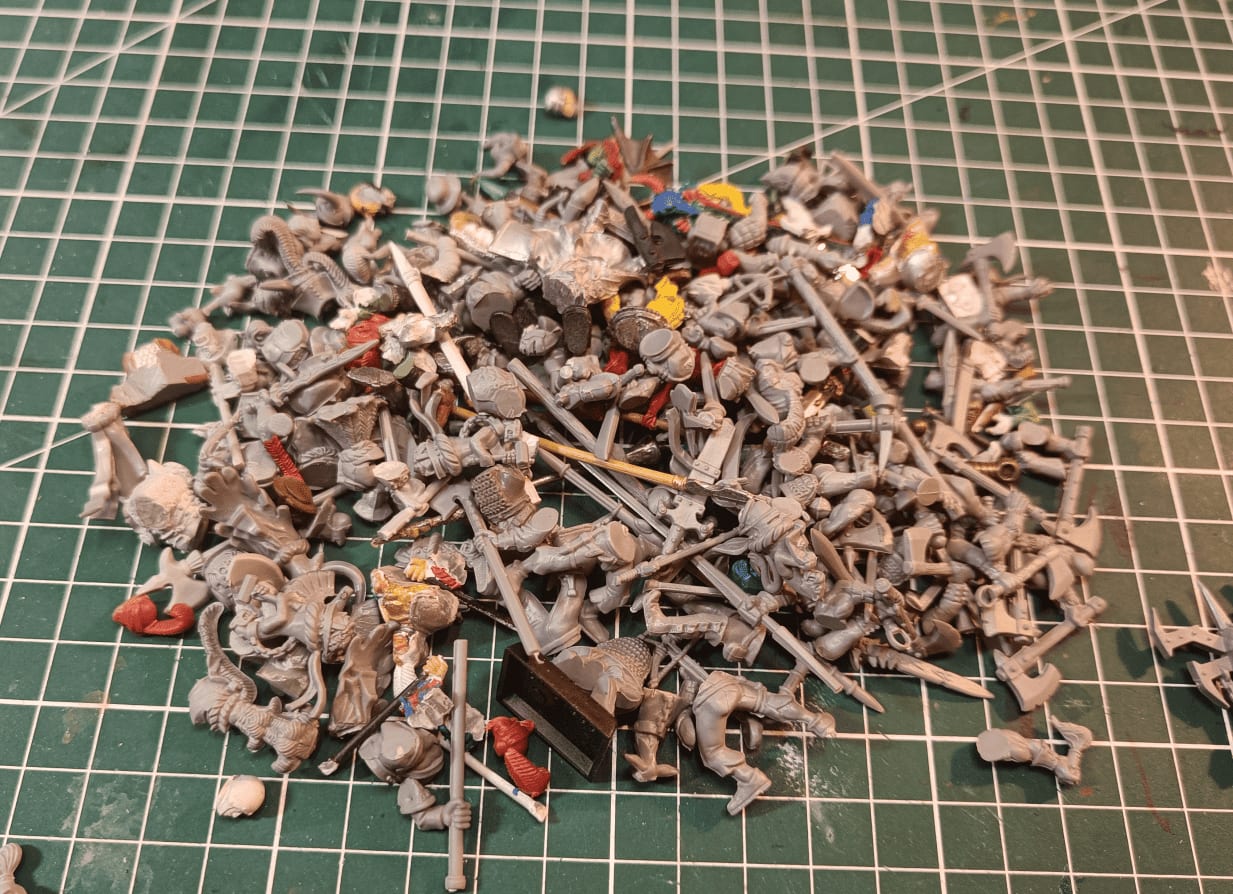
I also spent a little bit of time organizing my Bitsbox. It was full of plastic pieces that I had salvaged from Warhammer miniatures that I had when I was a teenager. At some point in my early twenties, I started trying to paint them again but I wanted to only do conversions, meaning cutting an arm from one place to glue it to another, etc. So I had dismantled a bunch of miniatures and that's pretty much everything I had salvaged. But since it was a mess, I spent some time sorting it into a box with a compartment for heads, a compartment for legs, a compartment for torsos, etc.
Today I realized that back then, I really enjoyed the creative aspect of converting miniatures using parts from different models. It was something I loved doing.
Nowadays though, I find it much easier to just get miniatures directly. I find plenty at garage sales, and the overall quality has improved so much. There are way more sellers than just Games Workshop now, and I can get really good miniatures for cheap. So I'm less motivated to build custom ones.
I don't really do those sessions anymore where I'd swap arms and parts between different miniatures to create something unique. But I know that feeling might come back someday, so I'm keeping all those extra bits just in case.
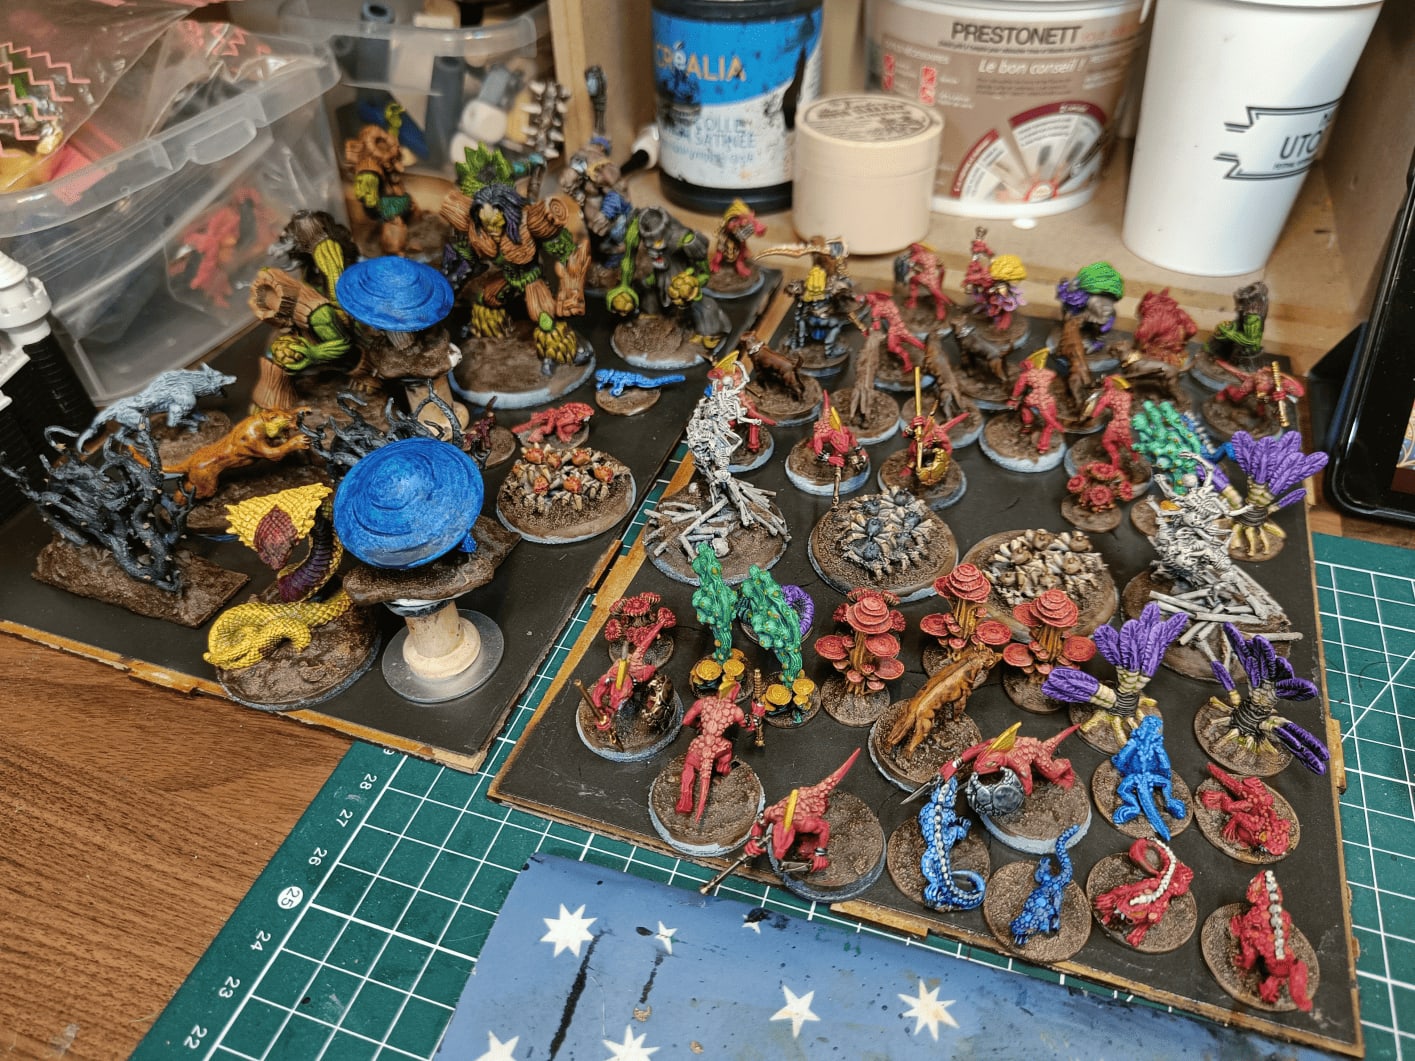
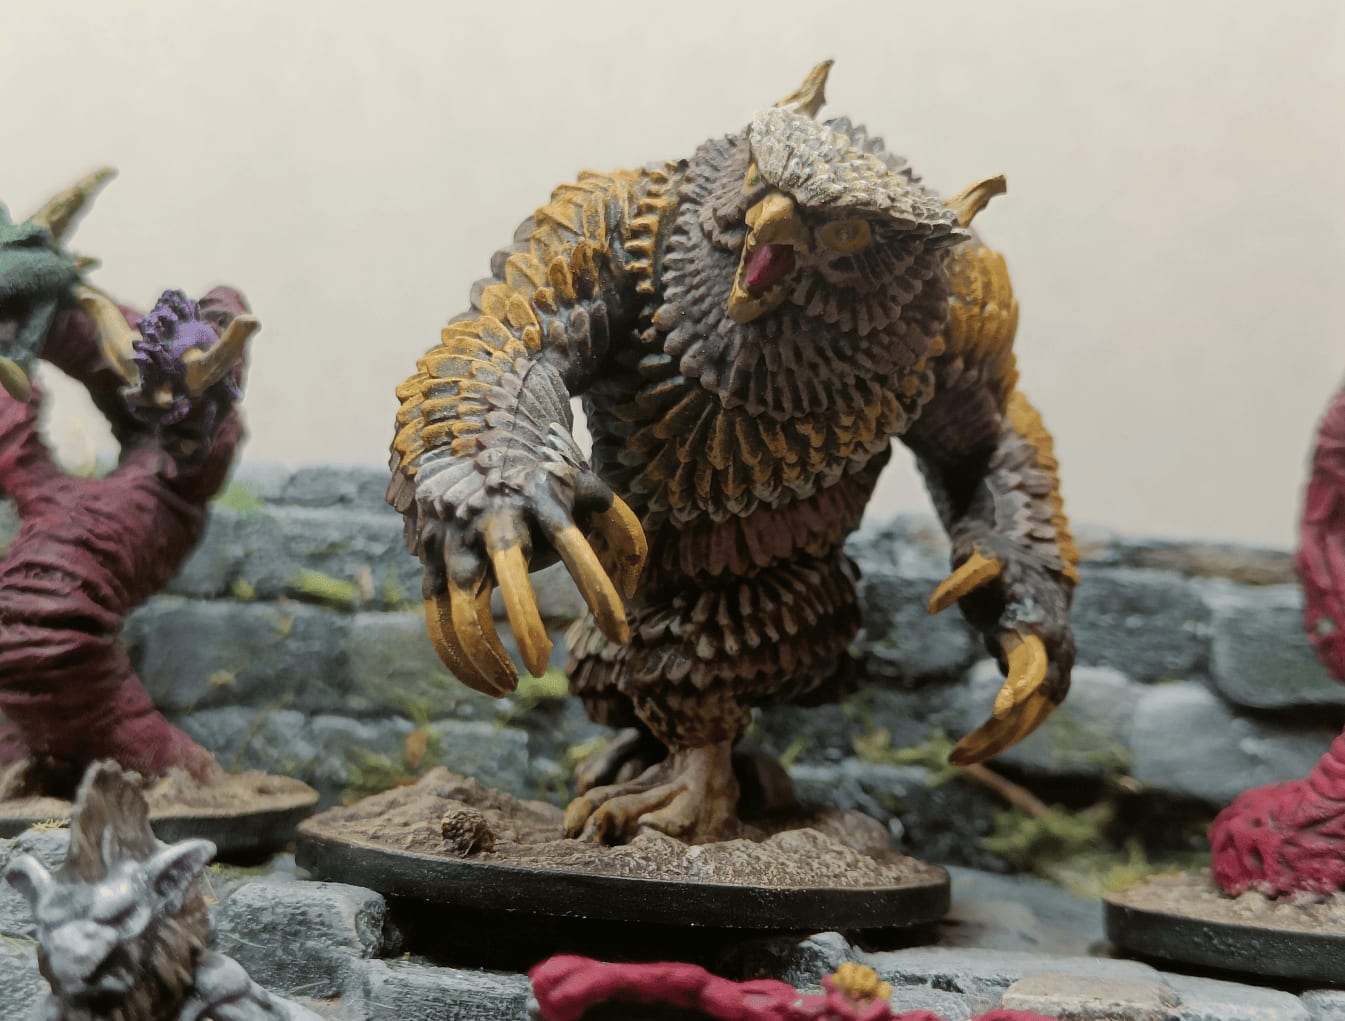
A lot of different minis. I actually just discovered speedpaints when I took this picture and it made me want to paint lots of things. So there are plastic Gormiti figurines, things from different publishers, old figurines I'm repainting. I tried everything basically. It became so easy to give a second life to anything through speedpaints that I just went to work on everything I had.
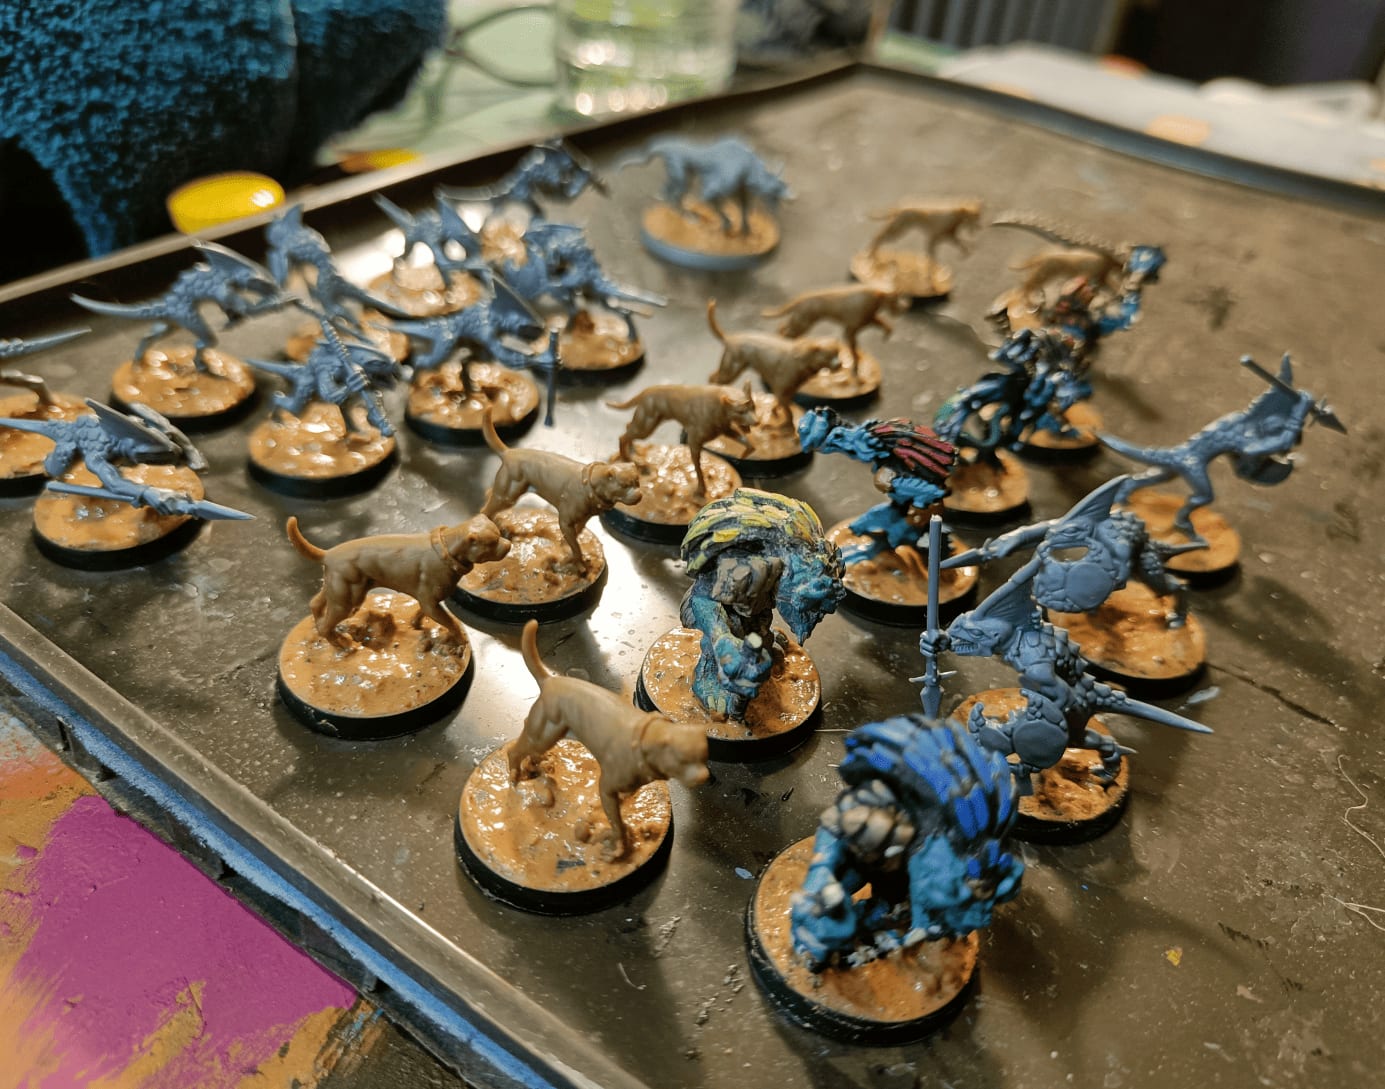
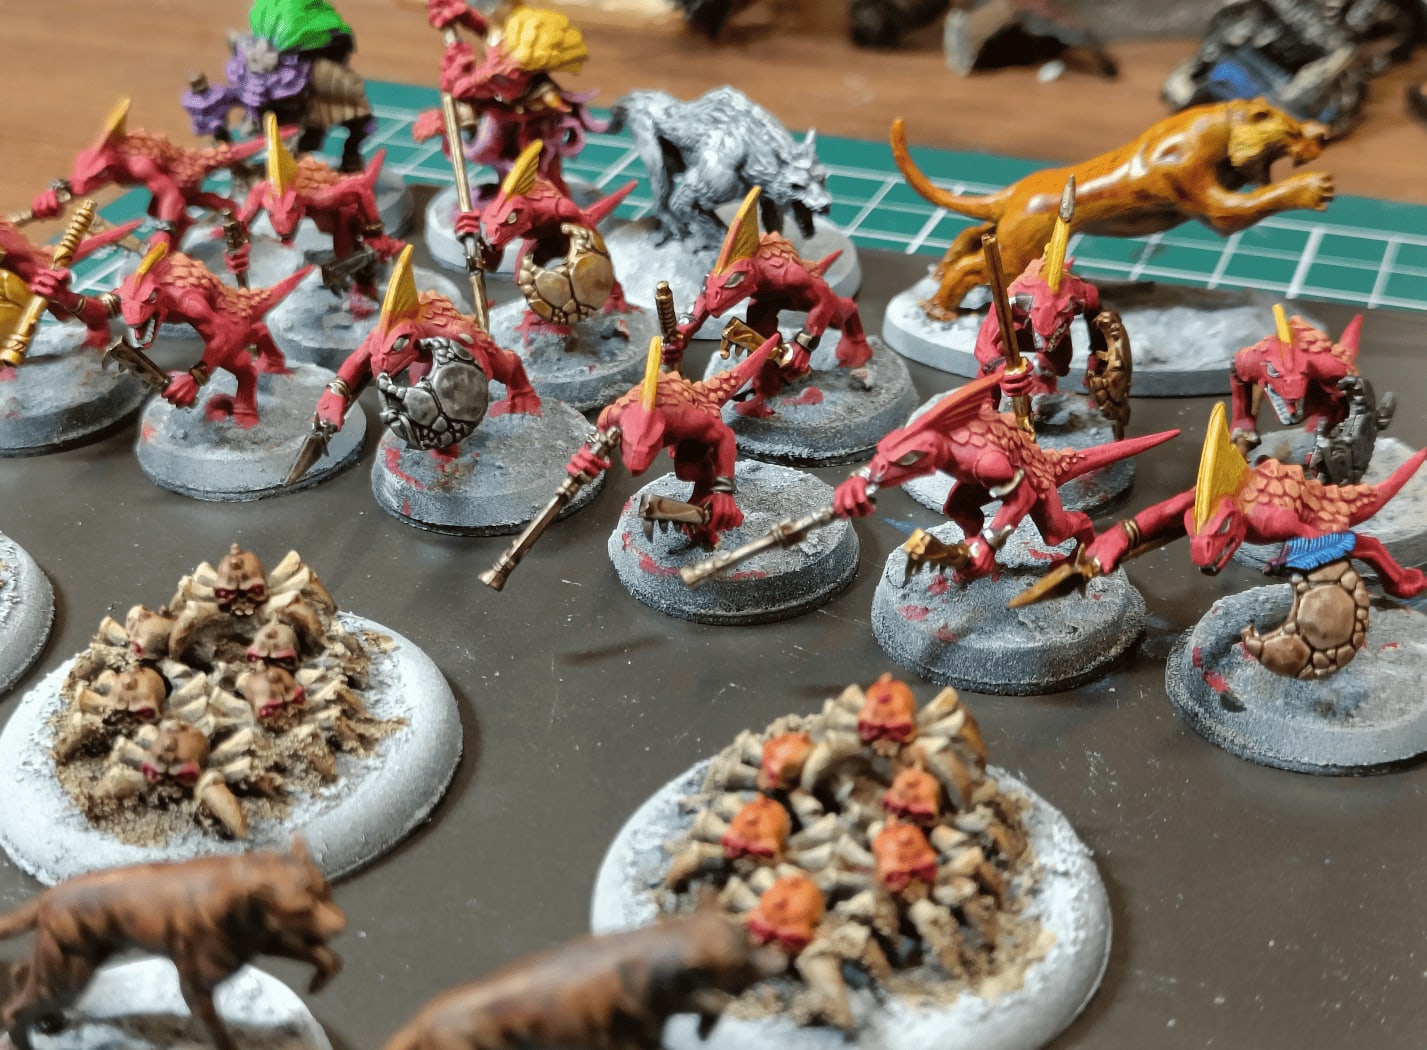
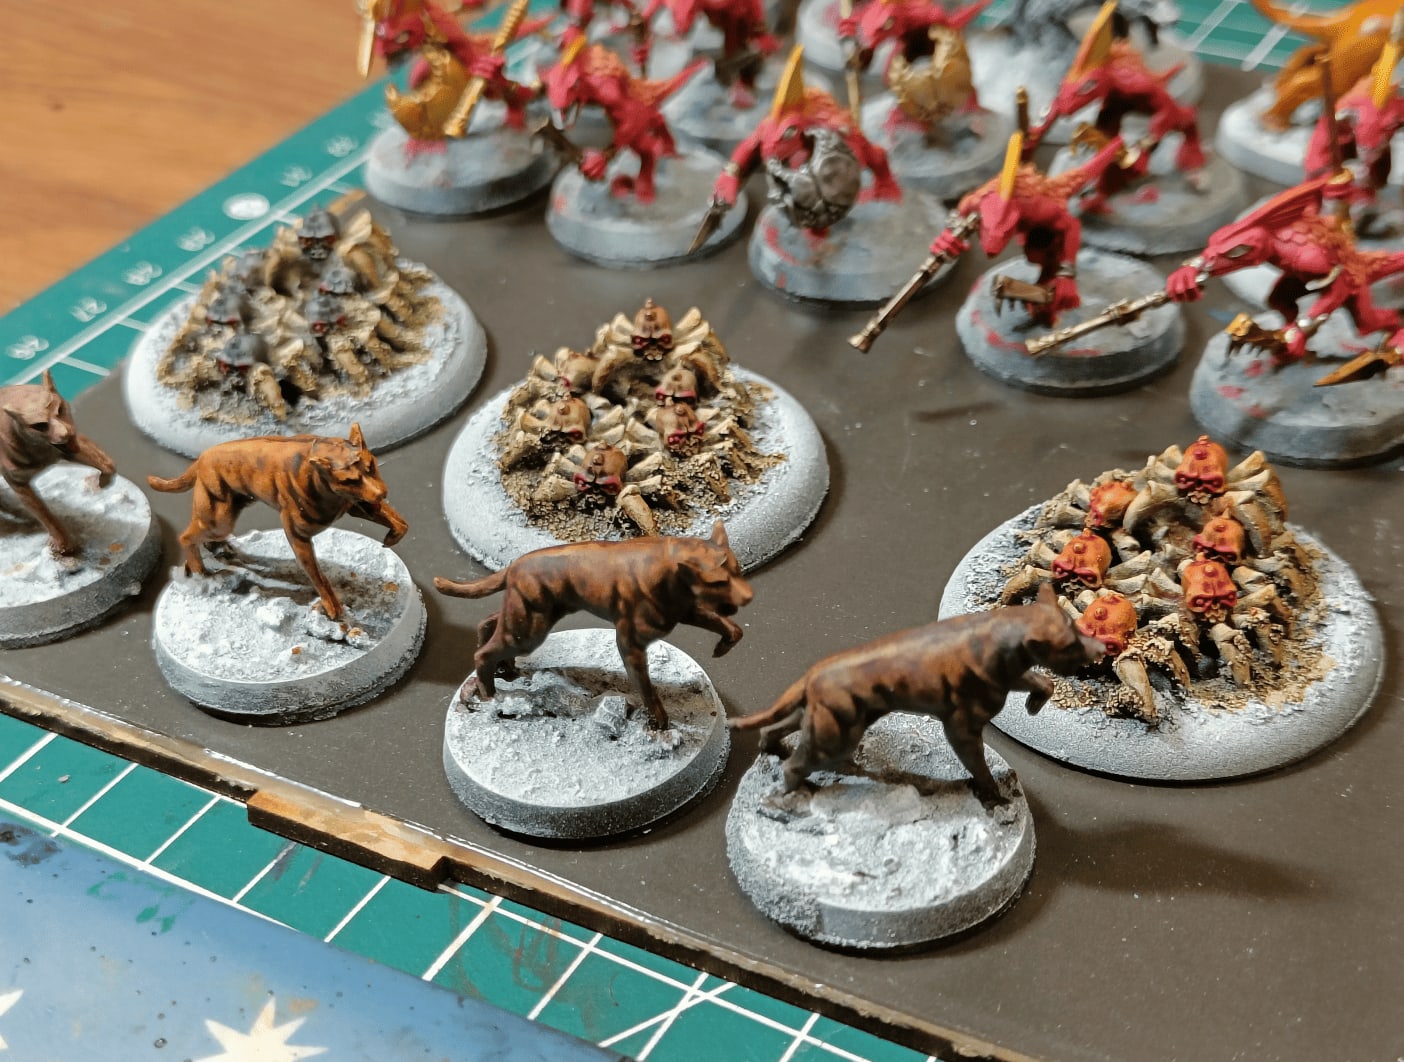
Here are some photos of my painting steps! I started painting kobolds using skink miniatures from the lizardmen army. The speedpaints made this pretty easy to do, and I was really proud of the idea to use skinks for kobolds. I think it works pretty well. Painting the dogs directly with speedpaints works very well too.
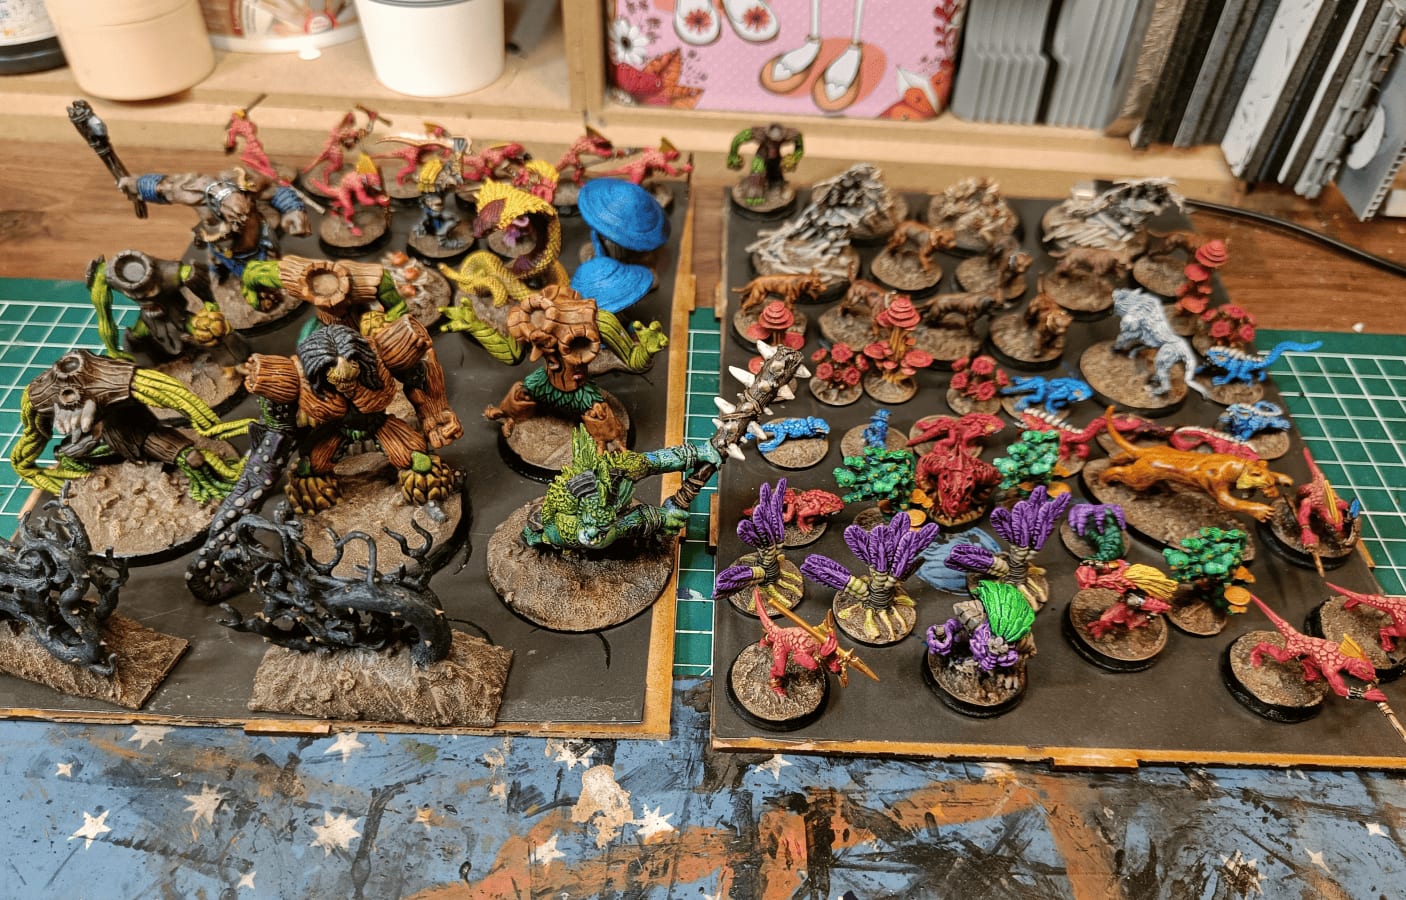
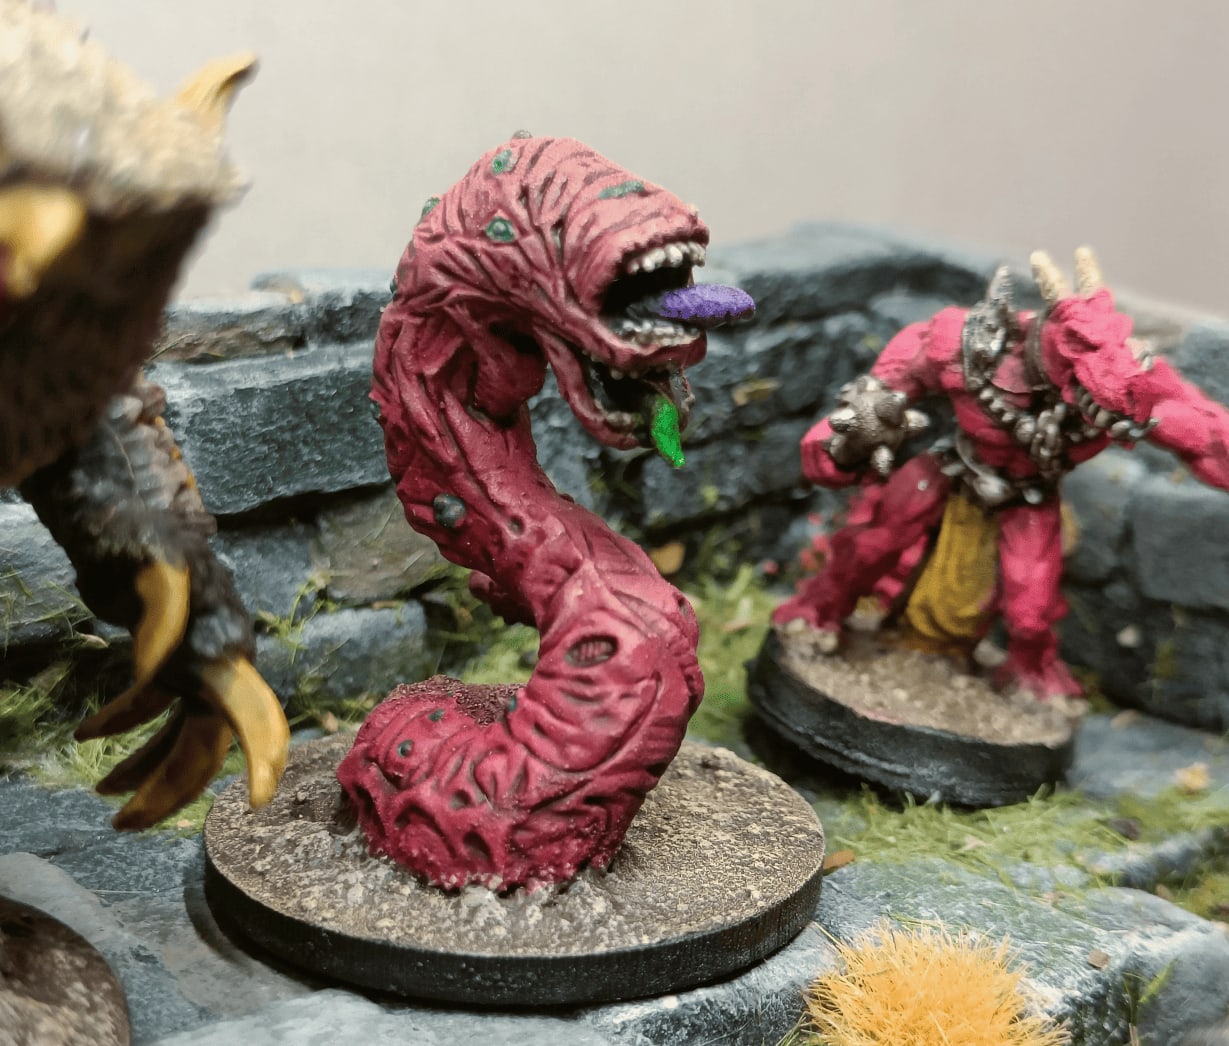
And it looks so good once everything is painted! I was really amazed by the quality of what you can do with speedpaints.
Painting all that took me about a week, working two or three hours in the evening after work. I was able to finish all these miniatures, but it would have taken me a year, maybe even more, before speedpaints. And the quality is totally acceptable.
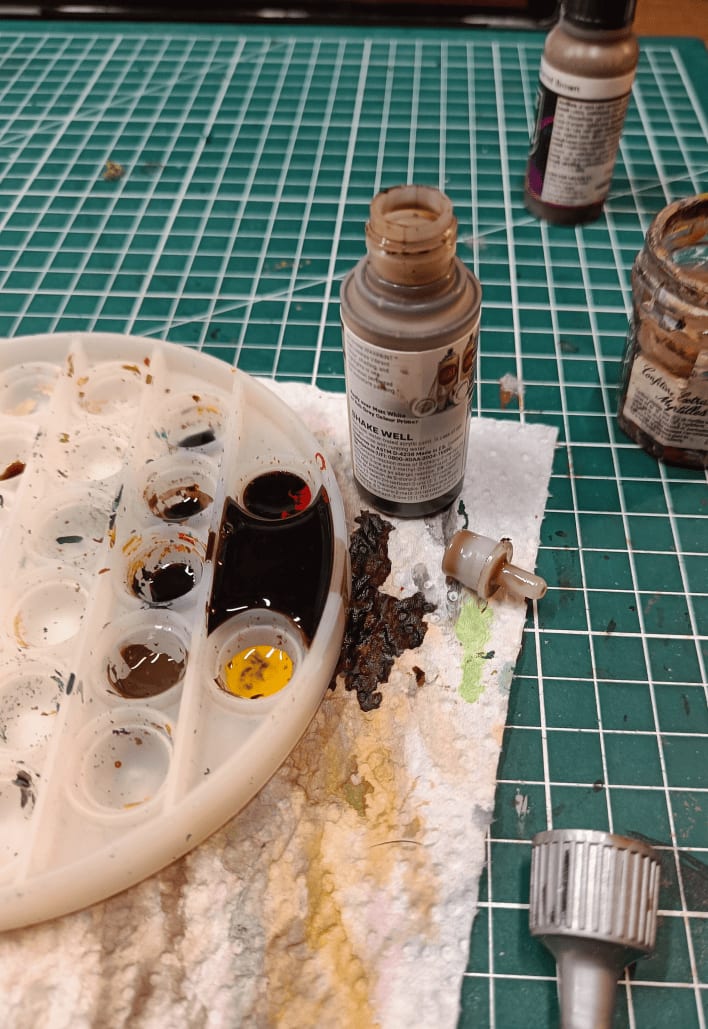
Well, what was bound to happen finally happened. I spilled a bottle of speedpaint everywhere.
The paint wasn't coming out, so I kept pressing harder and harder and harder until the whole cap popped off. Turns out the ball bearing inside that helps mix the paint was stuck in the opening.
In those cases, you're not supposed to press harder, you just shake the bottle so the ball bearing moves somewhere else. I didn't know that before creating this mess, but now I do!
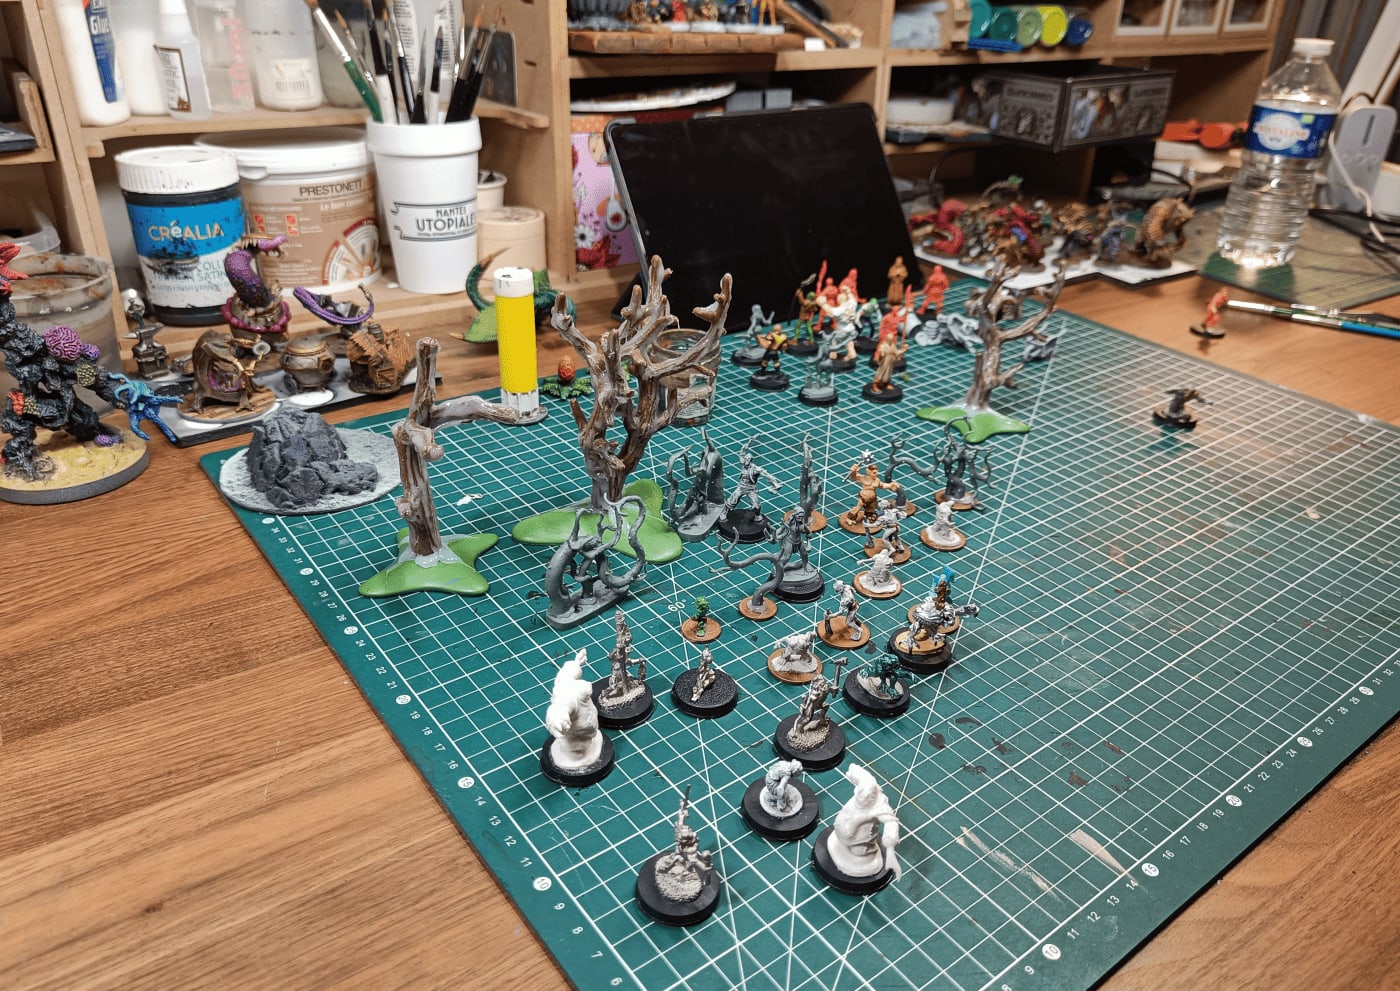
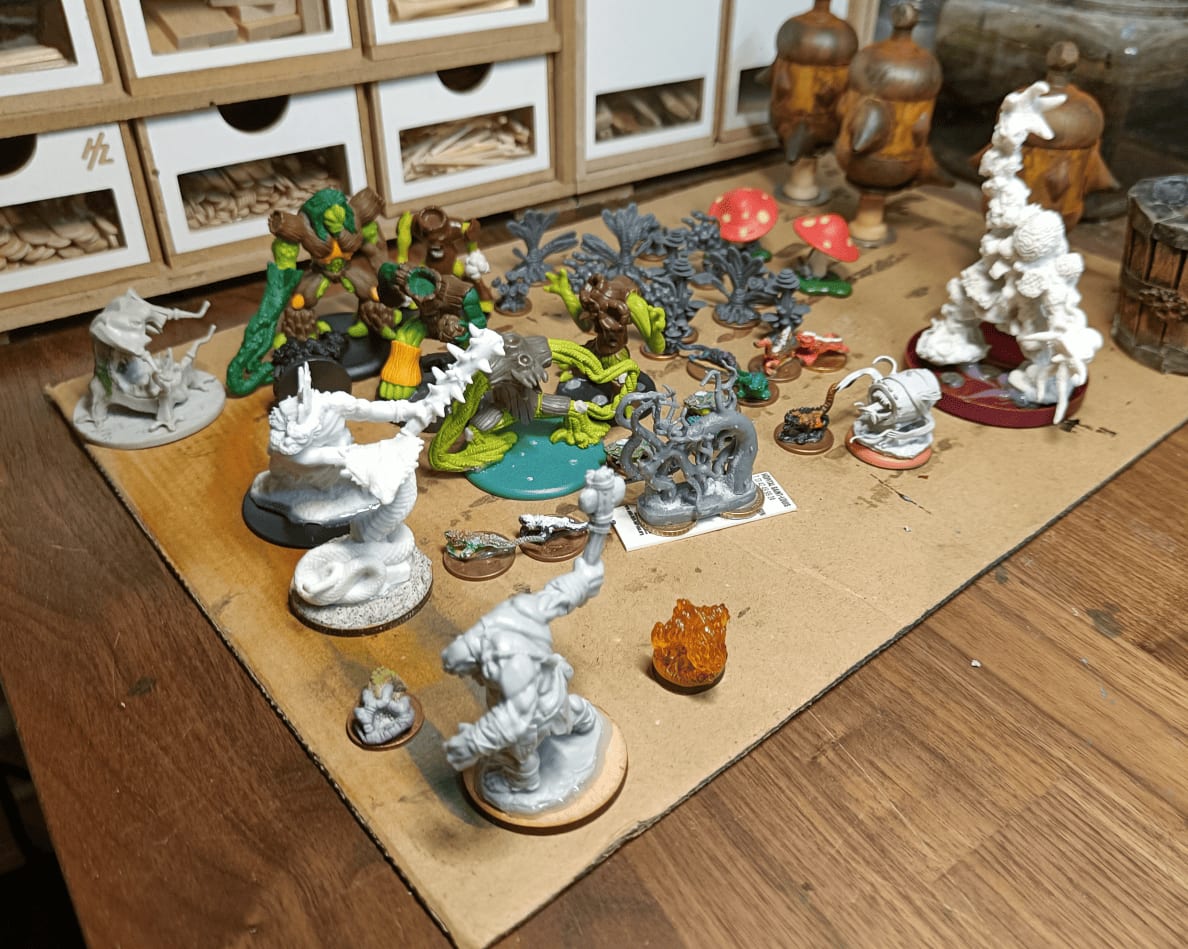
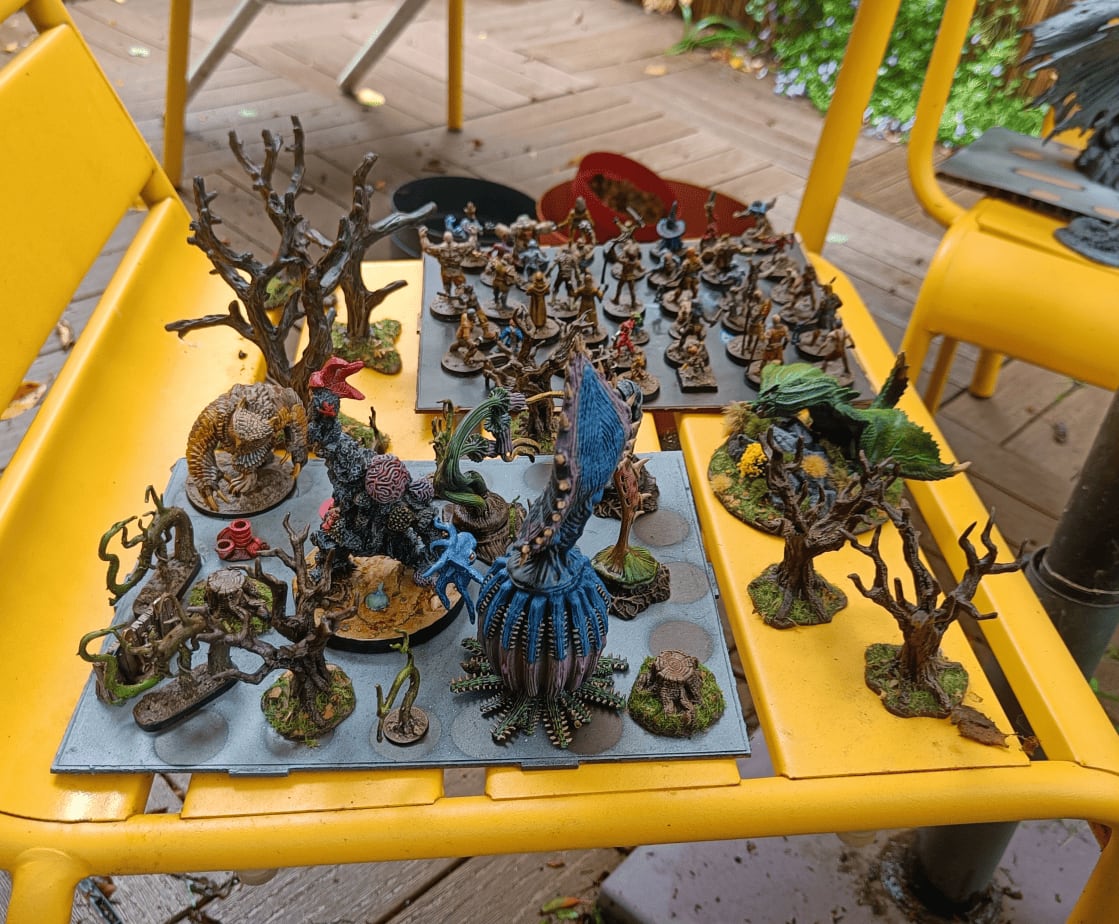
Here's another photo of my workbench showing different creatures at various stages of completion. It's a mix of scenery work with trees, some miniatures that are almost done (like the mimics in the background), and others just starting out where I've only glued them to the base and haven't even primed them yet.
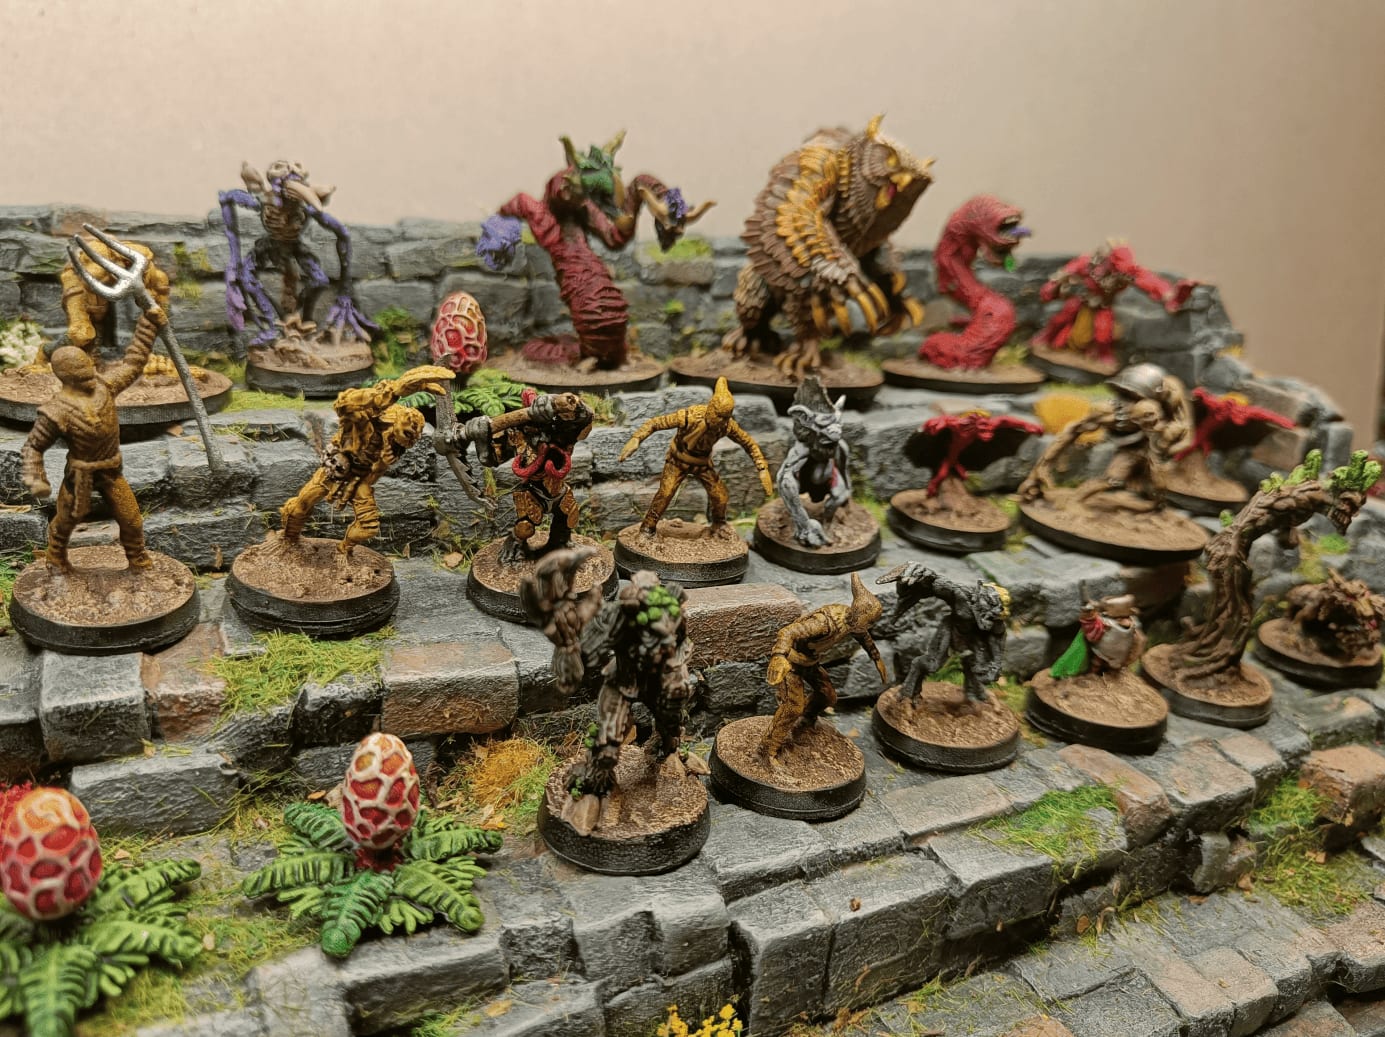
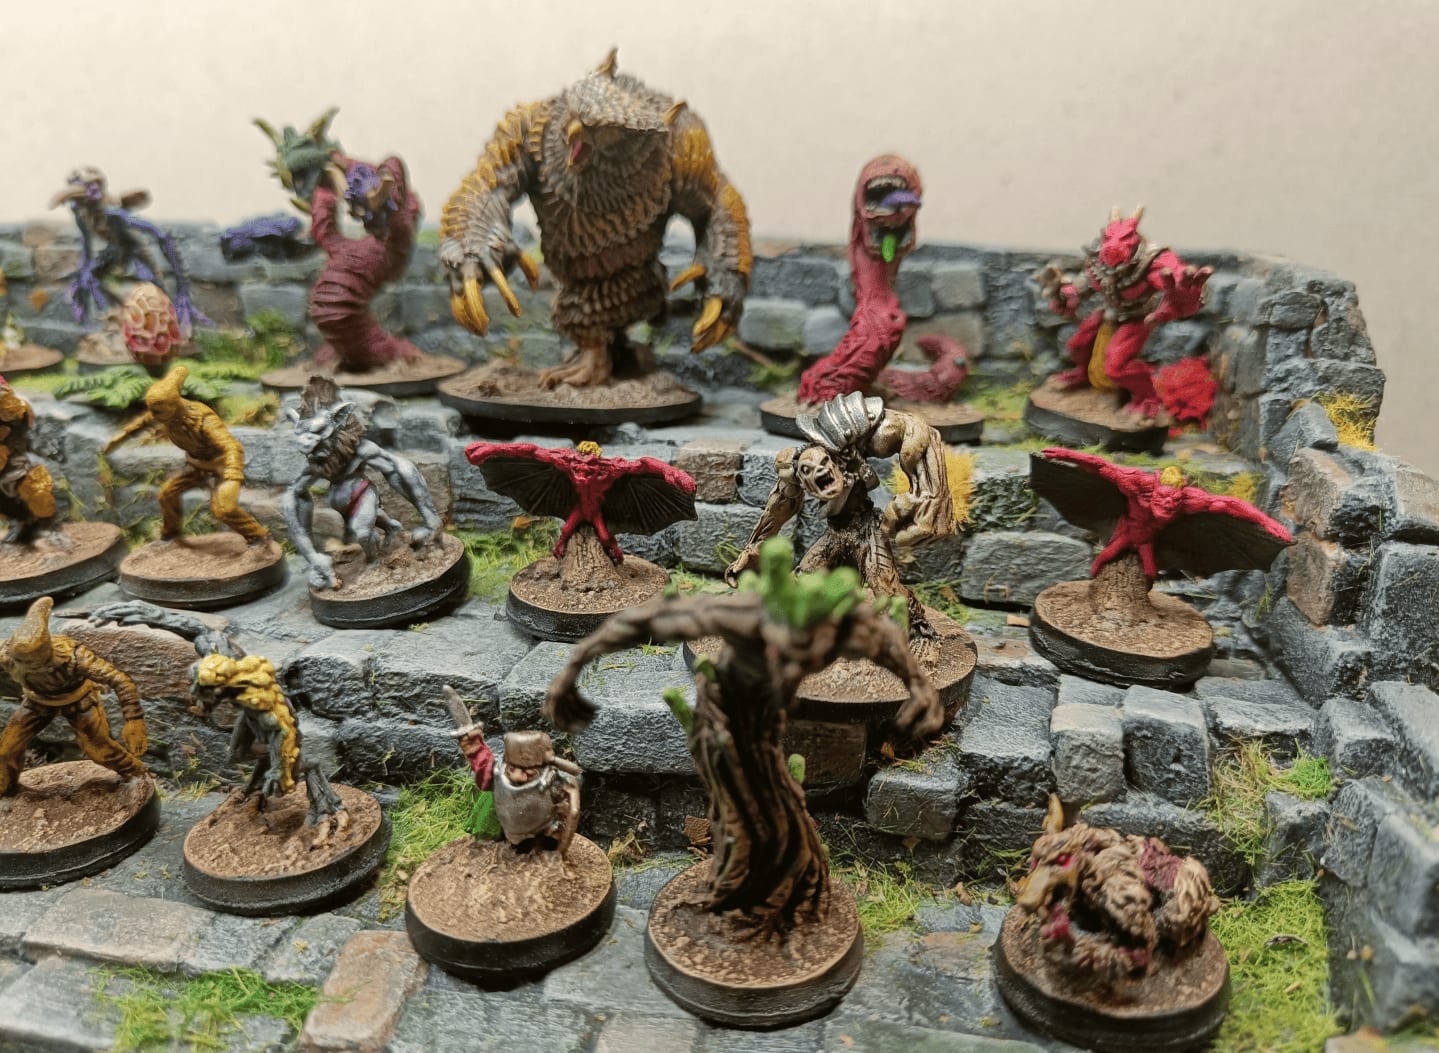
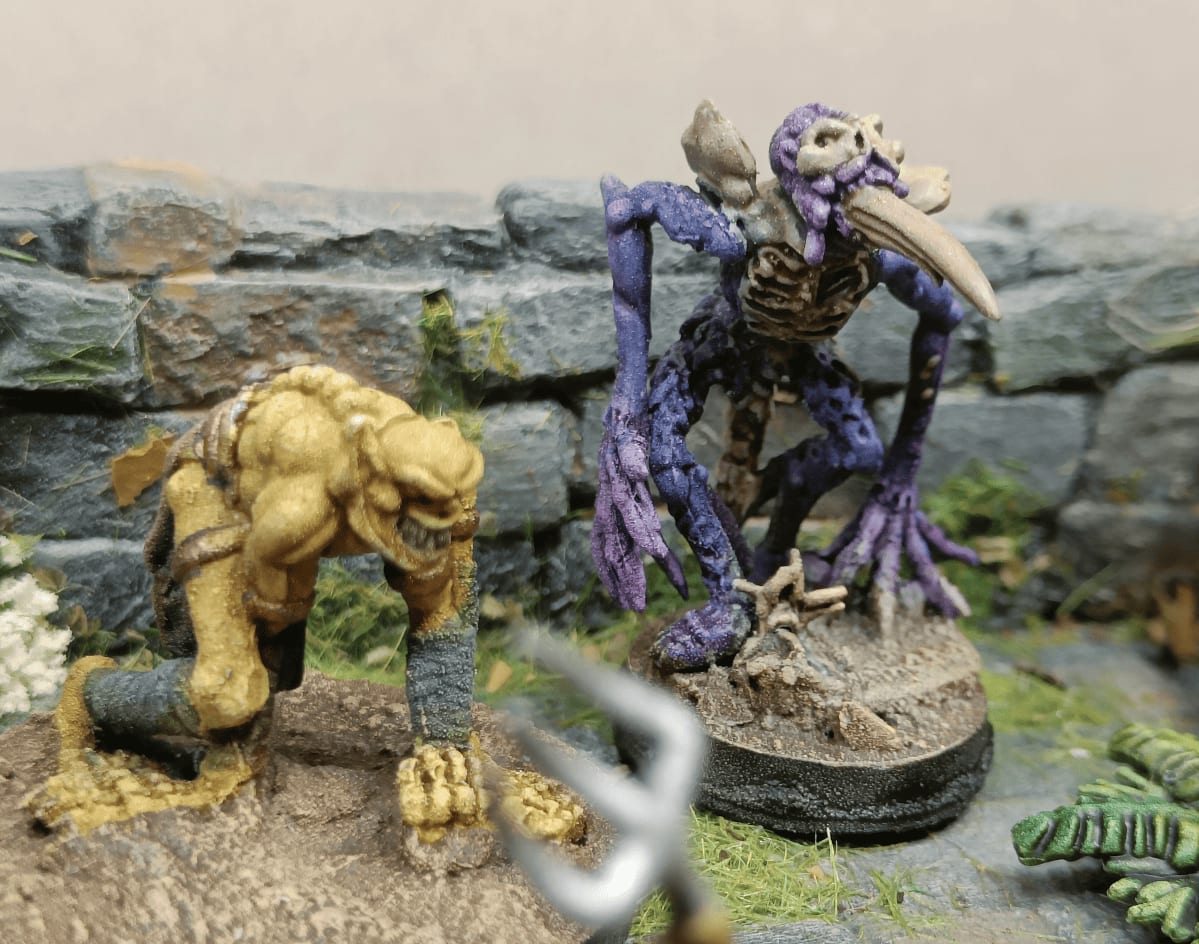
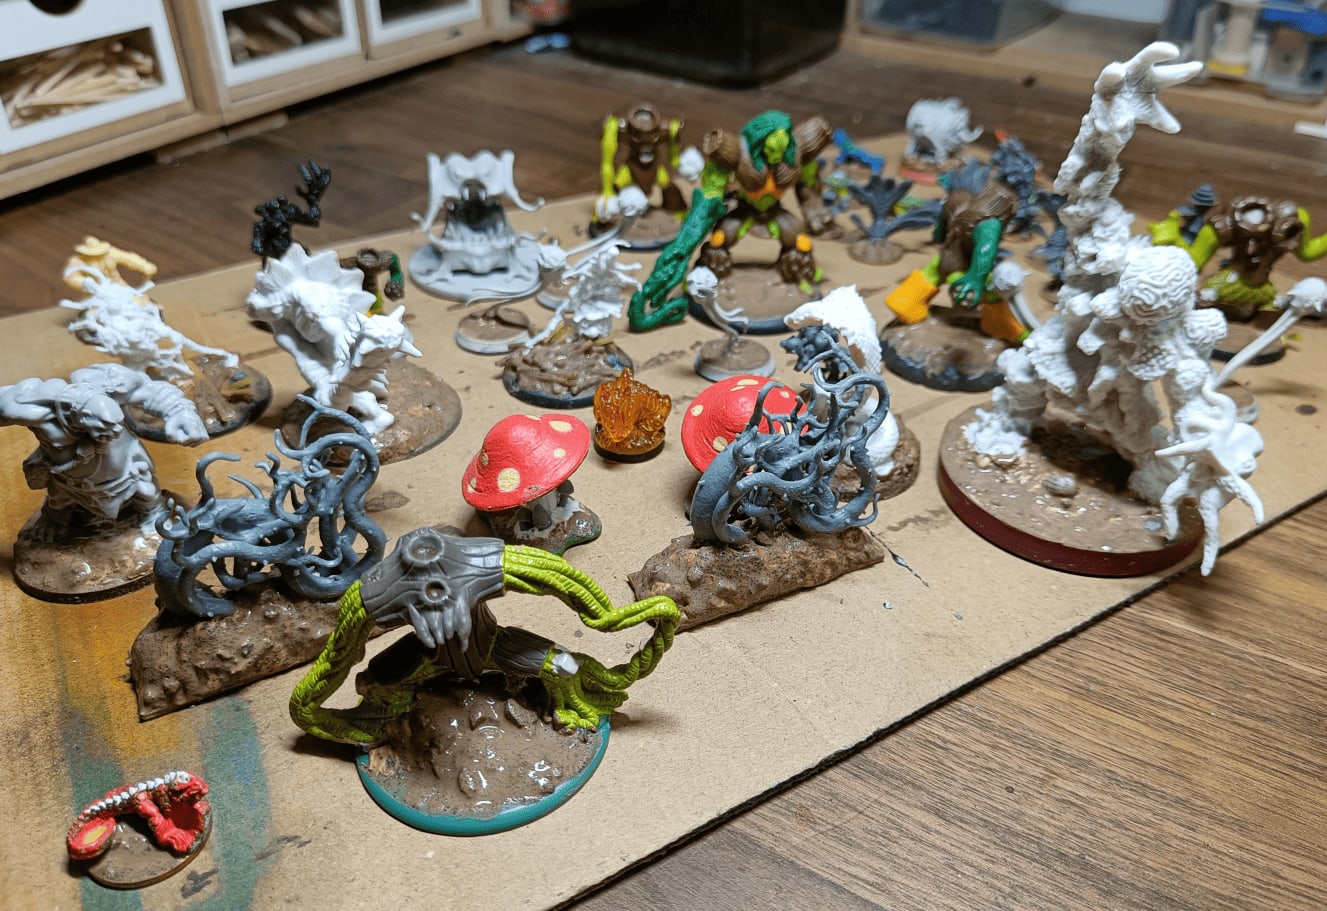
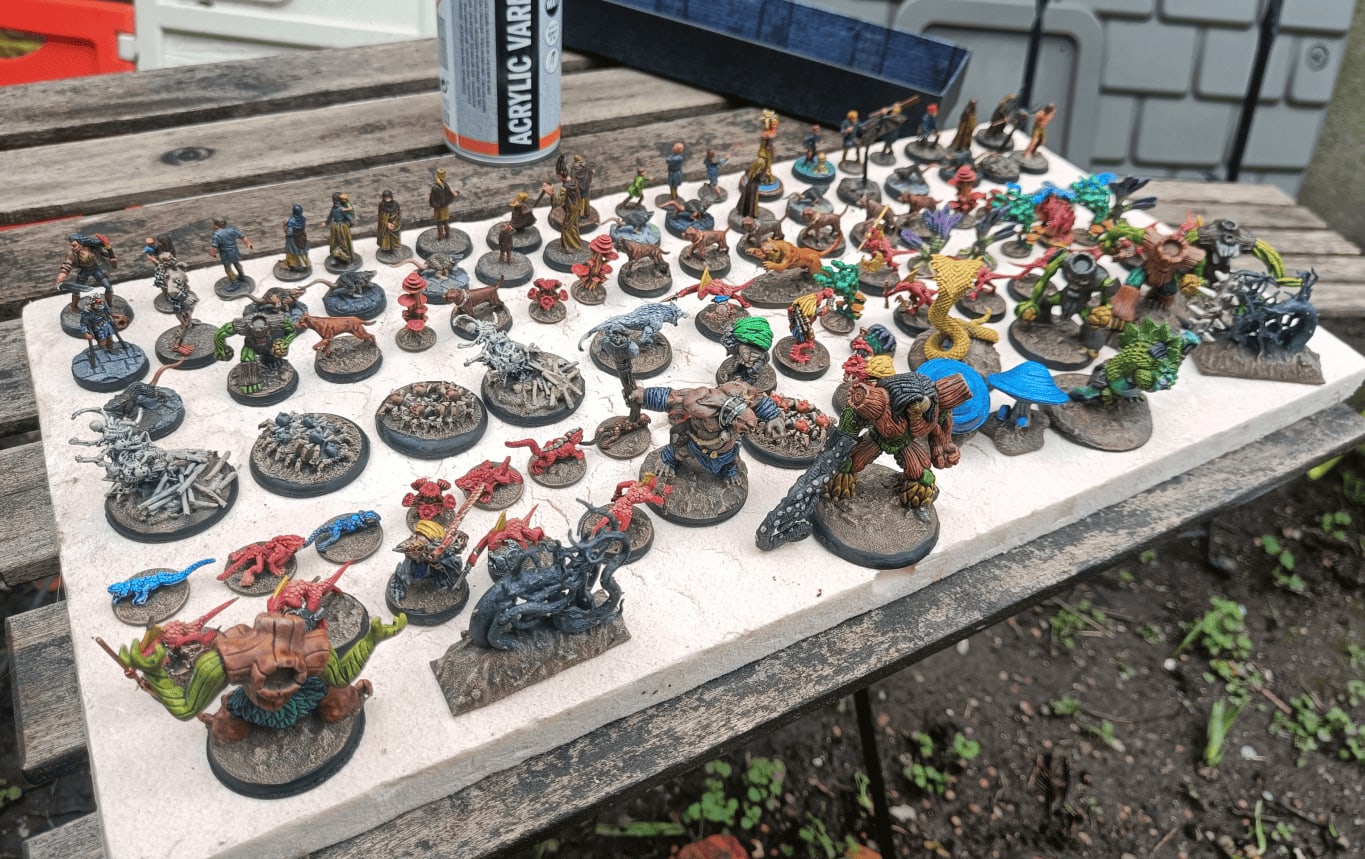
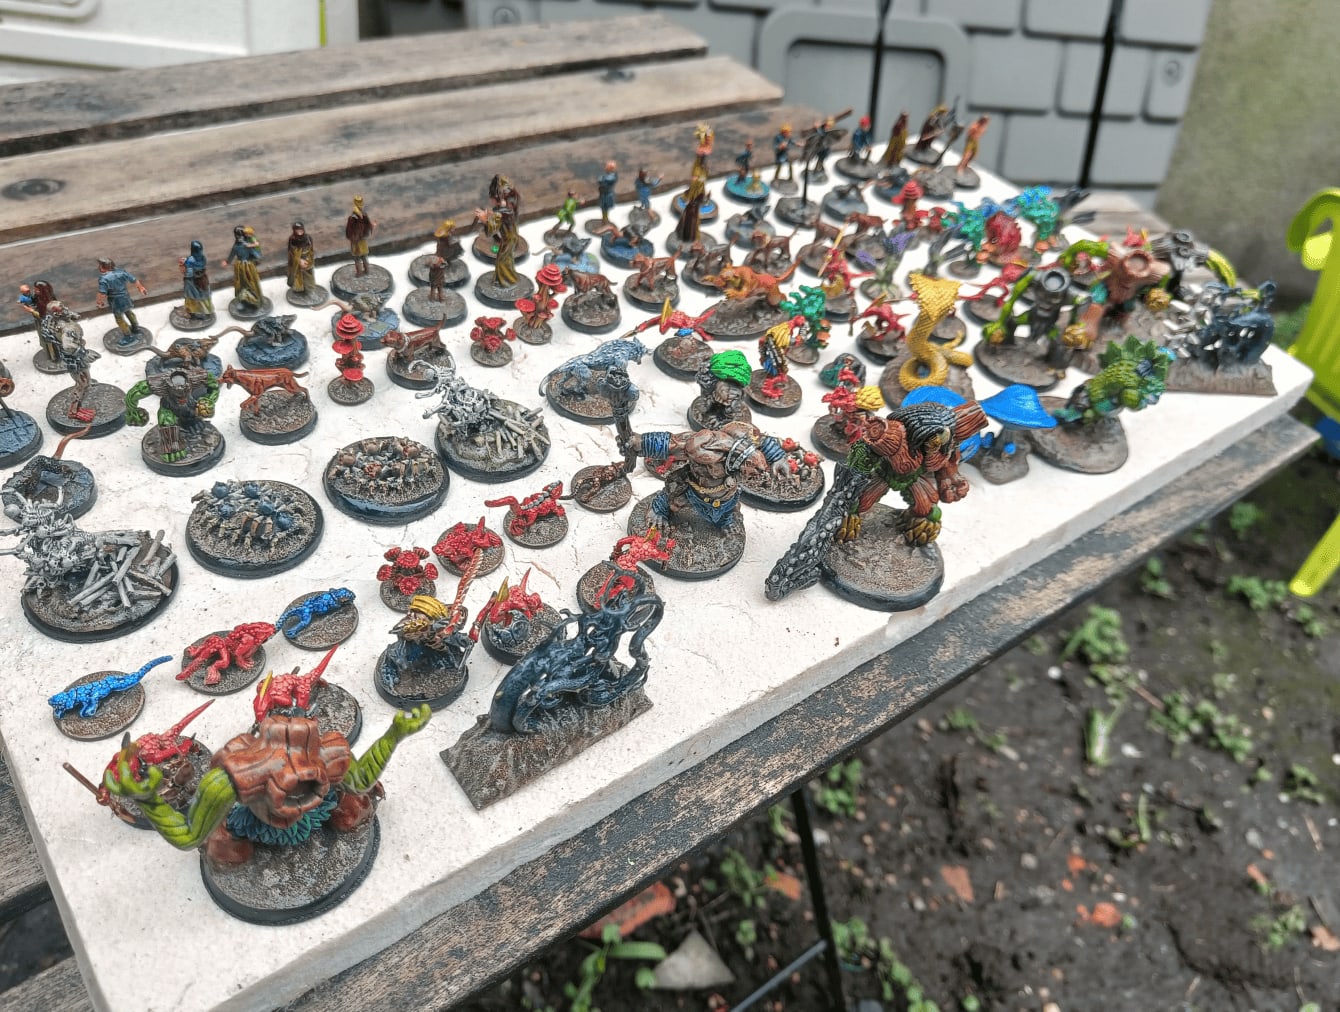
Some other family photos and other creatures, once again painted with speedpaints. I realize that really the technique that changed everything for me with speedpaints is that the first time I used them, I didn't know you had to do speedpaints on a rather light undercoat. And so I had done it on miniatures that I had undercoated either in black or in gray, and it hadn't worked very well.
This time however, it's my second big batch of speedpaints, and really the mass effect works just by using the speedpaints directly. The quality of what it produces is really superior to what I would have been able to paint without speedpaints.
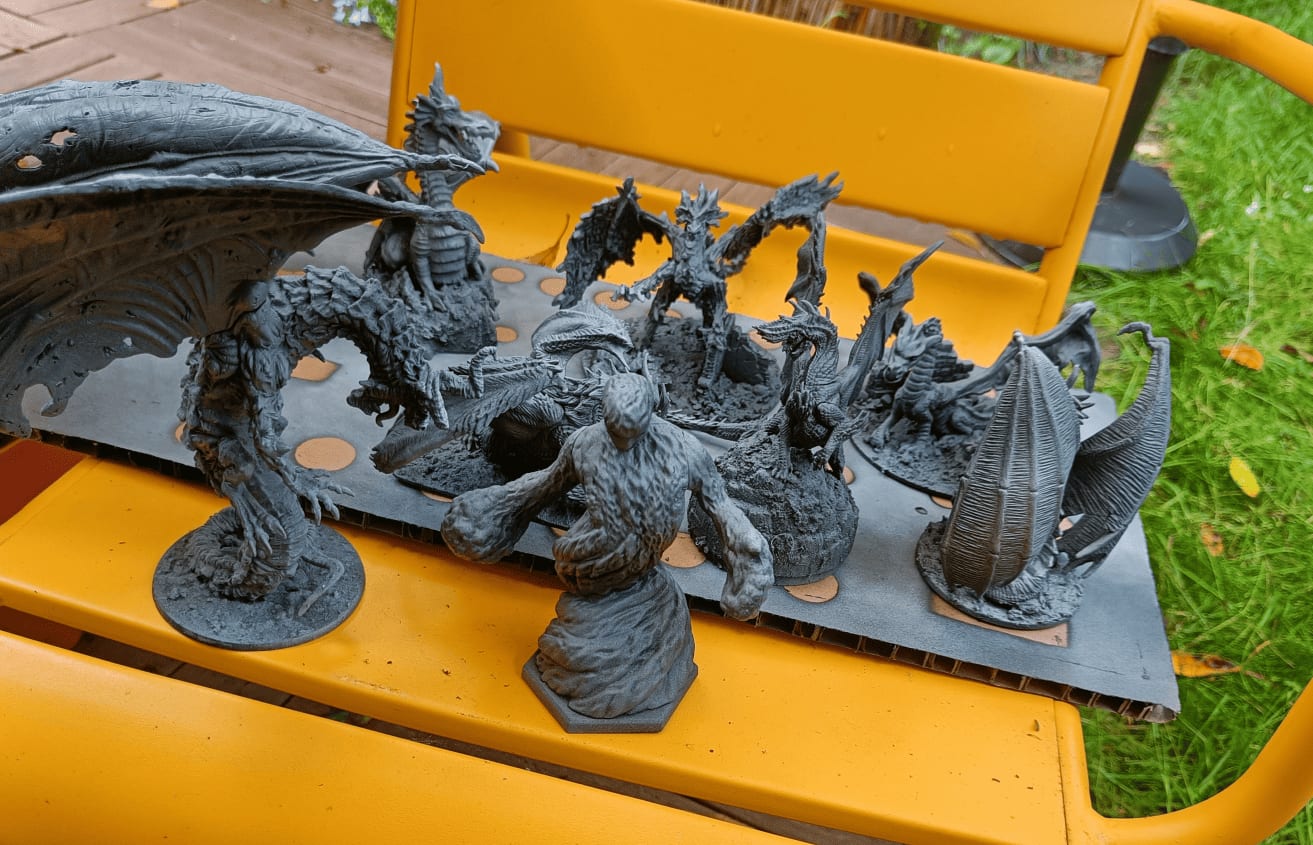
Taking advantage of the nice weather to both varnish the minis I've finished painting and prime the ones I'm about to start. The dragons you see in the photo, I've painted about half of them. The other half is still in this state, even two years later.
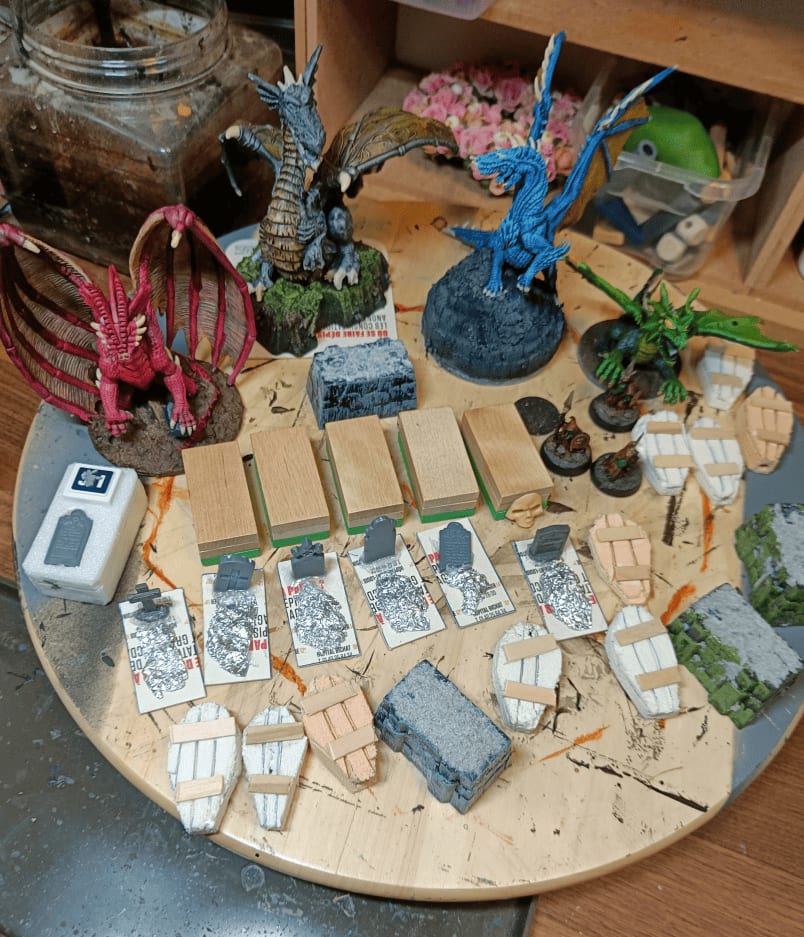
Here I worked on scatter terrain for catacombs and cemeteries. I wanted to create outdoor tombstones, coffins, and those sarcophagi you find in crypts. These are pretty classic elements for RPG sessions, especially the sarcophagi. Plus they work great as scenery elements that players can hide behind or climb on, so I needed some.
I figured the coffins could be useful scenery too, and we actually ended up using them in a campaign where the players had to transport a corpse from one place to another. I haven't used the tombstones much yet, but I'm still happy to have them ready.