Magnetic Paint tiles
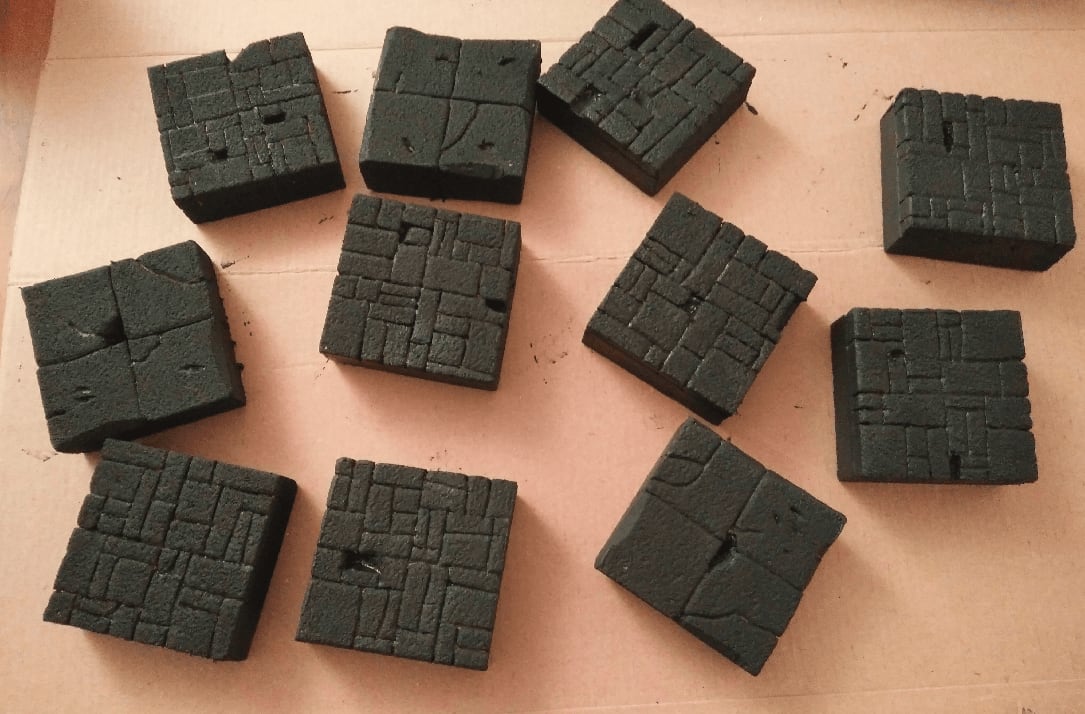
I had a pot of magnetic paint and decided to give it a try on some tiles.
The paint does not really contain any magnet, but it is filled with iron particles, which iron adheres to. It is also black, which make for a great priming/basecoat. Because it's so filled with iron, it also has some weight to it, which make the tiles heavier. It also dries very quickly.
From this initial first test, it seems to be a better alternative to the mod podge/black ink coat suggested by Black Magic Craft.
Even once dried, details are still visible.
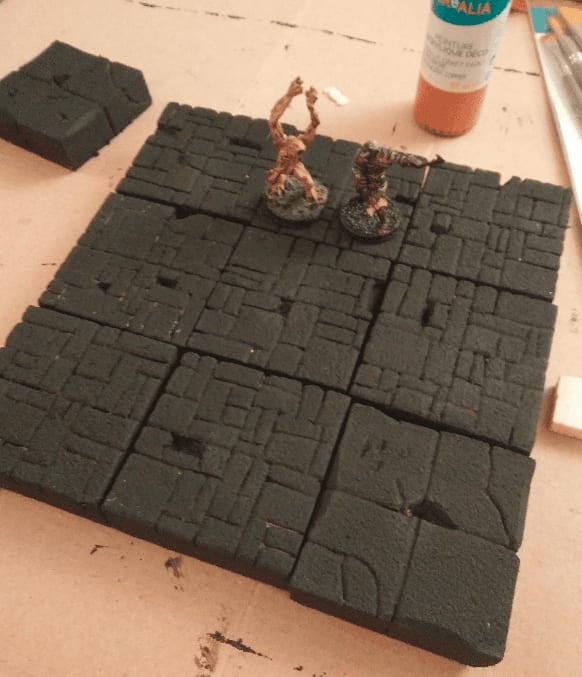
I made some walls out of foam, and added magnetic adhesive band below them to see how it would work with the tiles. Turned out it adheres pretty well. At least well enough to prevent the walls from falling when moving the tiles around. Not strong enough to hold the tile when moving the walls, though.
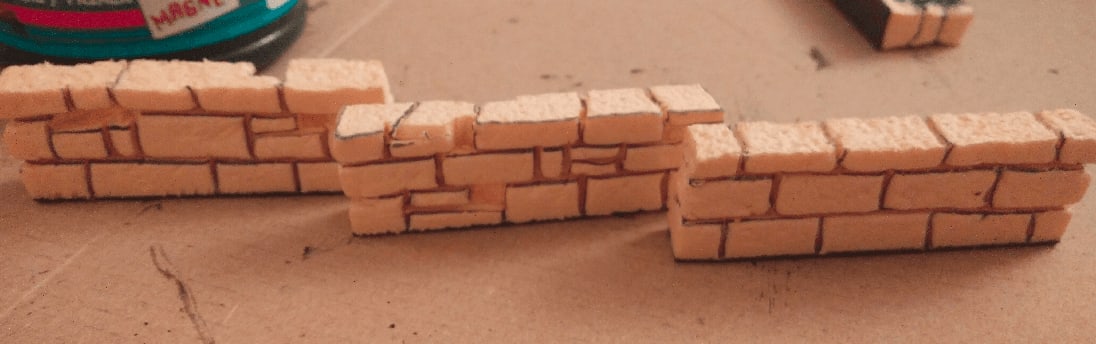
Foam bubbles test
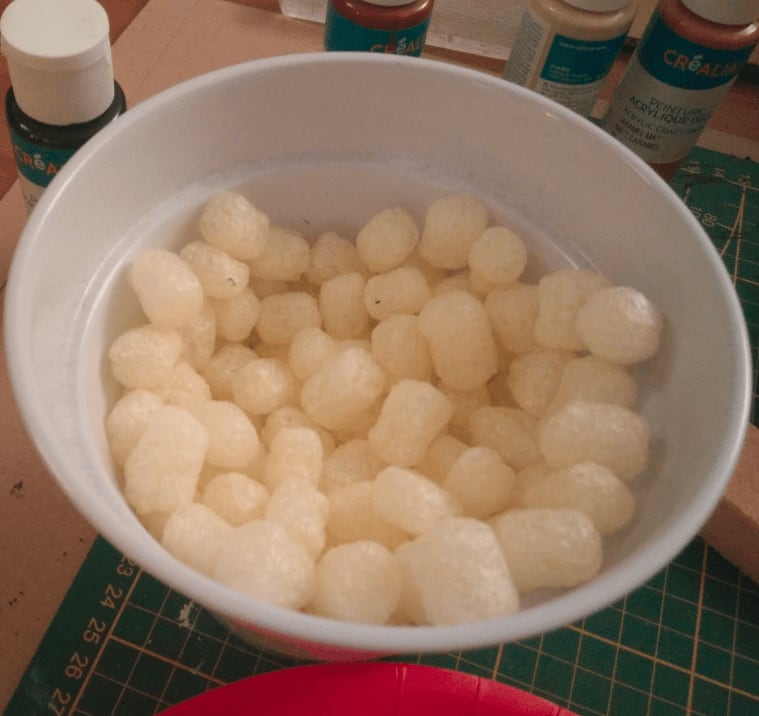
An order I made arrived packages in those little foam bubble. As they are almost rectangular in shape and with a rough texture I thought I could try to use them for brick walls.
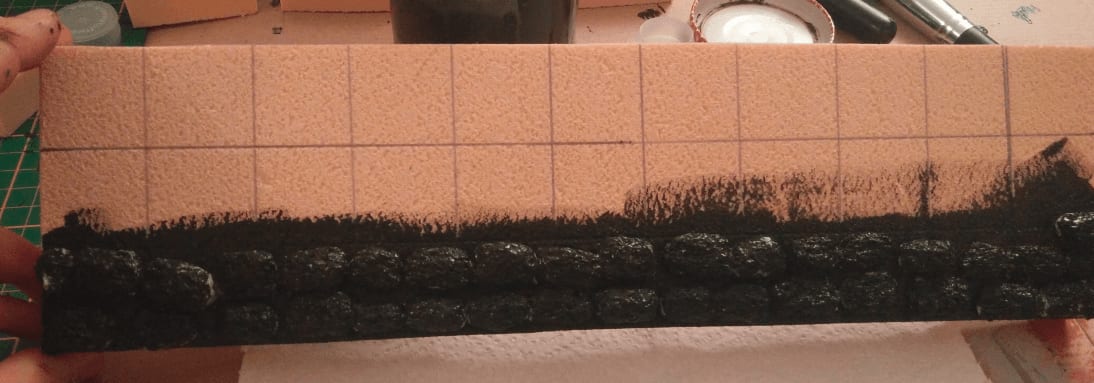
So I coated a piece of foam with the mod podge / black ink mixture and glued them on it. I liked the way it looked like a rough stone wall.
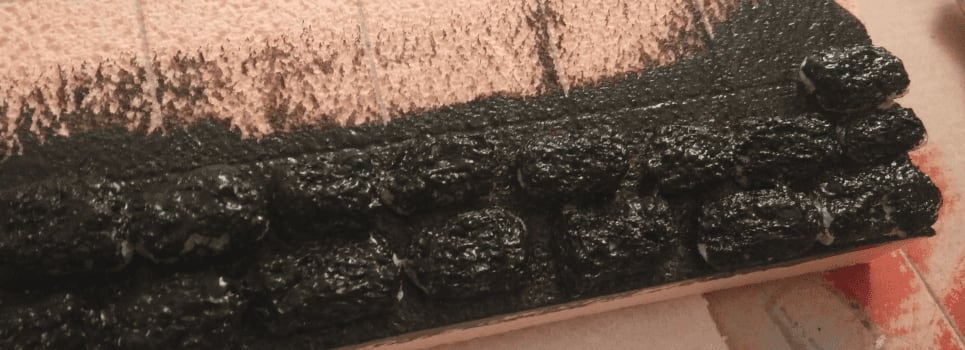
Unfortunately, those little "bricks" react to water by shrinking. And even if there isn't much water in the mod podge, it still shrank them. They shrank so much that the game between the rocks was clearly visible and it didn't look like a wall at all.
So, this was a failed experiment. Still, what I learned is that I can use a few of them to add on an otherwise simple flat wall to add some interesting bits.
Creating my own black wash
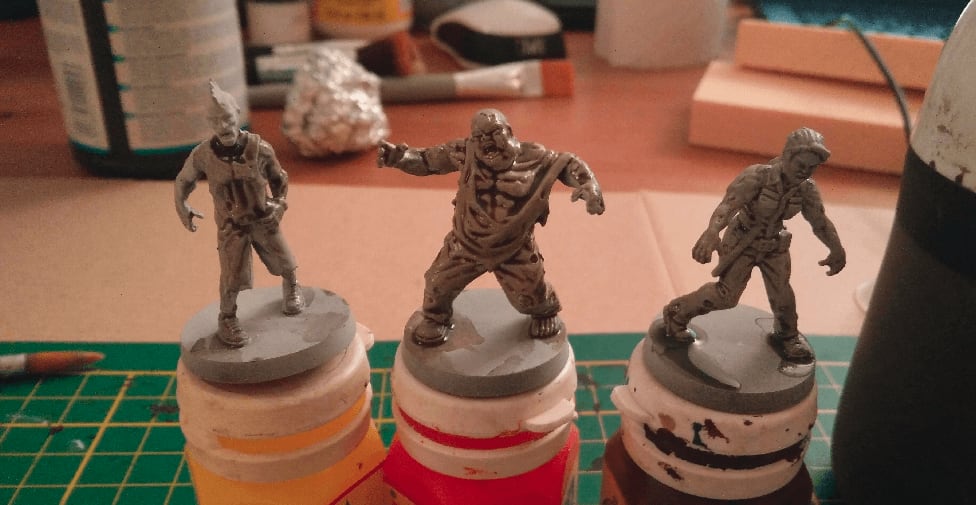
I followed instruction of Black Magic Craft to make my own black wash and was incredibly happy with the results. One layer on primed miniatures already showed the details more sharply.

Also worked well on some tiles I was crafting to test some colors chemes. It really tones down the color so I really shouldn't be afraid of using bright colors.
Bhaal Display Diorama


I'm starting to have a fair amount of painted minis for my games. I store them in plastic drawers but even if this storing method is practical, it is not very enjoyable. I like seeing my miniatures. I wanted to have a way to see them often, while still being able to quickly pick some for an upcoming game.
So I started working on a piece of terrain whose main purpose was to display miniatures. I intended to store this in one of the cubes of my IKEA Kallax, so I needed something that would take advantage of the 33cm x 33cm x 33cm of the cube. I had never worked with insulation foam before (but watched a lot of BlackMagicCraft videos).

I also wanted to build something that was reminiscent of the Temple of Bhaal, the room where you fight Sarevok, the final boss of Baldur's Gate. But because I needed to use as much vertical space as possible in my Kallax, I also needed some lower and upper levels. For the lower level I imagined some classic catacombs, and some elevated stairs for the upper level.
Turned out I completely miscalculated the space all of that would occupy and ended up with a construction much smaller in height that I imagined.
Timelapse

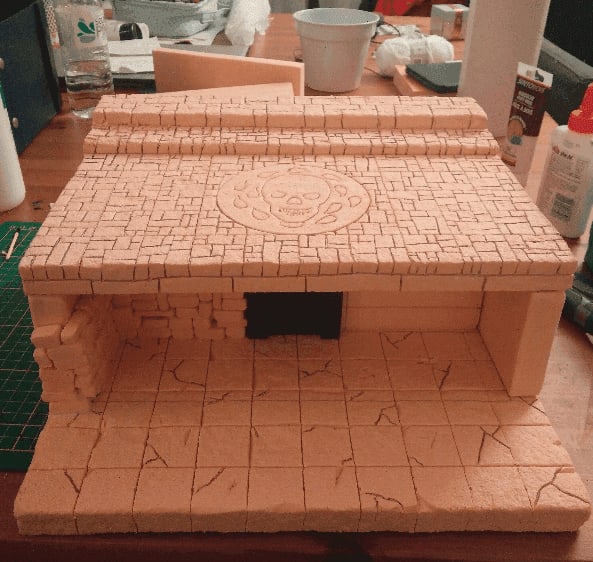
This is the final shape of the structure. The lower floor will be some stone tombs, and the upper one will be the Temple of Bhaal. Now I need to start carving this.

After some carving and minis for scale.
With the first bricks of the wall and the upper floor carved.
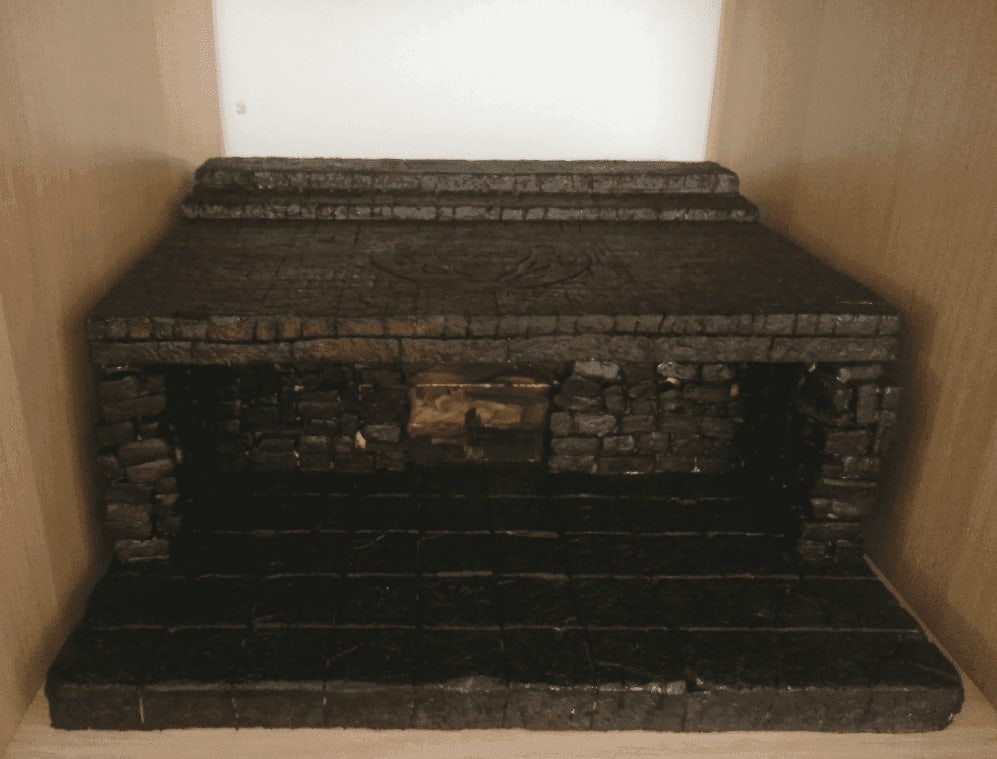
Everything is now coated, and painting will soon began.

Painting has started, but no wash has been applied yet.

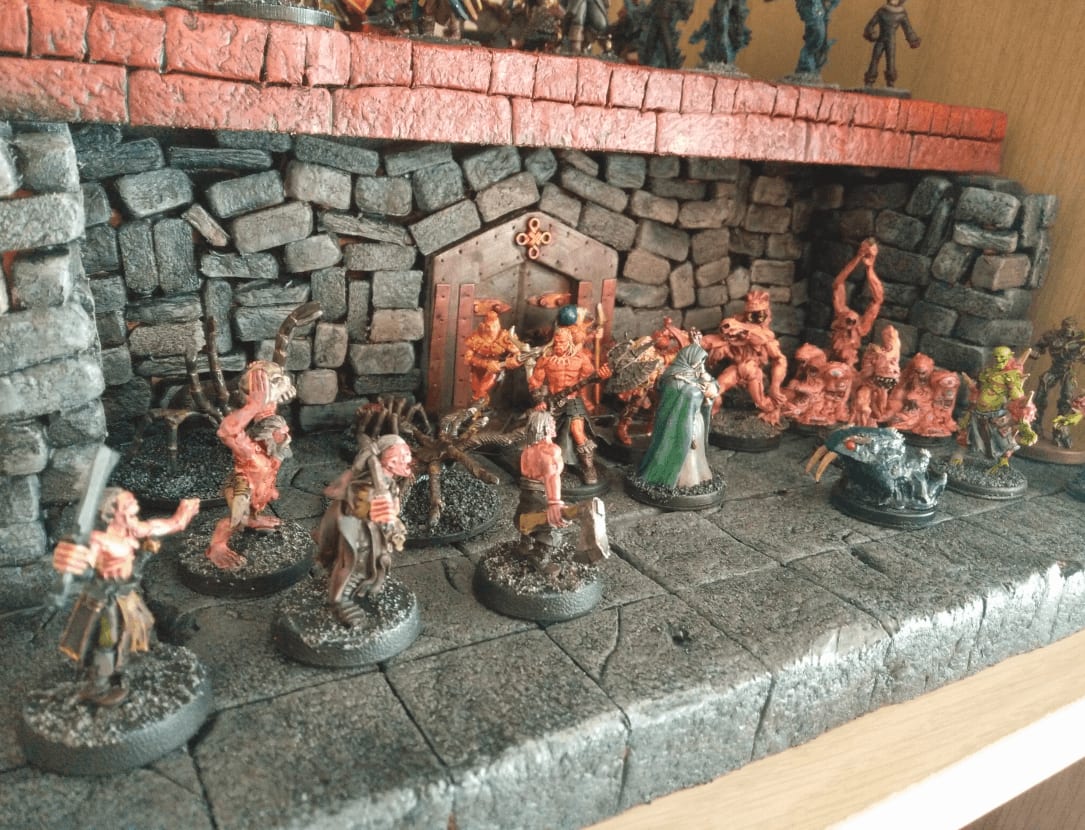
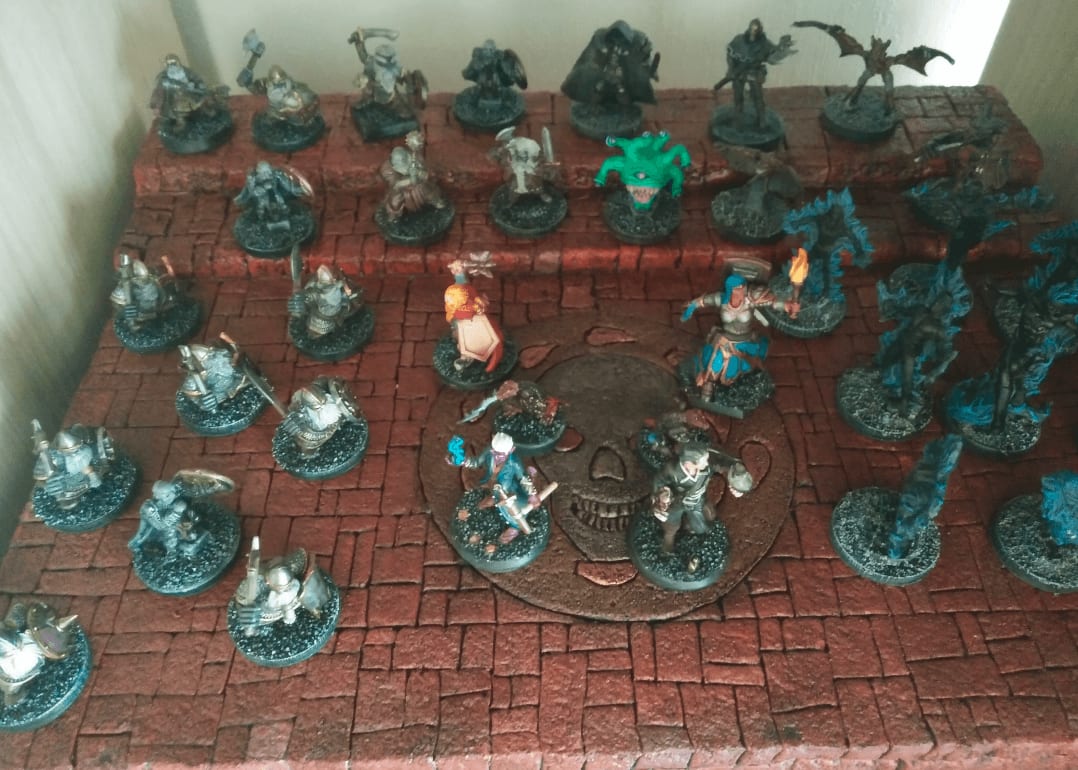
This time it's finished, including the wash and the varnish.

The Dungeon

I started by cutting the foam in the desired dimensions. The main floor structure is 31cm x 31cm. I decided to keep 1cm on each side to better slide the piece in and out of the Kallax.
I also decided to have half the depth of the lower level "filled" and the other open. My idea that because I would add a first floor, it would be hard for me to access miniatures situated at the far end of the bottom floor, so I decided that actually didn't need the second half of the floor and decided to put a wall there. In hindsight I should have used the whole depth as the first floor is removable, it wouldn't have been too hard to access the minis at the far end.
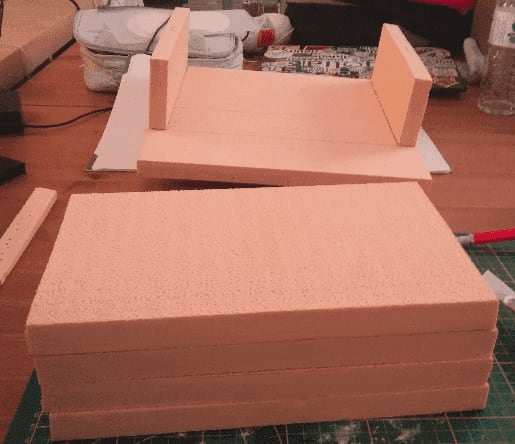
On the background is the lower floor, with its side walls. Foreground is 4 boards of foam glued together to "fill" the second half. Again, in hindsight this is a waste of foam and next time I will use the whole depth.

I started with the lower floor. Simple 3cm x 3cm square pattern. I use 3cm because it leave enough room for any 2.5 cm base to fit even when they have arms outstretched or weird poses. I then added some damage through holes or chunks of stone remove. I draw some cracks to went through them with an x-acto knife later.

I cut some bricks from foam to put on the walls of the lower floor. This was a long process because I sanded the edges and corners of each brick individually. In hindsight I should have sanded them before cutting them in small pieces. While I was nearing the end of the bricks I found a few ways to optimize my workflow, but it still took 2 to 3 hours to do enough bricks to cover my walls. I usually craft while listening to D&D live play podcasts, so I don't mind spending hours on it, though.

The brick wall a long process but I like the final look of it. In hindsight, I should have painted the wall black before gluing the bricks as it it now very hard to reach the wall between the bricks.

This is pretty clear in this picture. The wall behind the bricks shows too much.
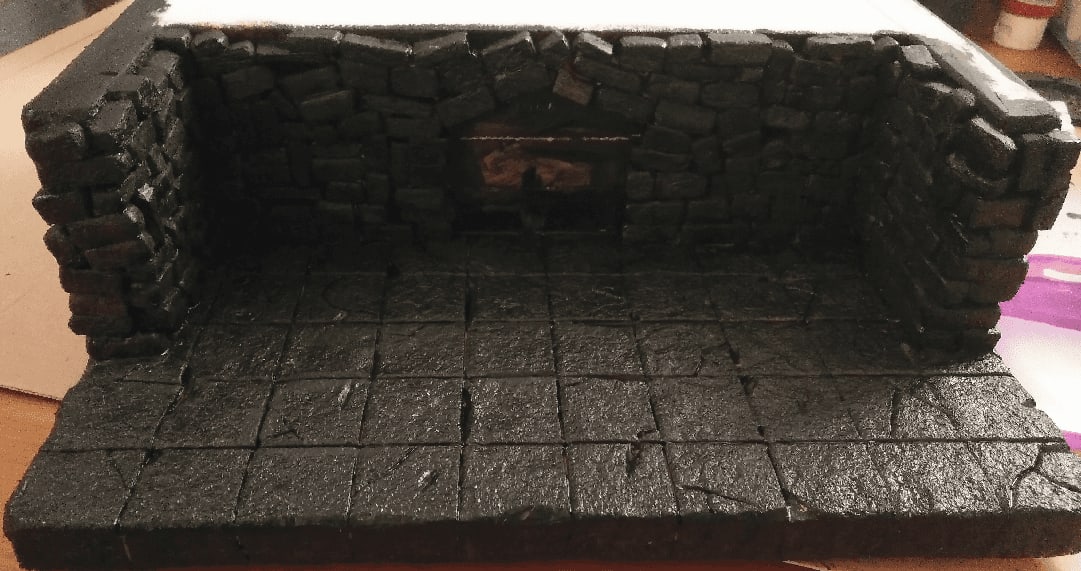
I used very diluted black paint and a small brush to try to cover as much of the back wall as possible. The end result looks ok, but it was a long process and next time I'll definitely paint the wall before attaching the bricks.

Base coat of grey. I was a bit too heavy on the central squares.

I painted a few bricks in various shades of gray.
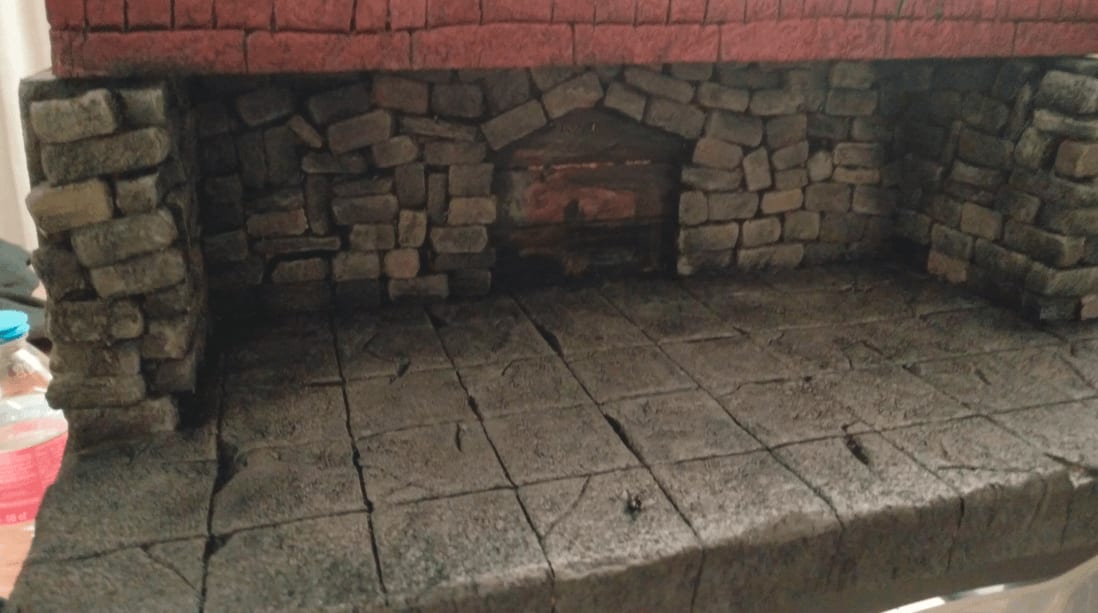
With the second dry brush of lighter gray and the wash on top.
The Temple of Bhaal
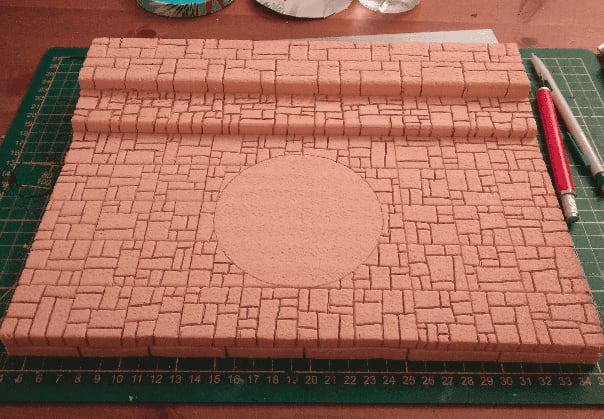
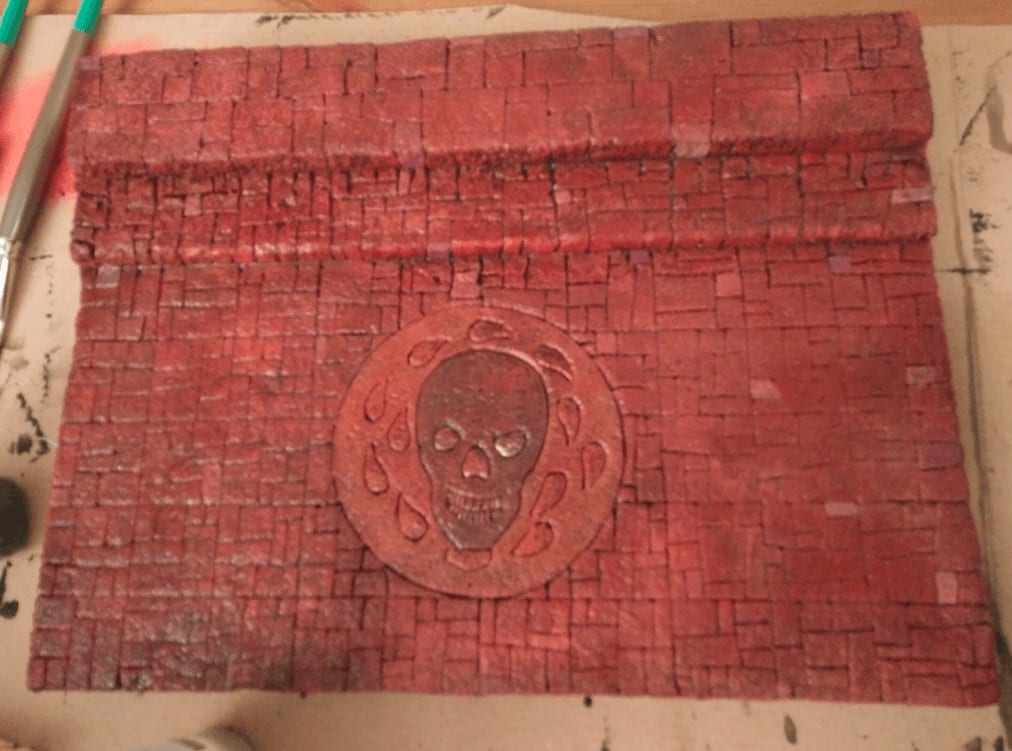
For the upper floor I started with the same grid pattern, then added some irregular smallest stones to it. I kept a circle clear at the center to carve the skull later.
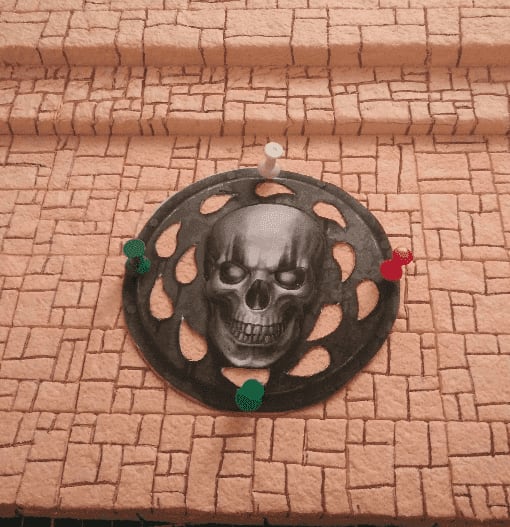
To carve the central skull I printed the Baldur's Gate logo on paper, cut it and then pinned it to the board. I then cut each tear around the skull with my x-acto knife through the paper, which marked the foam below it.

I did the same thing for the skull, and was left with a rough shape.

I pushed the small cuts with a pen to widen them. I wasn't 100% happy with the way the lowest tear turned out, nor the nose or eyes, but it was too late to fix them.

I then slapped a first coat of modge / black ink on the upper floor and started painting.

I painted the stone floor red and the skull orange.

I then painted a few bricks individually in similar colors, and painted with cheap metallic paints the skull.

I was afraid the contrast between the orange and the red would be too stark, so I decided to drybrush some red on the skull to blend the two together. This was a mistake and ended up looking very bad. I thought adding a black wash in the next step might fix this, so I didn't try to save it too much.
The wash was even worse... I don't know what happened with my wash, but it completely removed the copper paint I had on the tears as well as the paint on some of the bricks I had individually colored. I think it's because I'm using cheap craft paint and they seem to react weirdly with the wash. I need to wait for the paint to really dry overnight and not just 30mn to be able to apply the wash correctly.
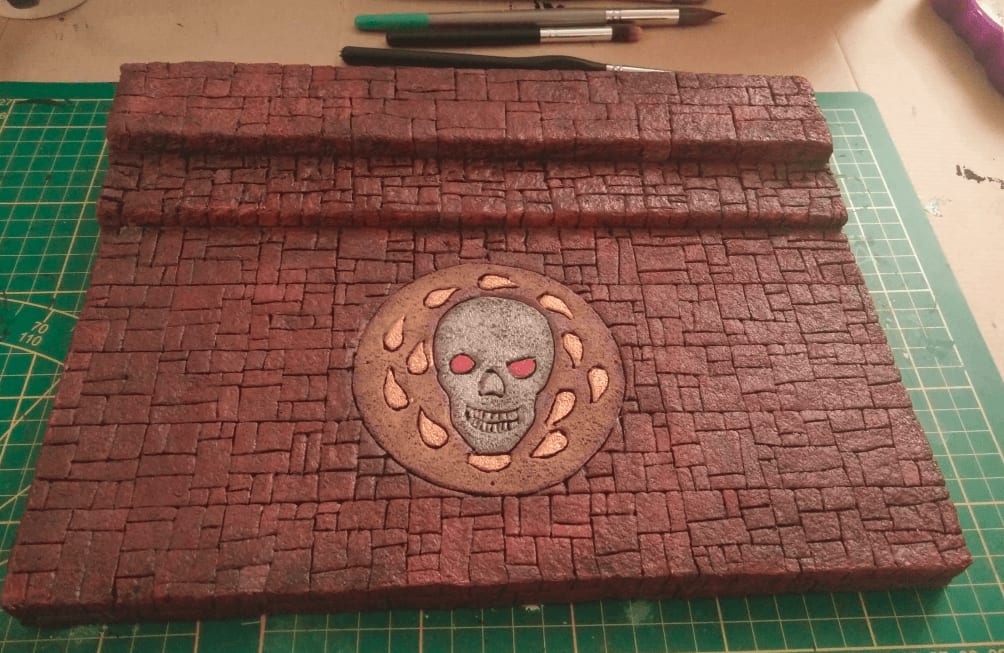
So I decided to repaint the skull on top of the wash. This time waiting 24h for it to dry. This time I decided to paint the eyes red.

Once I was sure it was really dry, I applied a liberal amount of wash to it and let it dry.
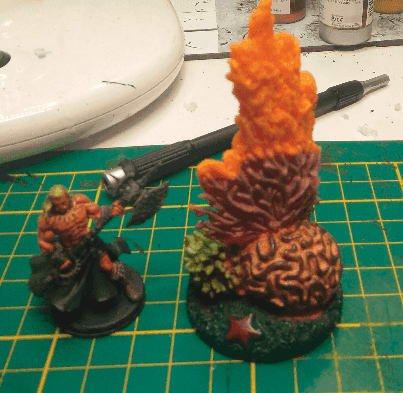
Wyrdstone Egg
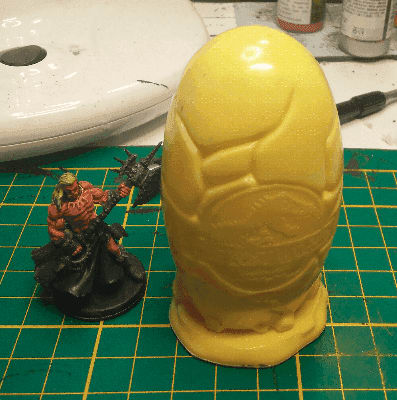
This is a Jurassic Park promotional egg, I guess it's from MacDonalds as well. I wanted to paint it as some crackling egg releasing some kind of foul energy. I had never painted anything like this before, so I thought that having such a large miniature to try would be perfect.
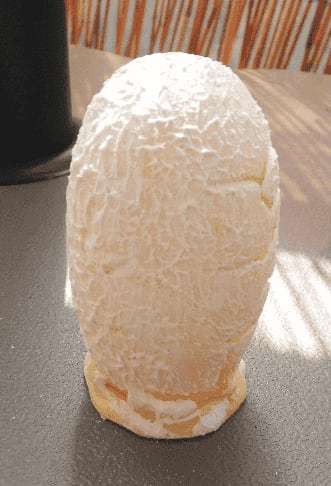
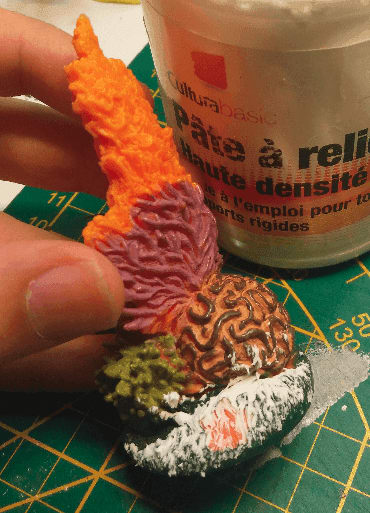
Applied a fair layer of modeling paste and sanded it to give it a smoother texture.
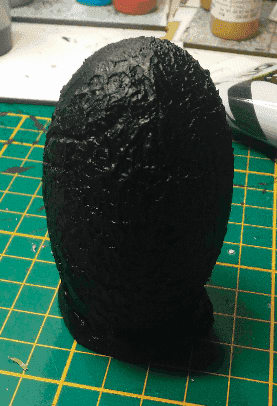
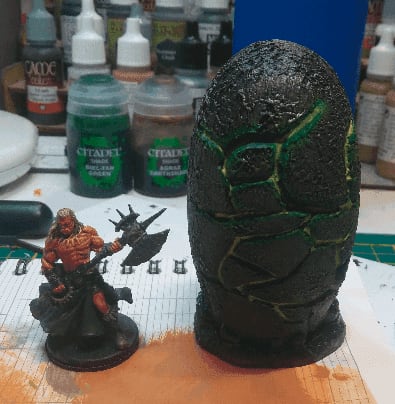
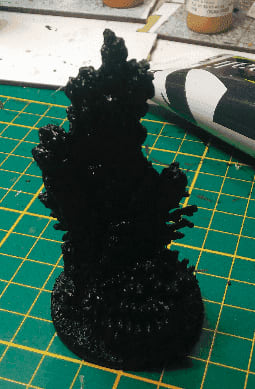
Priming it black.
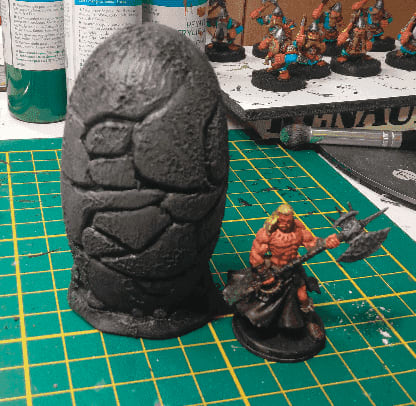
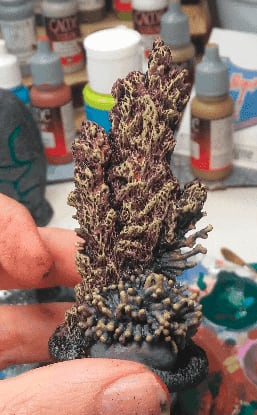
My plan was to make this a stone egg, with some weird green light coming out of it. Now that I think of it, I don't know why it should be made of stone. I must confess I didn't really think this part through. It would have been more logical if it was colored more like a bird egg, or a weird color.
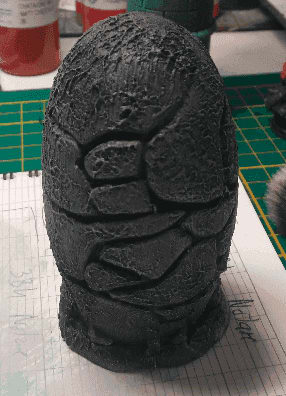
Second coat for more depth.
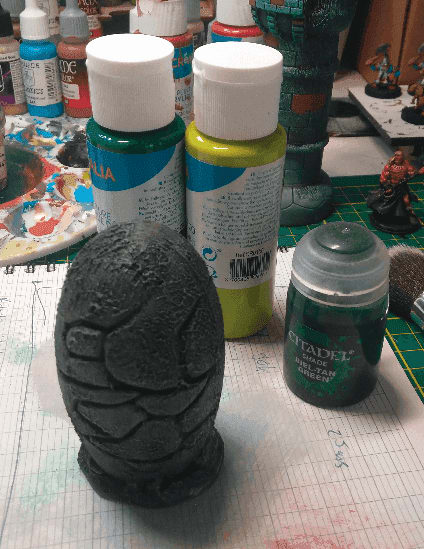
Now my plan is to paint the cracks as green light. I had never done this before but here is what I'll try to do. First paint the cracks with a deep green, then drybrush around the edges with a light green, repaint the center of the cracks with the same green, and unify this with a wash at the end.
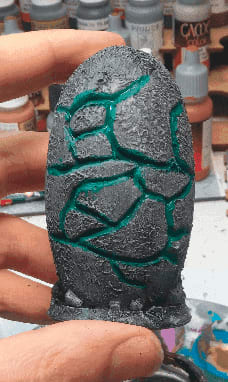
First pass of green in the cracks.
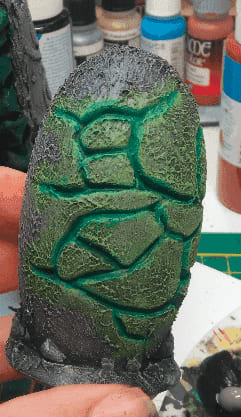
Drybrush of light green around all the cracks.
Lightgreen inside the cracks
Wooden logs
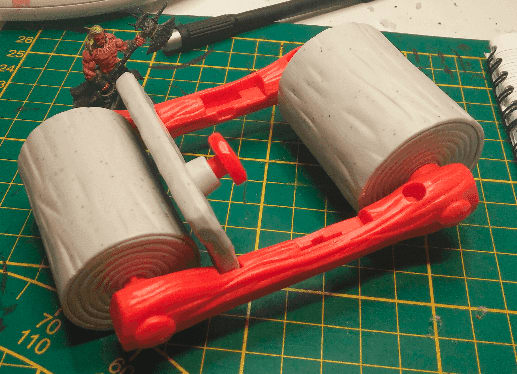
This seems to be a Flintsone vehicule. In the cartoon the "wheels" are supposed to be made of rock but here the texture made it look like some kind of wood, so I thought I could transform that into logs.

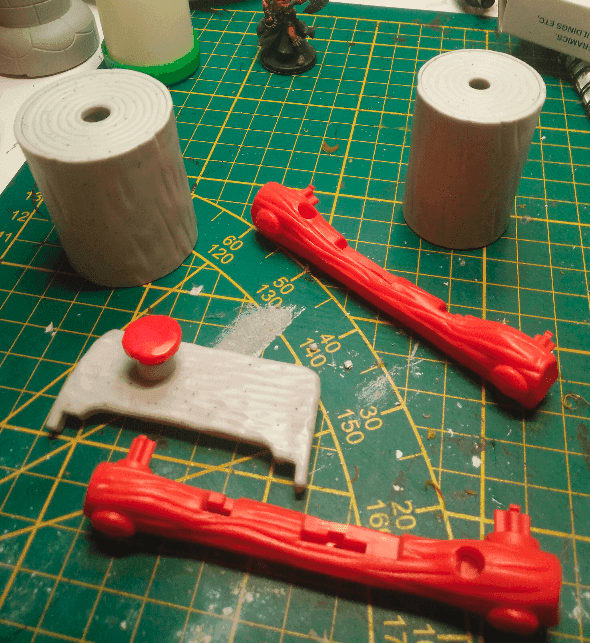
So I dismantled the car and kept the "logs". The other bits went into my bits box, maybe for future use.

Put some paste in the holes.
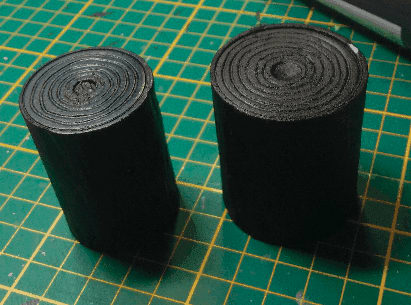
Priming them black. Now I can see that the circle don't really look like wood logs. They don't really look like stone either to be honest.
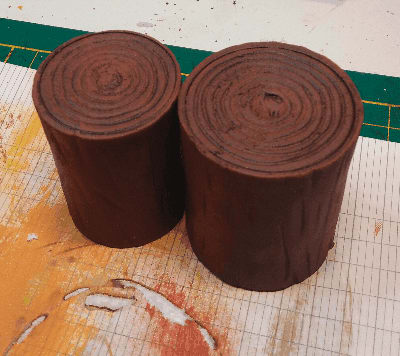
Painting them with a rough drybrush work.
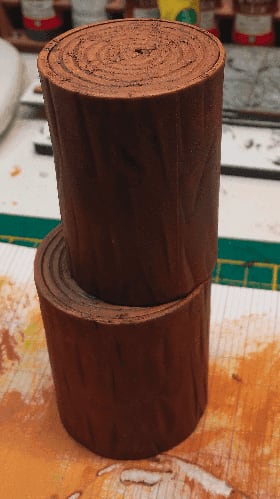
Adding some more colors.
Undergroup Aquarium plant
The Underground Plant
This is an aquarium decoration made of some kind of plastic. I wasn't really sure what I would turn it into when I bought it, but I figured I would find out as I was painting it.
The only modification I did was removing the starfish and adding some modeling paste before priming.
Ready to be painted.
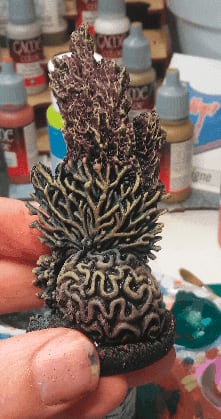
I wasn't really inspired for the color scheme here. I took some random colors and painted the various parts with them, then I drybrushed some yellow on top of it to homogenize the plant. In retrospect I should have used brighter colors because in its current state, it's hard to tell the various parts.
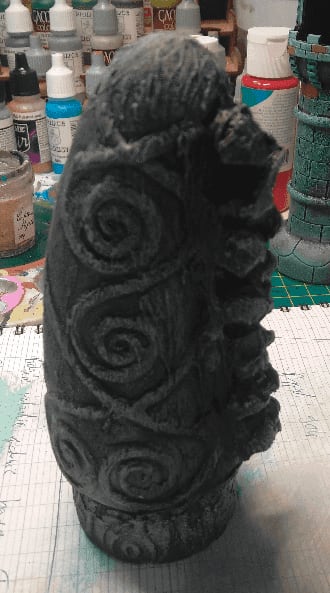
Torchlamp Menhir

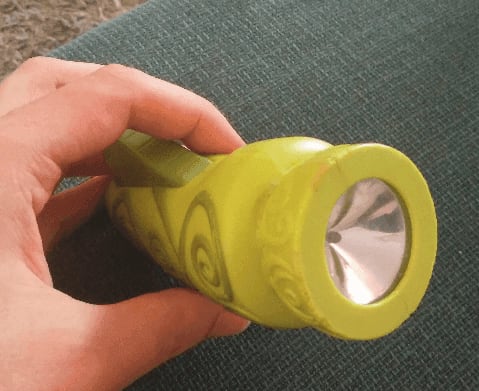
This is, I think, a HappyMeal toy. If you press the button it generates some light (as well as an horrible noise). I immediately saw how I could turn that into an elven monument.
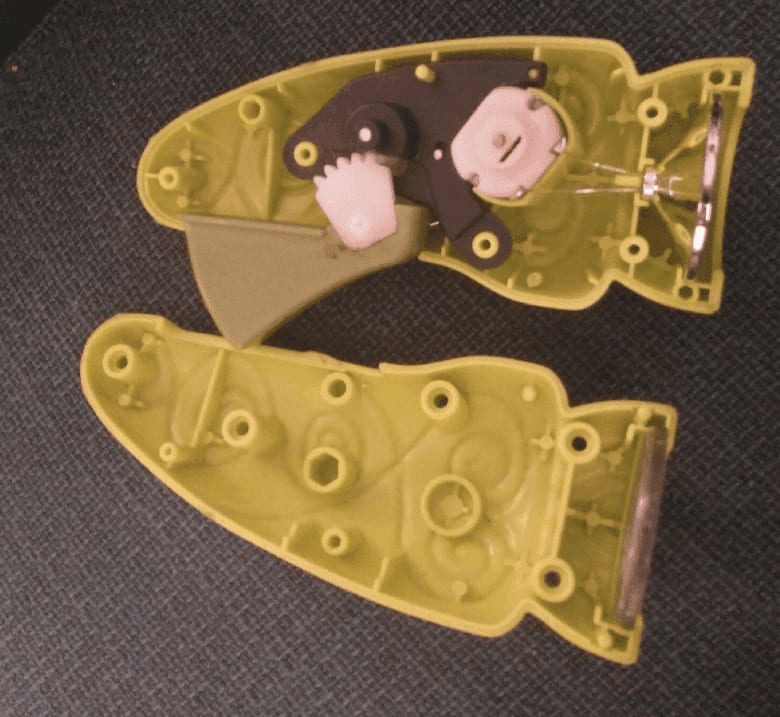
First thing to do is opening it to remove the mechanism.
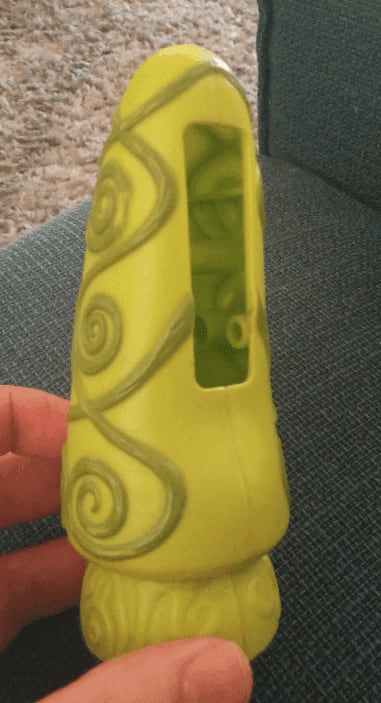
It left a large hole the side that we'll fix later, but at least it starts to resemble a menhir.
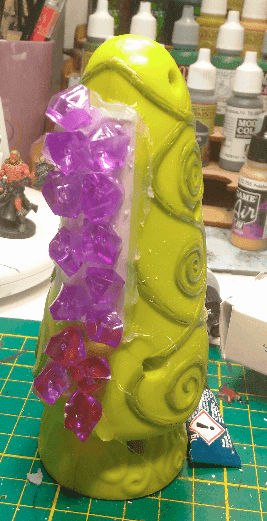
I filled the hole with a plastic bit, then glued some plastic crystals on top.
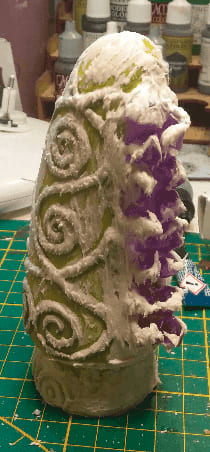
Modelling paste on top to give it this old, rugged stone look. I don't think I should have put paste on the crystal though, maybe just at the base for a smoother transition. Well, I'll now for next time.

I smoothed the surface using sanding paper so it removes all the little hooks creates by the modeling paste.
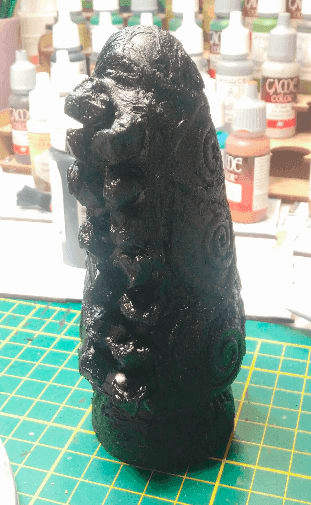
I primed it black and took a crappy picture of it.
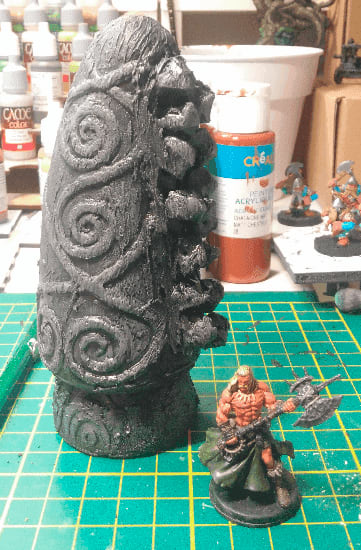
Ah, now with the drybrush it starts to look good.
Even better with a second, lighter, coat.
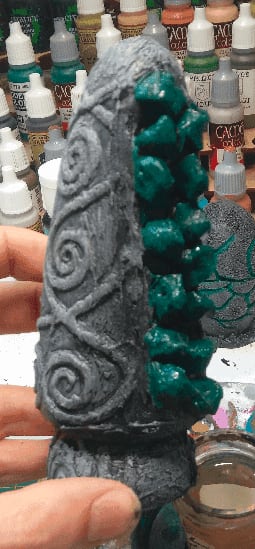
I started painting the gems in green. My plan was to make them look like emerald. I wanted to try to paint some gem effect, simulating light reflecting on it. I'm no expert painter so I was aiming for something basic, but that would allow me to hone my technique.
I painted the bottom two third of each gem with a slightly brighter green.
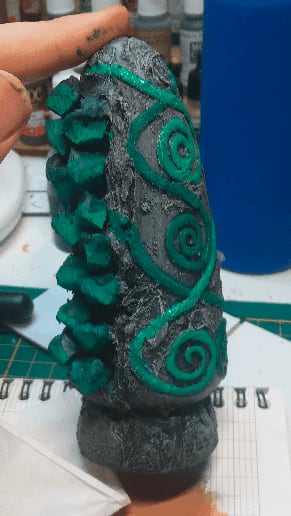
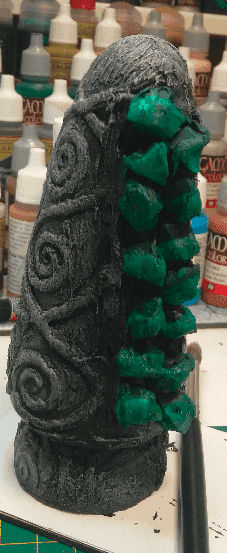
I also painted the sculpts in two shades of green.
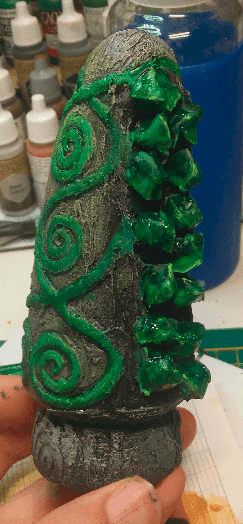
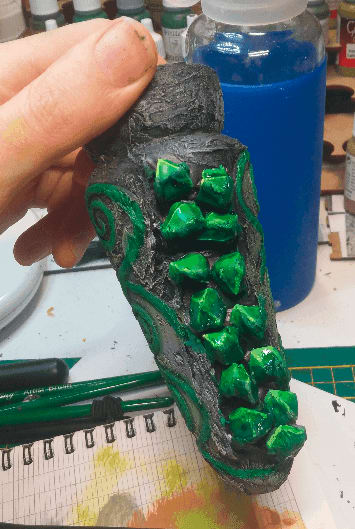
I then painted the lower third of each gem with an even brighter green. At that point I realized I had my effect reversed. I should have had the brighter parts of the gem on the top, where the light would hit them, not at the bottom. Nevertheless, I continued the effect, curious to see what it would look like.
The Green Tower
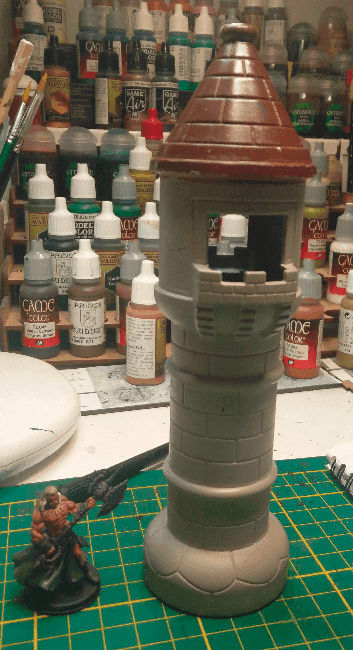
At first I thought I could add a small light at the bottom of the tower so it would light the upstair window. Turns out my lights were not powerful enough, so I reverted to making it a regular tower instead.
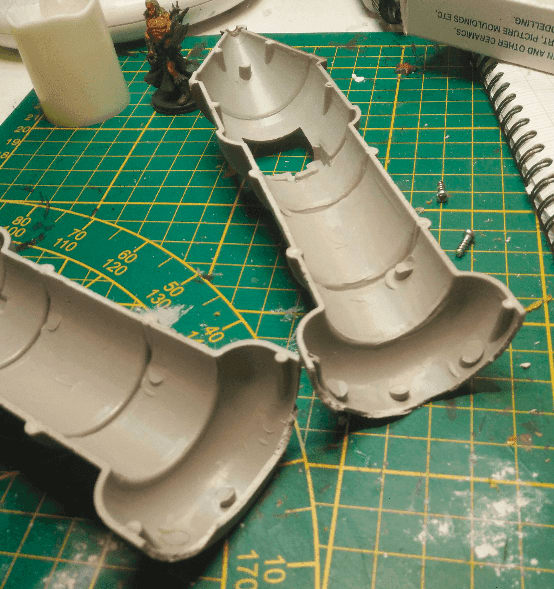
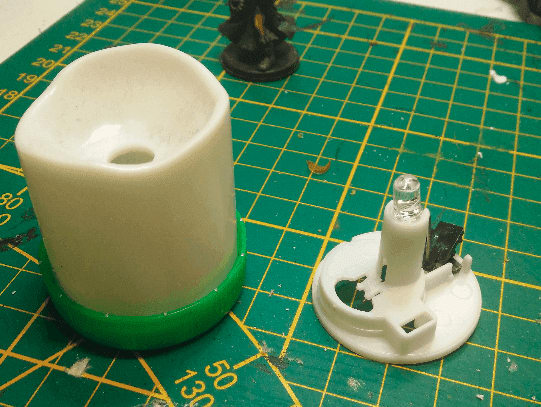
But now I had a top of a small light lying around. I put it in a bottle cap and thought maybe I could make it look like a broken pillar? I'll explain what I do with it in the next section.
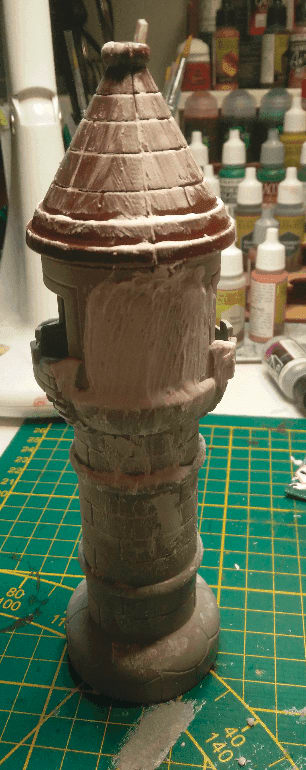
I did the same on the tower. Maybe too much actually, I wasn't really sure of what I was doing there to be honest.
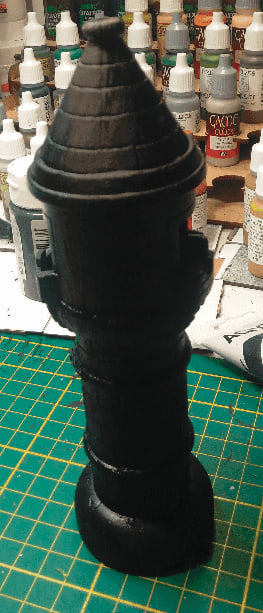
Now that it's primed, I should be able to add more details with a dry brush and better see how it goes.
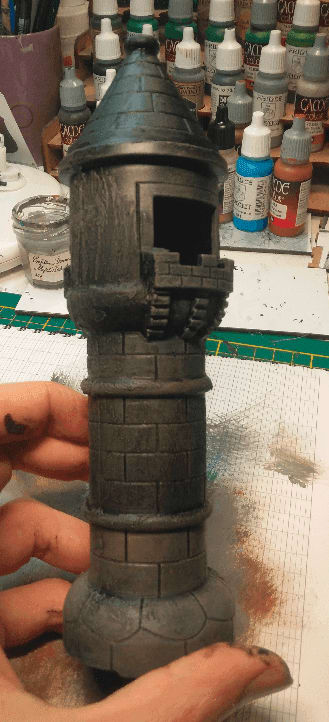
Ok, so the drybrush did bring some details. My brush wasn't totally clean from a previous drybrush so I had a few parts of brown as well. It's ok, it made it look a bit older.
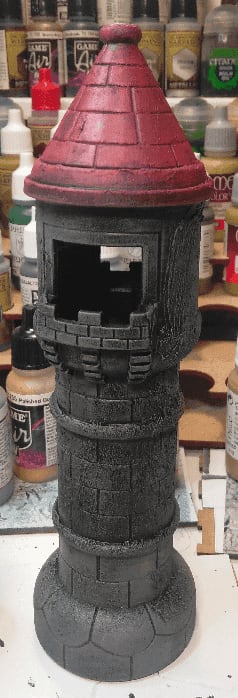
I painted the roof red, giving it an old Warhammer look.
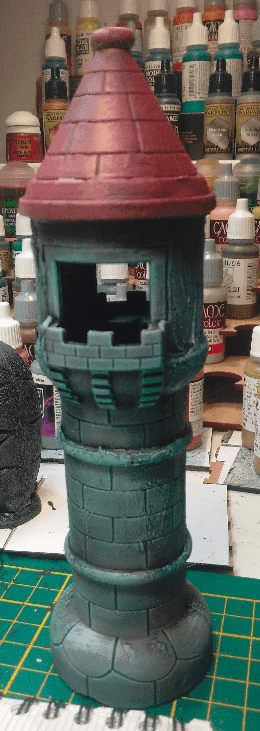
But then something unexpected happened. I started drybrushing some more light grey on it, but I didn't clean my brush correctly once again, and this time it added a green glow on it. At first I wanted to stop and clean the brush and then I got curious: what would happen if I paint it green? So I kept going. I expected that the green would be toned down with the wash I'll be adding later, so we'll see how it will turn out.
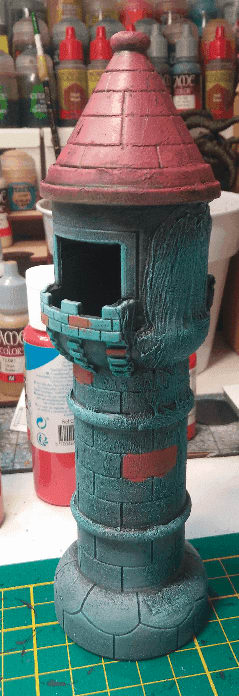
I painted a few bricks in another color for more variety. I think I should paint a few in a darker brown or gray as well. Maybe not too much as there isn't that many bricks in this tower I don't want it to look like it has too many colors.
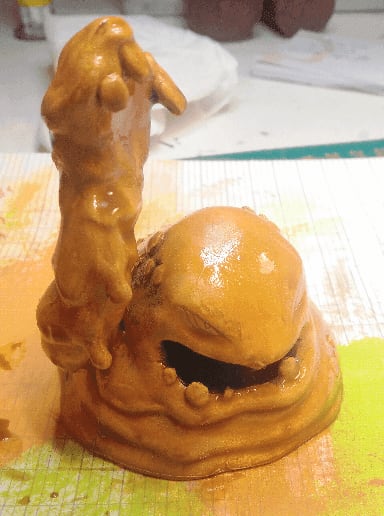
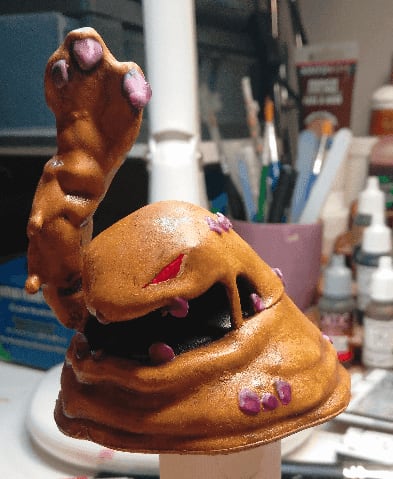
Quicksand monster
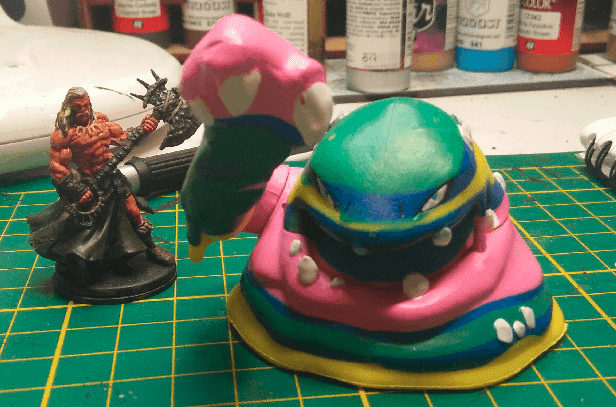
When I found the miniature I knew I would turn it into a kind of Ooze. I find it pretty hard to find cheap Ooze miniatures.
I didn't really know which kind of Ooze I would make, but then I realized Ochre Jellies are large Ooze, so that would fit and I was set on this idea.
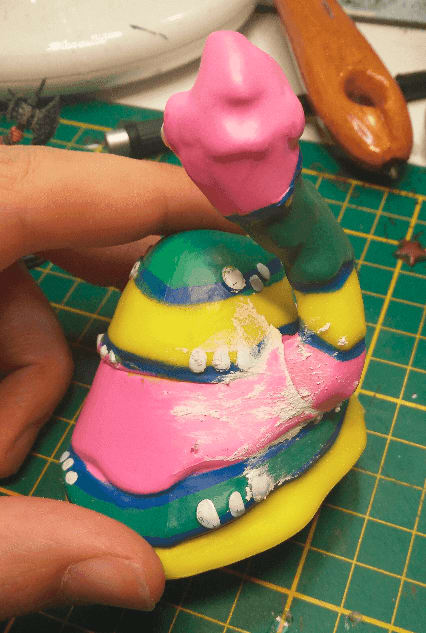
I glued the hand in place and tried to fill the gap with modeling paste. This is the only paste I have, but it is very good for that. I will need to learn how to use milliput/greenstuff.
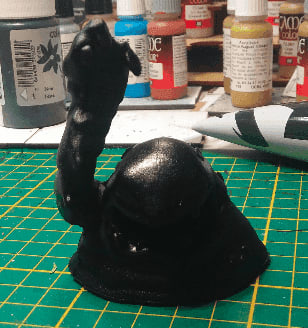
No more of this weird colorscheme it had before.
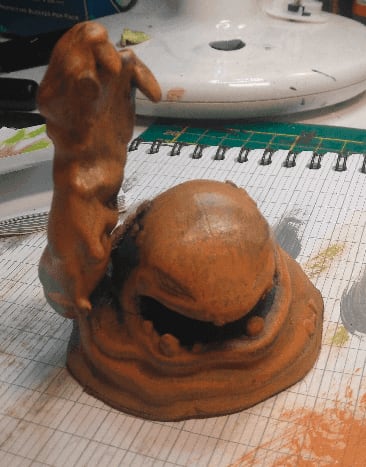
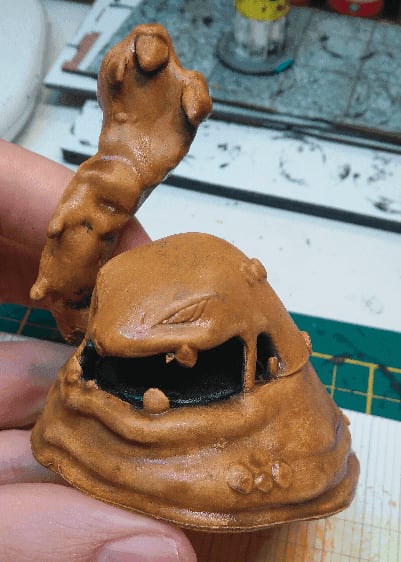
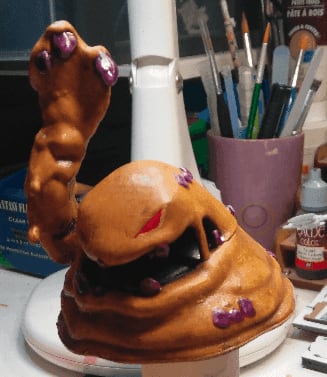
Heavy drybrush with some Caramel craft paint. It starts to look like an animated quicksand creature.
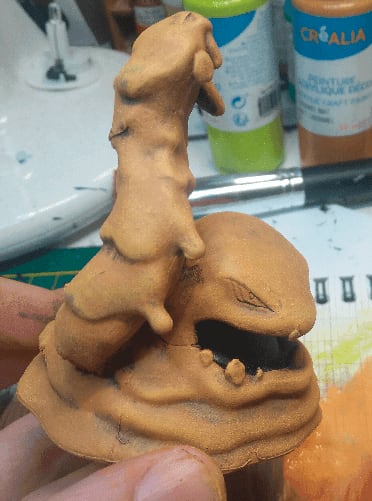
After more and more layers of drybrush, I'm starting to get this sandy effect.
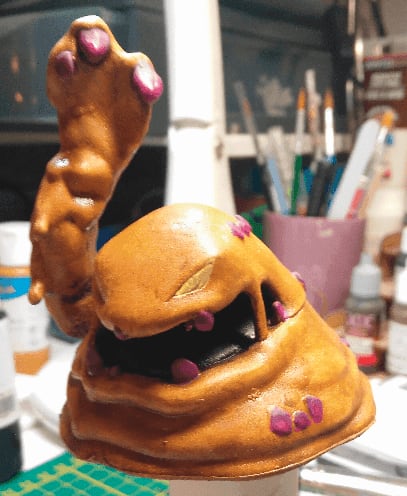
Adding a wash to increase the contrast of the recesses.
And once the wash dried.

I decided to stray away from my initial attempt at making an Ochre Jelly and went for a custom quicksand monster instead. I painted the rocks in a purple tint, to make it look like it's a stone-related creature.
I painted the bottom half of all gem in a lighter purple.
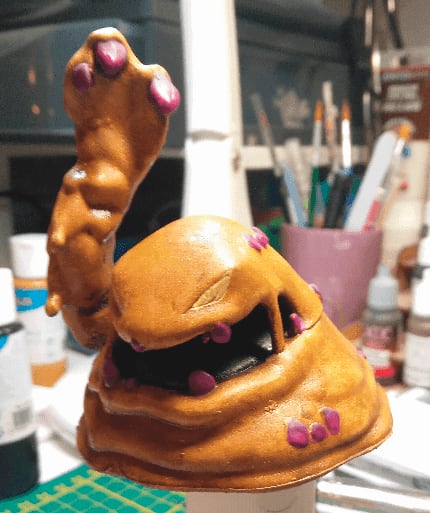
It's hard to see, but I added some even lighter purple on top of the gem.
The previous effect didn't work as I expected, so I started highlighting the edges with a white-purplish color.
I then applied a purple wash on the gems to try to blend the previous attempts together. As you might guess, I had no clear idea of what I was doing. I didn't check any "how to paint crystals" tutorial online and just went on experimenting.