Plastic Boats
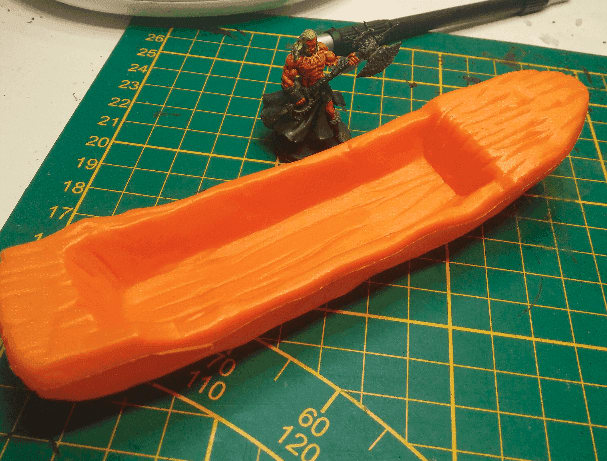
A simple boat carved out of a trunk.
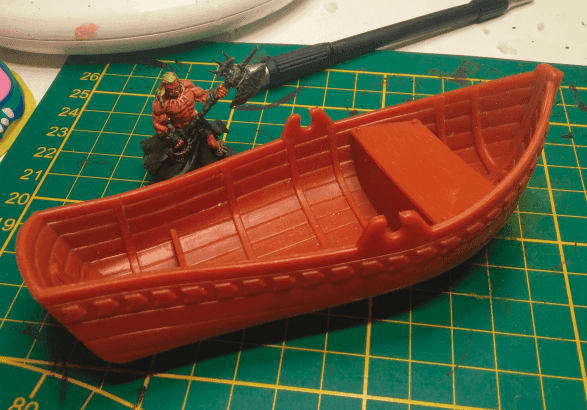
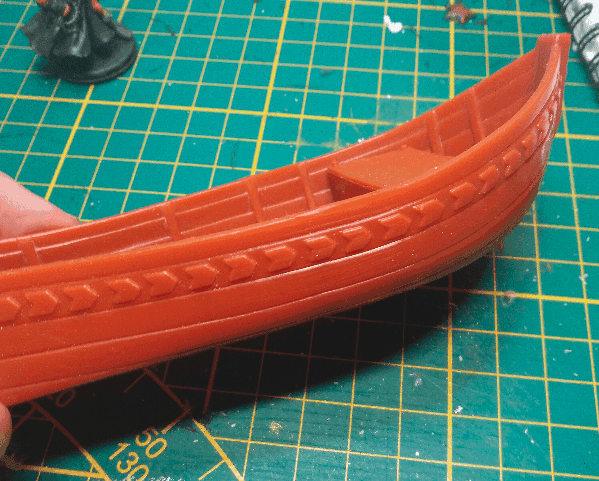
And another slightly more sophisticated.
I really didn't have much in way of preparation, just cutting the small plastic parts used for the oars and that's it.
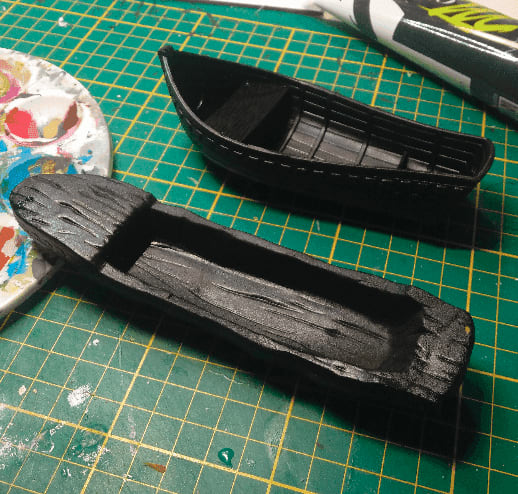
Priming them black as well.
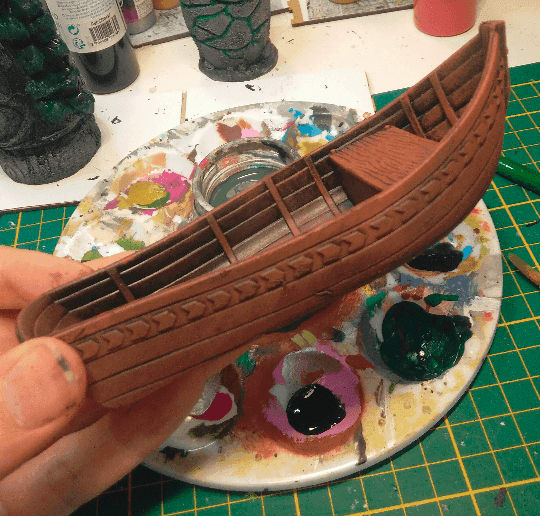
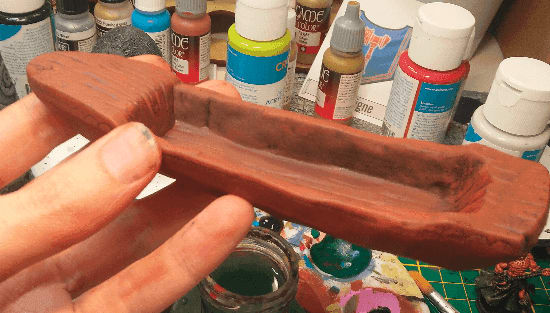
Quick drybrush of brown and they already look like I could use them!
Homeopathic tubes

I got my hands on those empty homeopathic tubes. I'm sure there is something I can build with them, but I haven't found exactly what yet.
I asked on reddit, and there were a few good ideas there, but I think most people have the wrong scale in mind. Those tubes are actually pretty small; slightly taller than a lighter.
Coaster Dungeon Tiles
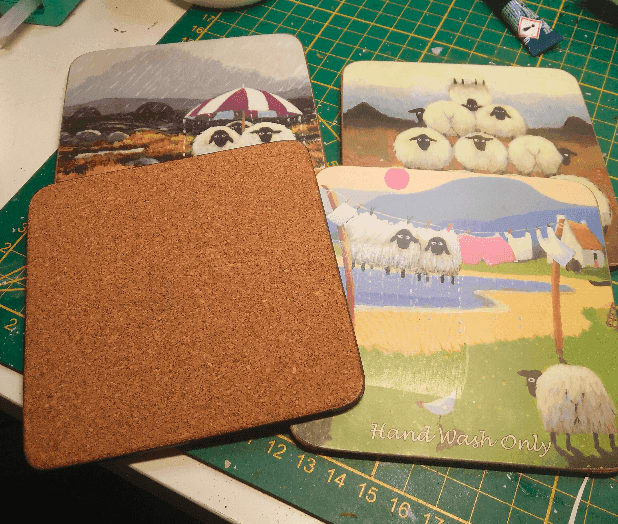
This are the 4 coasters for 50cts I bought. Full of witty jokes on the front and cork on the back.
I already had some Sewer tiles I made in the past from cork coasters, but they were unfortunately not the same scale. So instead of making more sewer tiles I decided to simply make regular tiles.
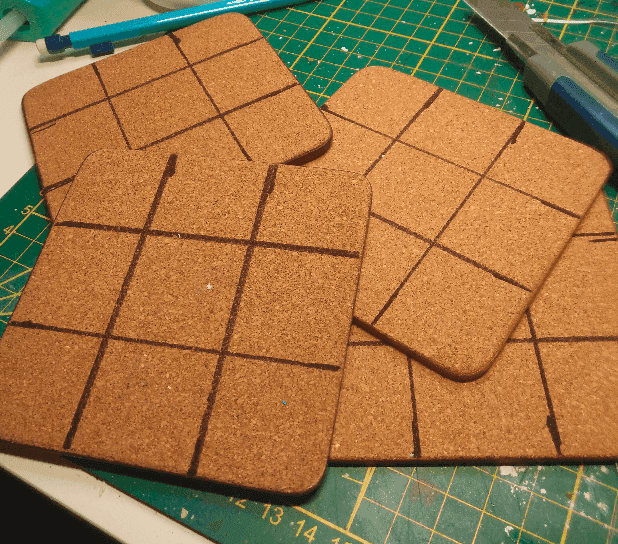
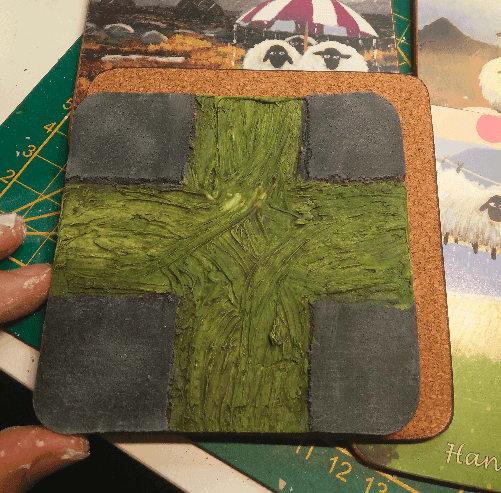
I divided them 3x3 3.5cm squares. I could have made them 4x4 2.5cm squares but I like my minis to have some breathing room. 2.5cm is the very minimum, and because I will be chopping some cork off to delimit the squares, it would have ended up too small.
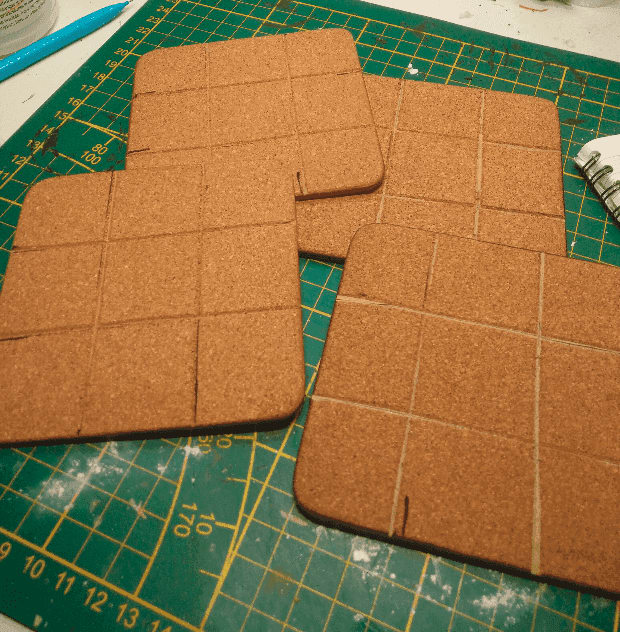
Cutting the fork along the lines.

Adding some irregularities to the patterns.
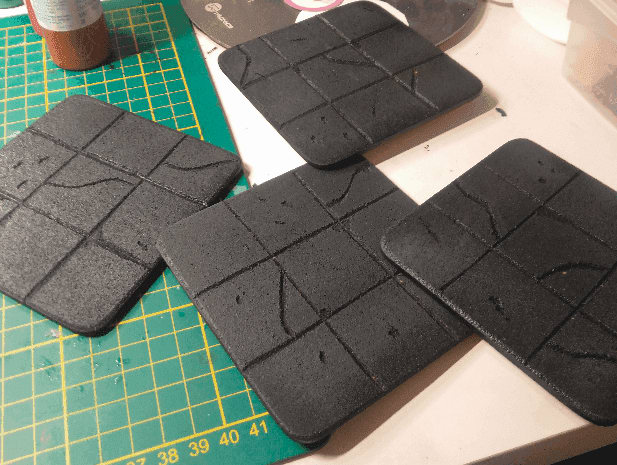
Priming them black. The good thing about cork (as opposed to foam) is that you can prime it without the spray melting it.
A little drybrush and they look much better already.
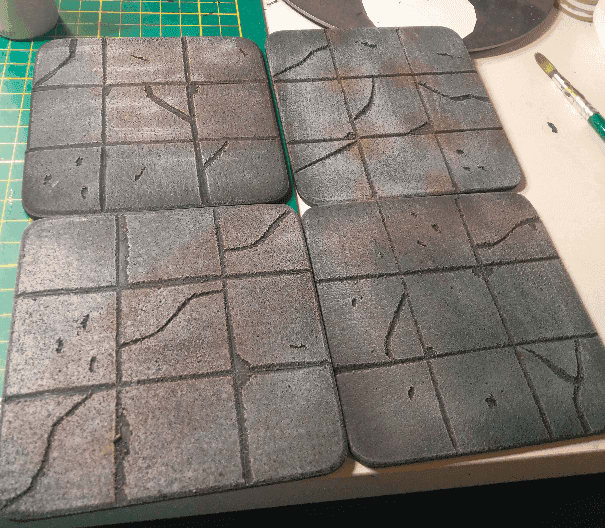
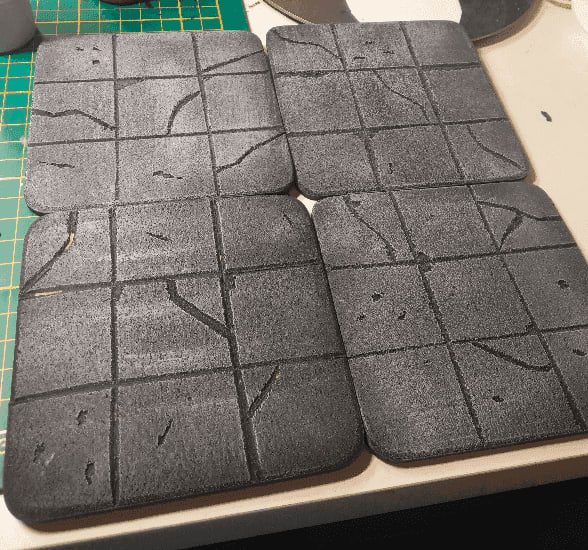
A second one with some brown and green. I tried to do some irregular patterns. The last thing I tried is on the top right, brushing on the corners of the tiles, I find it gives a nice finish, I should do more of that.
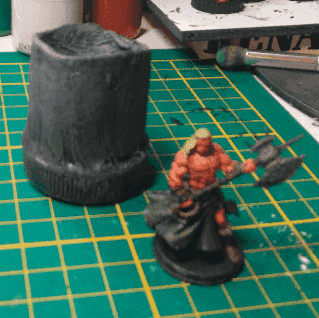
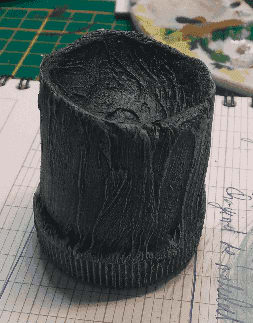
A broken pillar
So here is the broken pillar from the remnants of my attempt at lightning the tower.
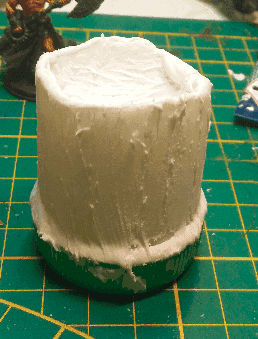
I applied a fair dose of modeling paste on it. This stuff is not good for filling small gap, but perfect to add some texture to any regular plain surface.
And sanded it.
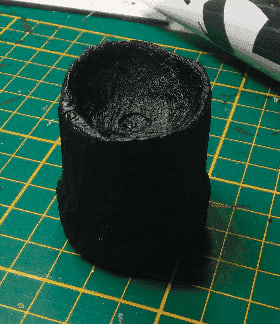
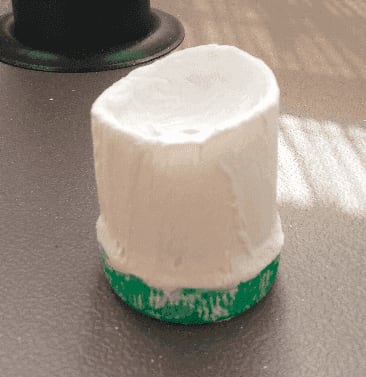
And primed black.
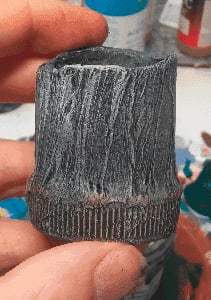
This looked a bit better. I can't decide if it really looks like a broken pillar or a bit of plastic on top of a bottle top.
The second dry brush gave a bit more depth. I think it looks mildly more interesting. At this point I'm starting to consider this more like a training ground than an actual piece I'll love to have on the table.
Added some grime at the bottom, to separate the base from the pillar.
Stronghand Garrison
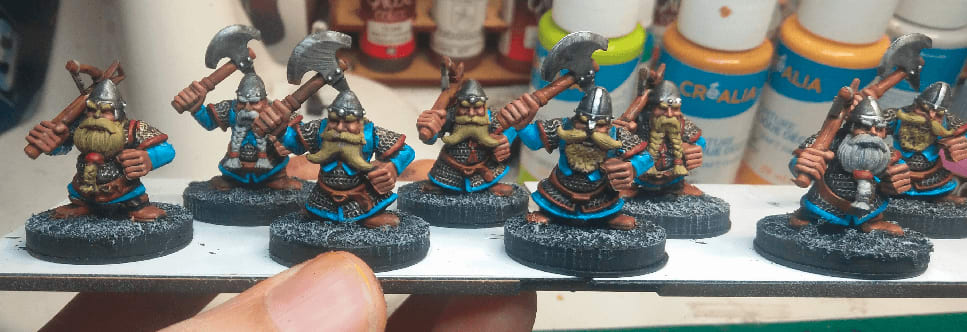
A full garrison of Dwarves from the Stronghand house, supporting the official blue and red colors of their house.
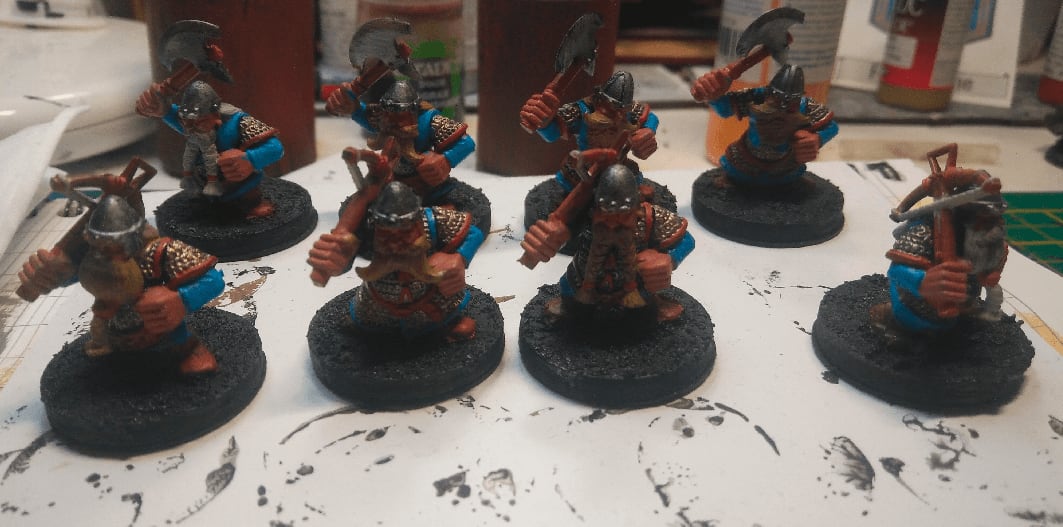
This is after an evening of basecoat.

And after a Nuln Oil wash and some drybrush on the bases.
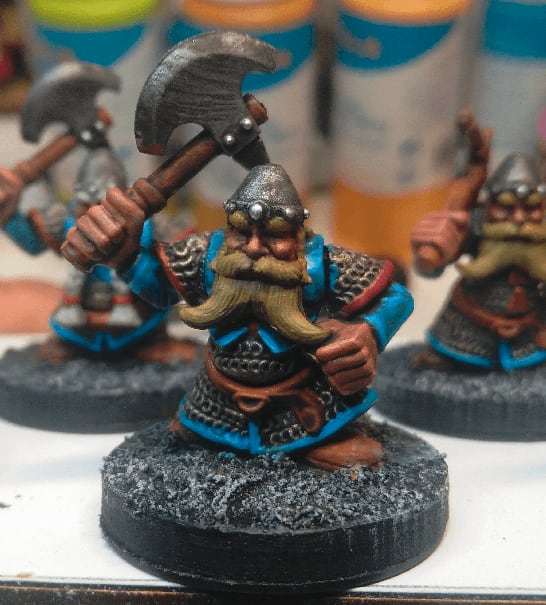
This is the first time I actually do highlights. It's pretty simple but effective. I just re-apply the basecoat colors on top of the wash, but only on the edges.
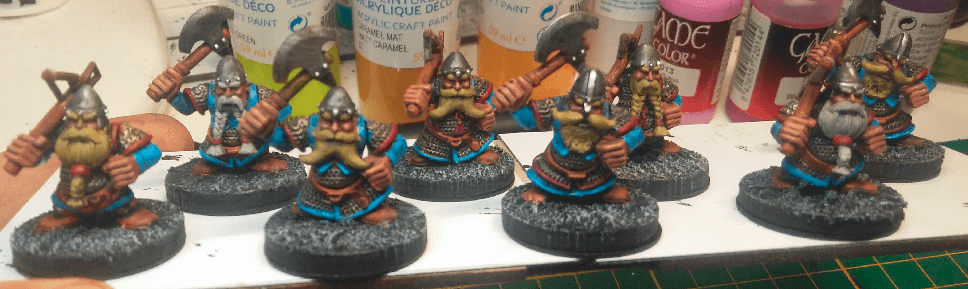
The effect is subtle, but I now feel like my miniatures look like the ones I used to see in White Dwarf when I was younger. I feel like I achieved something!
Zombicide Undead Giant

I recently had discovered the GW Android Application, and it was suggesting a set of steps to paint a zombie flesh tone. I decided that it was the right opportunity to try to paint my Giant Zombie, as it was giving me a lot of flesh space to experiment.

First basecoat of Pale Flesh. I wonder if I will paint all the flesh first, as suggested by the GW App, and the paint the other parts, or if I'll just block all my basecoats first. I've always basecoated everything first, I find it helps me better see what the miniature will look like. But maybe I should try something different?
Zombicide Orc Abomination

I was really uninspired by this mini for a long time and it sat on my table unpainted for months. Then I decided to try my new Citadel Contrast paints on it. It finally turned out better than I expected.
I used the green contrast on the white priming directly, used a brown contrast on the leather and then painting the metal in my usual way. The overall visual aspect is much better than what I would have achieved otherwise. Contrast paint are a great way to get it over with miniatures that don't inspire you.
Zombicide Ballistas

The nice thing about having two of those is that I can try two different painting techniques and compare.
The one on the left was dry brushed, while the one the right was painted. When I was dry brushing the first one I thought it was very tedious, so I went on to painting the second one, hoping it would be easier. It turned out that it was even worse. This first basecoat was pretty boring to do.
WoW Bat Demon

In my current game, my players woke up an ancient Bat Demon during one of their exploration. I didn't anticipated that, so didn't had the right mini for it. I painted that shortly after the session, being the closest thing to a Bat Demon I could find.
In retrospect I'm happy with the fire effect. It's not fantastic, but it works. As for the rest of the colors, I think there is not enough contrast here. I should have put a lighter wash on the flesh of the wings, and/or used a more golden metal for the armor parts.
Toy Cannon
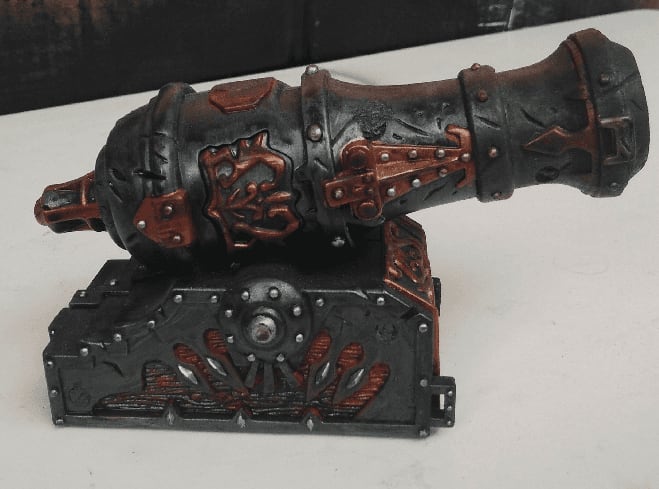

Repainted a toy canon.
I don't have pictures from the initial toy, but I did that repaint to test out my metallic paints. I also added some Typhus Corrosion on the nose, but I think I should have added even more for such a large cannon.