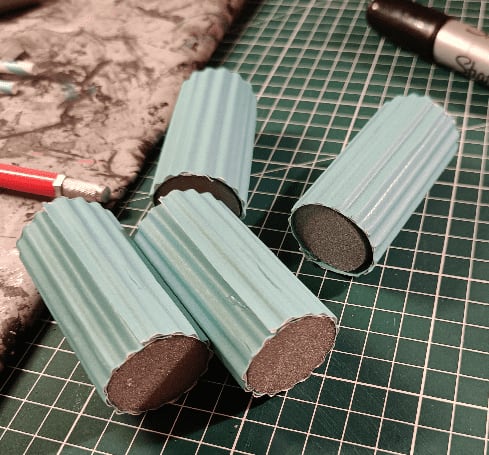
Zombicide Stair Tiles
The final type of tiles to do were "Stairs" (or Legde) Tiles, to get out of Sewer Tiles without incurring movement penalties. As one can get out to street level or dirt level, I had to make two different types of them.

The brown ones are simply made by rougly cutting diagonally a piece of foam, then adding spackle to smoothen it out and some sand for texture. The Stairs one are made by cutting the foam at two different stages and texturing it with the usual brick pattern.
Zombicide Sewer Tiles

I kept going on the Zombicide Tiles, this time with the Sewer ones. In Zombicide: Green Horde, some tiles are covered with sewage. Movement is slower, and they are supposed to be lower in the ground than other tiles.

I used a fine layer of foam on top of my coaster. I then applied texture with a texture roller. As the foam was very thin, the roller manager to correctly imprint its texture.
I drybrushed some gray.

And added some colored ink on top, to give them some grit. I picked various beige, gray, brown and green and used two random colors on each tiles, for variety.

I then covered the edges with masking tape, and started pouring some silicone into them. I slightly tinted the silicone with green ink.
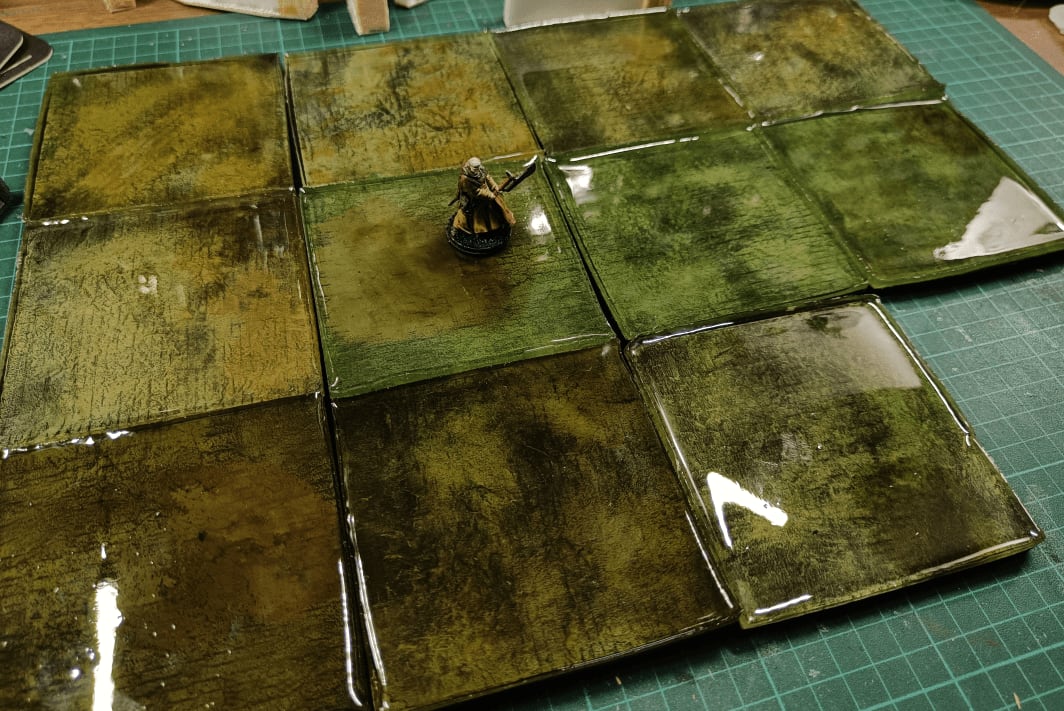
This came out great, but the edges were all slightly curved, so I had to level them back.

For an added layer of grimness, I added two drops of my original inks in top, and mixed them.
Bead Torches

I realized I needed more torches and braziers to act as dressing in my adventures. One scenario specifically that I intend to run by my players requires them to be wary of light sources, so I needed a way to represent such light sources.
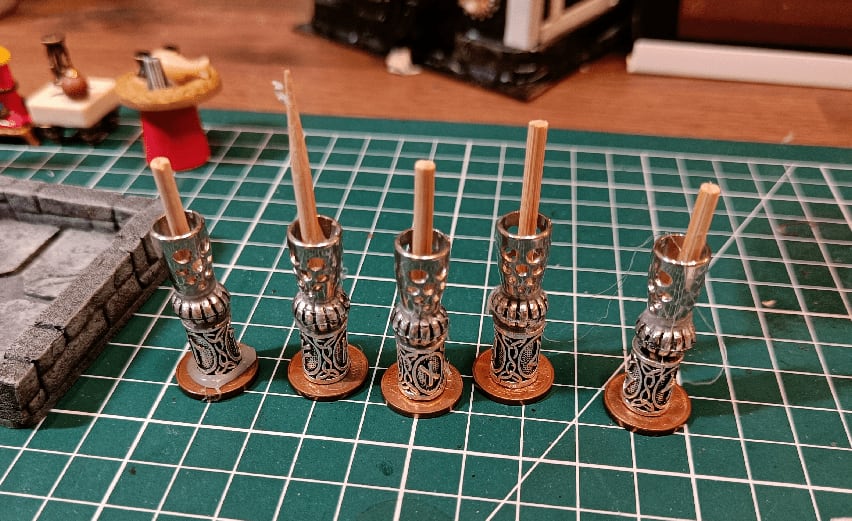
I stacked a few different beads and stuff I had. Added small skewers in the middle for stability, and filled them with hot glue. Then I added more hot glue around the top part to kinda look like a flame (not very well done, but that will do).
Before/After Mansion Scatter
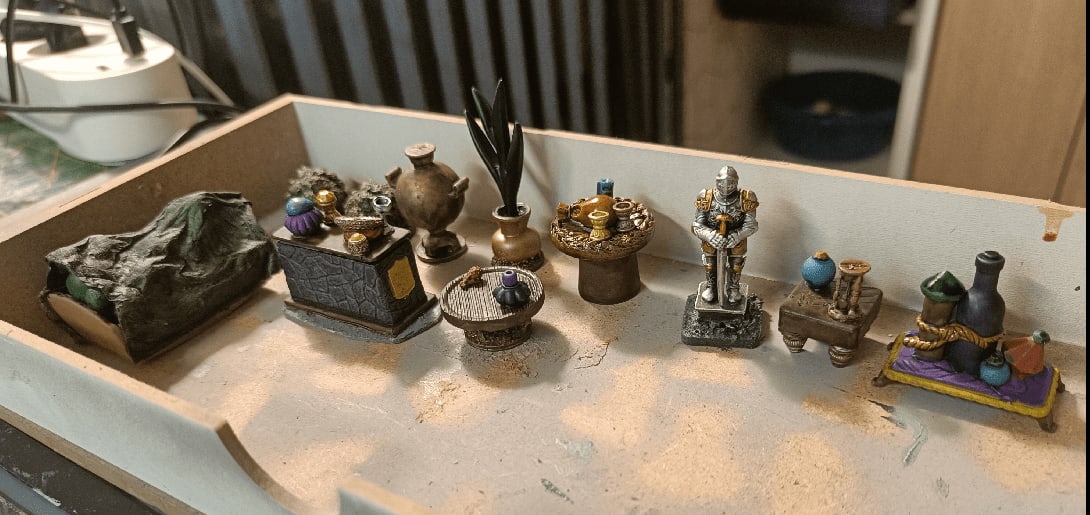
Dungeon Tiles are great, but they are not enough to convey the mood of each room adventurers explore, especially in large dungeons.
Scatter pieces, or dressing, are what really "sells" what a room is about. So I decided to extend my collection of scatter bits, suitable for what you would find inside of a mansion.
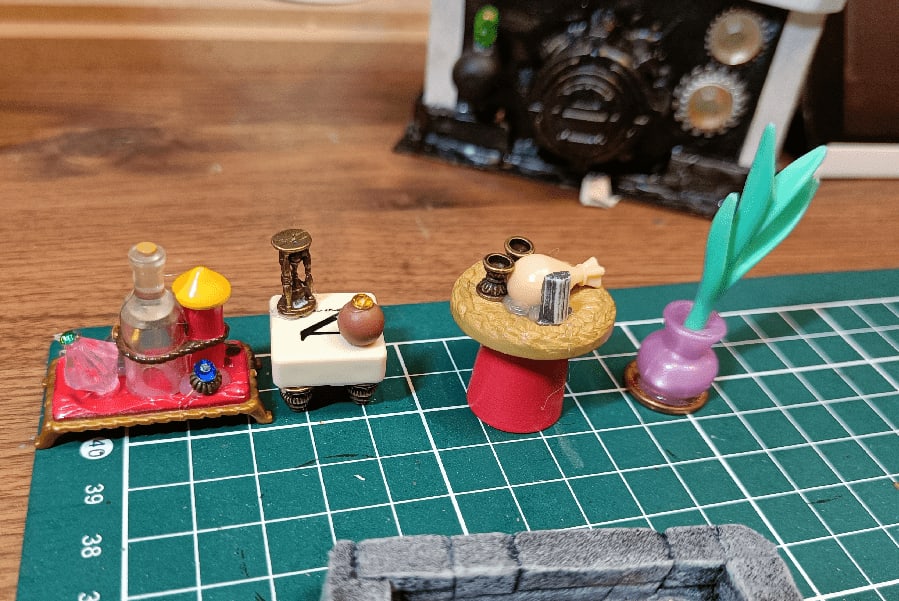
I took various bits from my bits drawer, glued it all together, trying to have some interesting shapes.
I found toy vases (Playmobil and others), added a few balls of tinfoil into them, then glued real foliage flocking on top, to make small decorative trees.
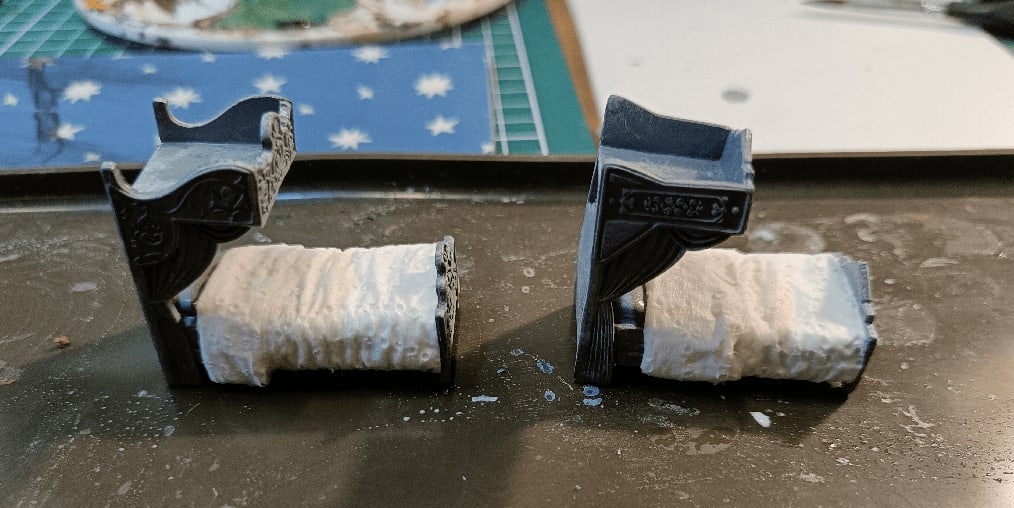
I recycled my daughter Elsa and Anna beds (from a Frozen toy). Added bed linen made out of tissue paper on top. I don't have much picture of the final painted result, but... it doesn't look very good.
Collapsed Dungeon Tiles

I sometimes need to mark some areas of a room as collapsed. Even for no specific reason, adding collapsed markers help create some difficult terrain and some challenge in encounters.
For the scenario I intend to run, the dungeon map indicates some areas as collapsed. Instead of crafting collapsed marker and making sure they would fit in my dungeon tiles, I decided to directly make collapsed dungeon tile.

I started with regular dungeon tiles, and added some shape with tinfoil.

More foam bricks, balsa beams and some plastic columns.

Then glue, sand, more glue.
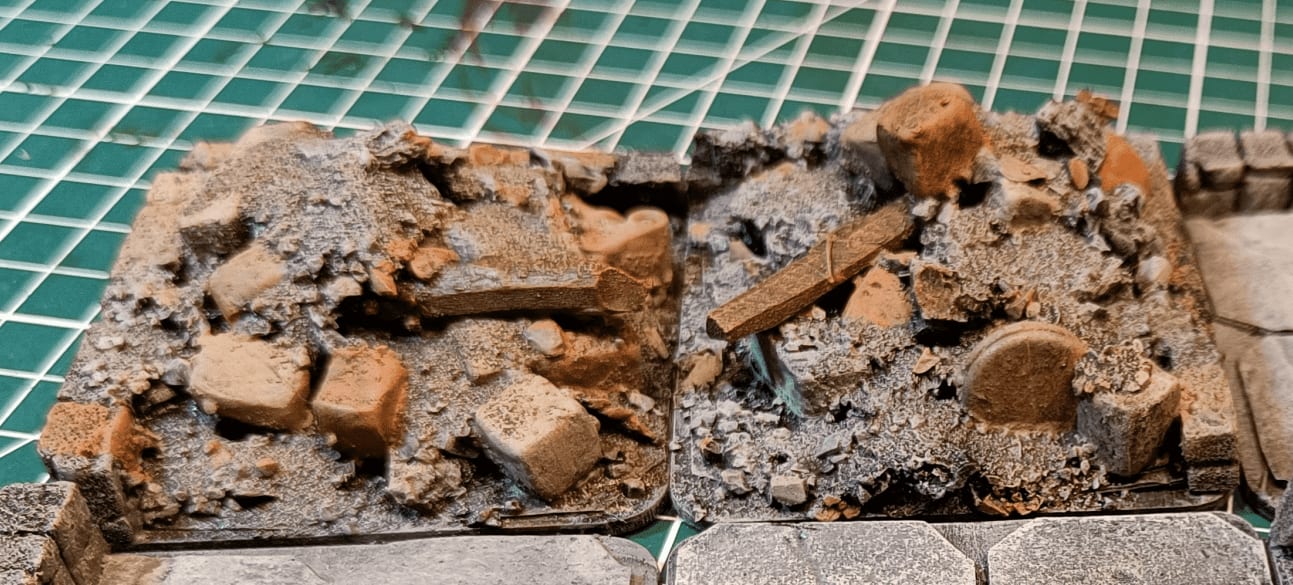
And we paint that in a few different shades.
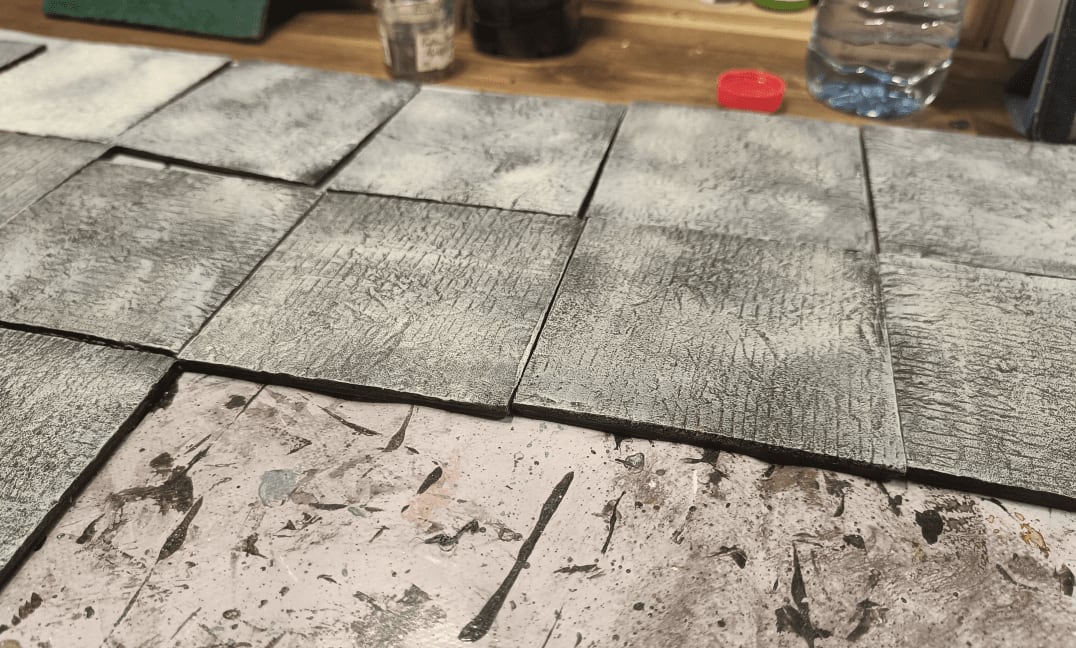
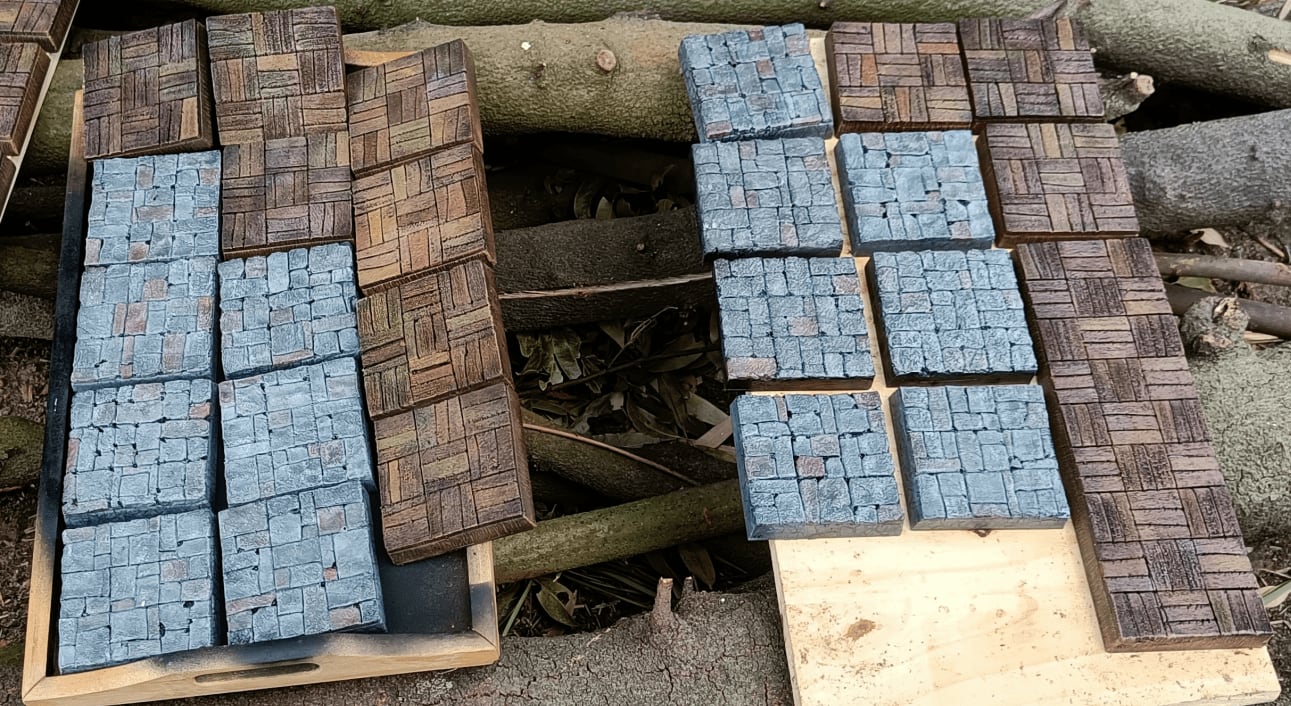
Zombicide Wooden Tiles

After my stone and earth tiles, I also needed to work on the wooden tiles. As you can see in the picture, I made some simple and some double tiles, to represent the two sizes of rooms available in Zombicide.
Those wooden tiles are meant to represent the inside of houses. I know that in the official tiles of Zombicide, not all houses have wooden floor, but with the 3D representation I'm going with, it makes distinguishing the difference between inside and outside easier to have all insides wooden.

Similar to the stone tiles, I start with the basic pattern. Each square is made of three wooden slats, and I alternate the orientation so all squares are perpendicular to each other. I also add a line on the side, to give the 3D illusion of a floor.

Before applying the black layer, I did brush every single slat with a steel brush, to simulate the imprint of wood grain.

Initial overbrush of brown.

First drybrush of light brown. I didn't apply it everywhere, instead I did some circular motions here and there to give it a random look.

I did use different kind of browns, at an attempt at simulating different kind of wood. I wouldn't be able to replicate it if I wanted, but I like the variety it gave me.
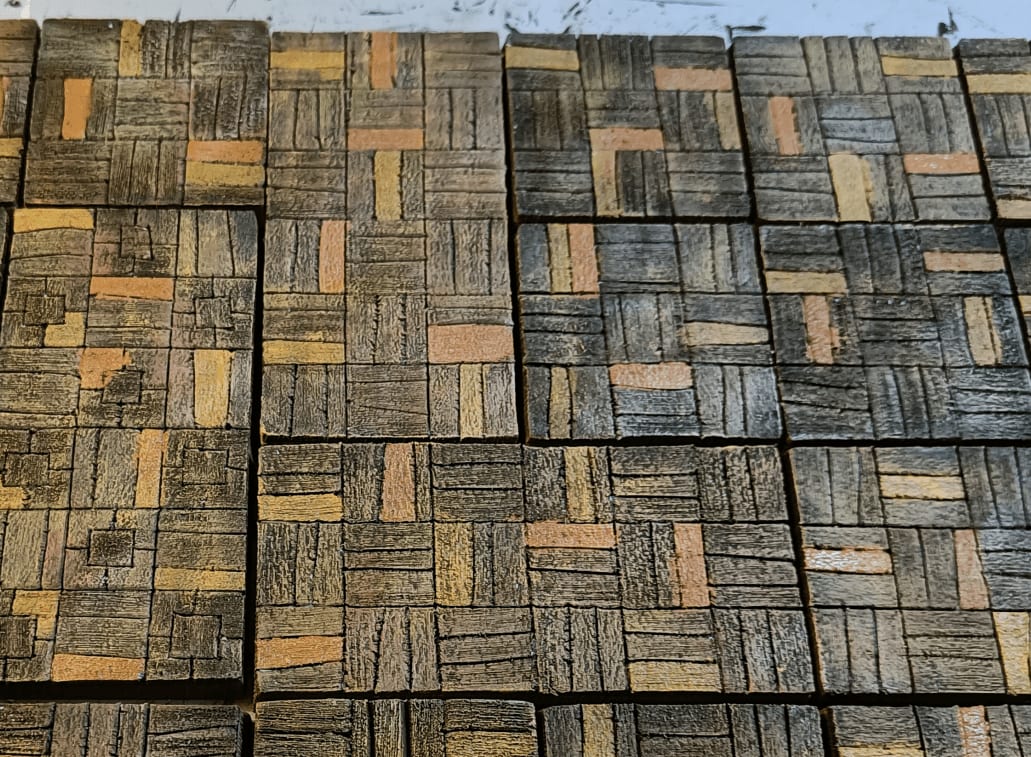
Same as the stone tiles, I did paint randomly some slats in a different color. Once again, it's a way to add visual variety and the the final result doesn't look like one big brown area.

And here is what it looks like once finished.
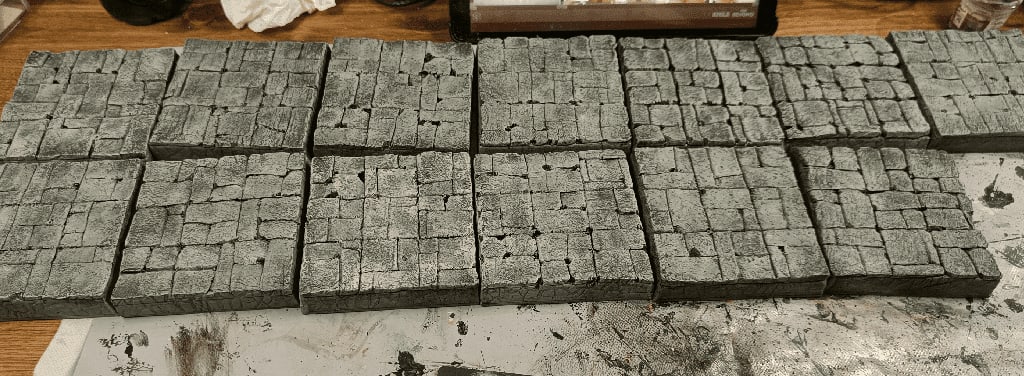
Zombicide Road Tiles

Next up would be the road tiles. For those, I went with a stone pattern that still let see the 3x3 matrix inside. I thought that even outside of Zombicide, I could use those tiles in other tabletop games.

I started with the same layer of foam glued on existing wooded squares, and cut to size. I traced the initial 3x3 matrix (each square is itself 3cm per side).
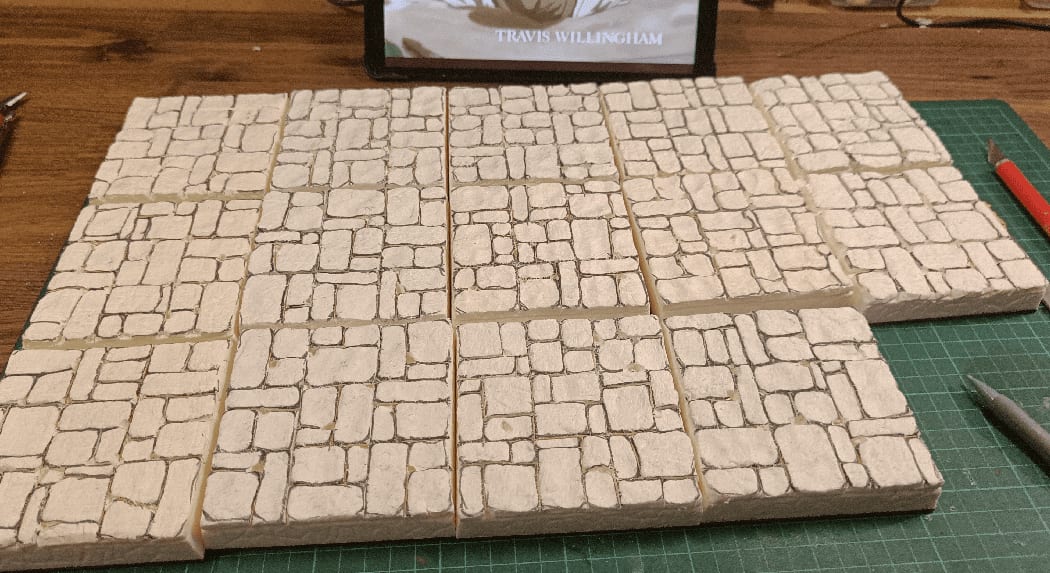
I then carved each square in stones. The full process isn't shown here but what I do is split each square in two alternatively horizontally and vertically. I do not put the separation in the middle, but always slightly off.
Then, for each square split like this, I split again randomly one of the sides. Sometimes I split both sides. Sometimes I split one side twice.
Then it's a matter of carving a thin line with an exacto knife, making it bigger with a pen, and rounded the corners by going along the curvature. It takes times, but is easy to do, so you can definitely do it while doing something else (I watch Critical Role myself while doing it).

Cover in black.
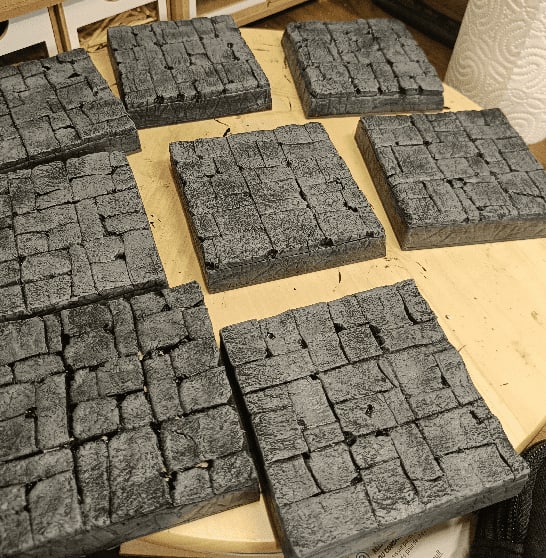
First gray overbrush.
Drybrush of a lighter gray.

Adding various grays and browns in what I call the "Chocolate Phase".

Darken everything with a black wash.

And drybrush everything one last time with light tan, to unify it together.
And here they are, drying after the varnish, along with the wooden tiles.
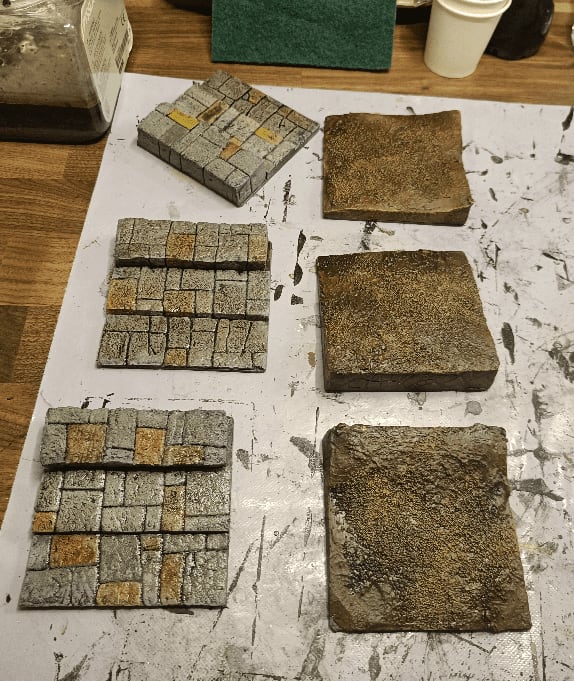
Zombicide Earth Tiles

I have started a large project of recreating 3D versions of the Zombicide: Green Horde board. I did a first version with MDF boards for each large tile, but this time I went with something more modulable and that hopefully took less storage: individual squares.
Each Zombicide tile is made of squares, on a 3x3 matrix. Each square can either be the inside of a building, or the outside of it. The outside squares have some variety. You have the deep water tiles, and the high ground tiles. The ground tiles themselves are split into two type, for aesthetic purposes only: stone road and earth gardens. This means that you basically need 4 different types of squares:
- Water tiles
- Wooden (interior) tiles
- Stone tiles
- Earth tiles
This post is about the making of the earth ones.

I cut glued isolation foam to square pieces of mdf I bought. Then I cut the foam to the size of the board. Each board is about 9cm x 9cm. Gluing first, then cutting allows me to have clean cuts and each square with the same dimensions.
Then I rolled a texture roller on it (really heavily) to imprint some pattern. It won't show much once I'll add the texture and paint, but where it does it adds a nice effect.


I then added added glue and baking soda, to add some rough texture. This was a big mistake, as I'll discover later. Baking soda seems to react to either the sun or the heat, and even painted it turns white again. This ruined my paint job a few times in this build...

I also added fine sand here and there, which is a different texture, bigger grains.

Then basecoated black and with a first drybrush of brown, we can still see the three layers of texture: the roller, the baking soda, and the sand.
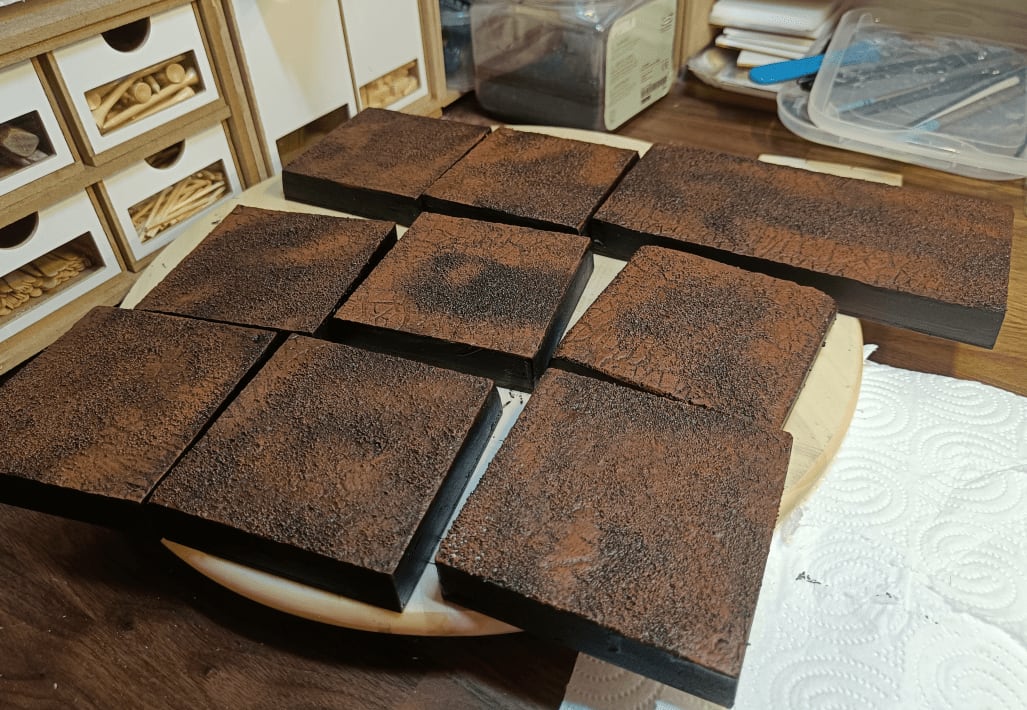
I continued with a lighter brush.

And some tan on the sand texture.

This is the ruined effect I was talking about. At some point I had to clean my desk, and I put my (still running) laptop on top of the tiles. Somehow the heat of the laptop reactivated the baking soda and my painted tile turned all white again.

It looked horrible, like mold.

Thankfully, it was simply turning white, so it was easy to cover it back in brown with diluted paint. It ruined a bit the effect and I had to re-apply the various dry brushes.

And , being extra careful not to put the laptop on top, I put them outside to varnish them. The moment the sun hit them, then turned white again. I still varnished them, thinking that hopefully the varnish would protect the baking soda and prevent it from become white again next time.

Thankfully it worked, and I could turn to finally flocking them, with small patches of greenery. I wondered if I shouldn't have done it in reverse: mostly green with only patches of brown instead of that.
What I learned
Not using baking soda for texture. Or really mix it heavily with paint first, and then apply it. Since that episode, I avoid baking soda much.
WoW Miniatures
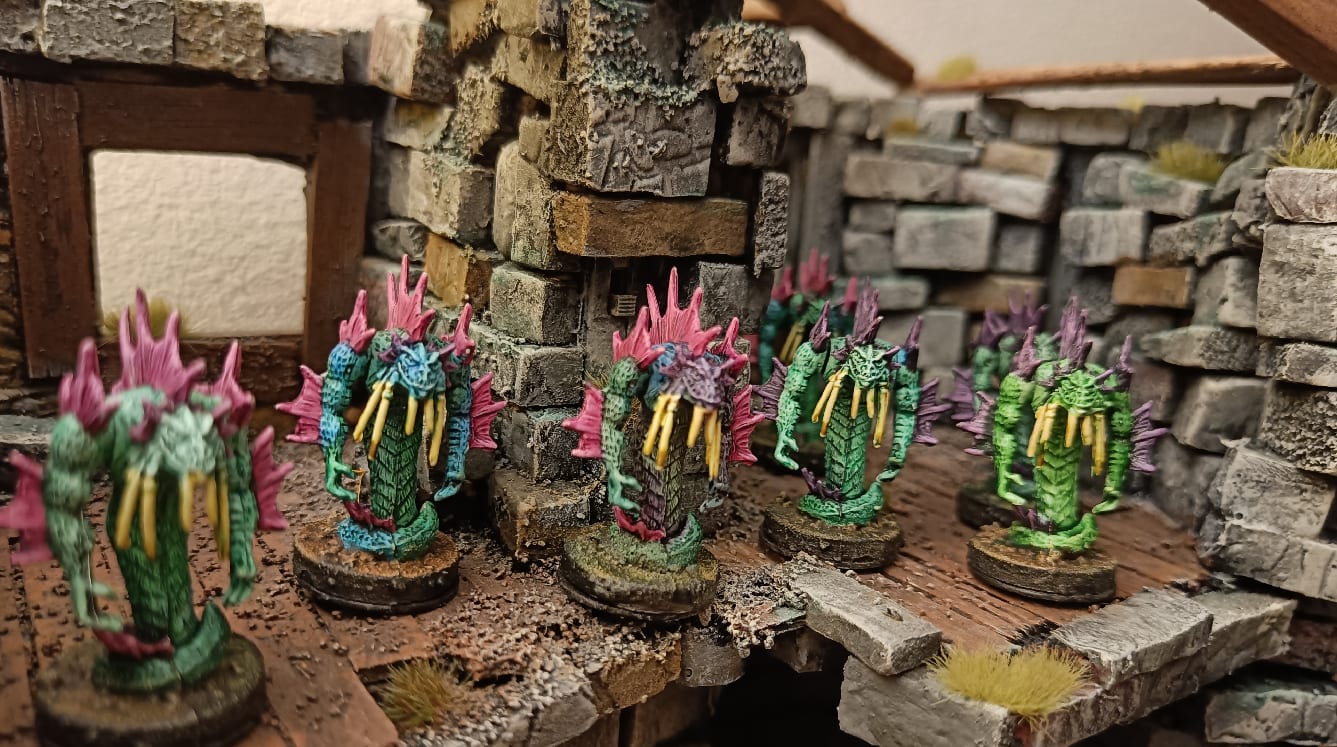
I used some of my new acquired Speed Paints to paint a bunch of World of Warcraft miniatures I had. The miniatures are coming from the board game, that I bought second hand, and never played. I only kept the miniatures.
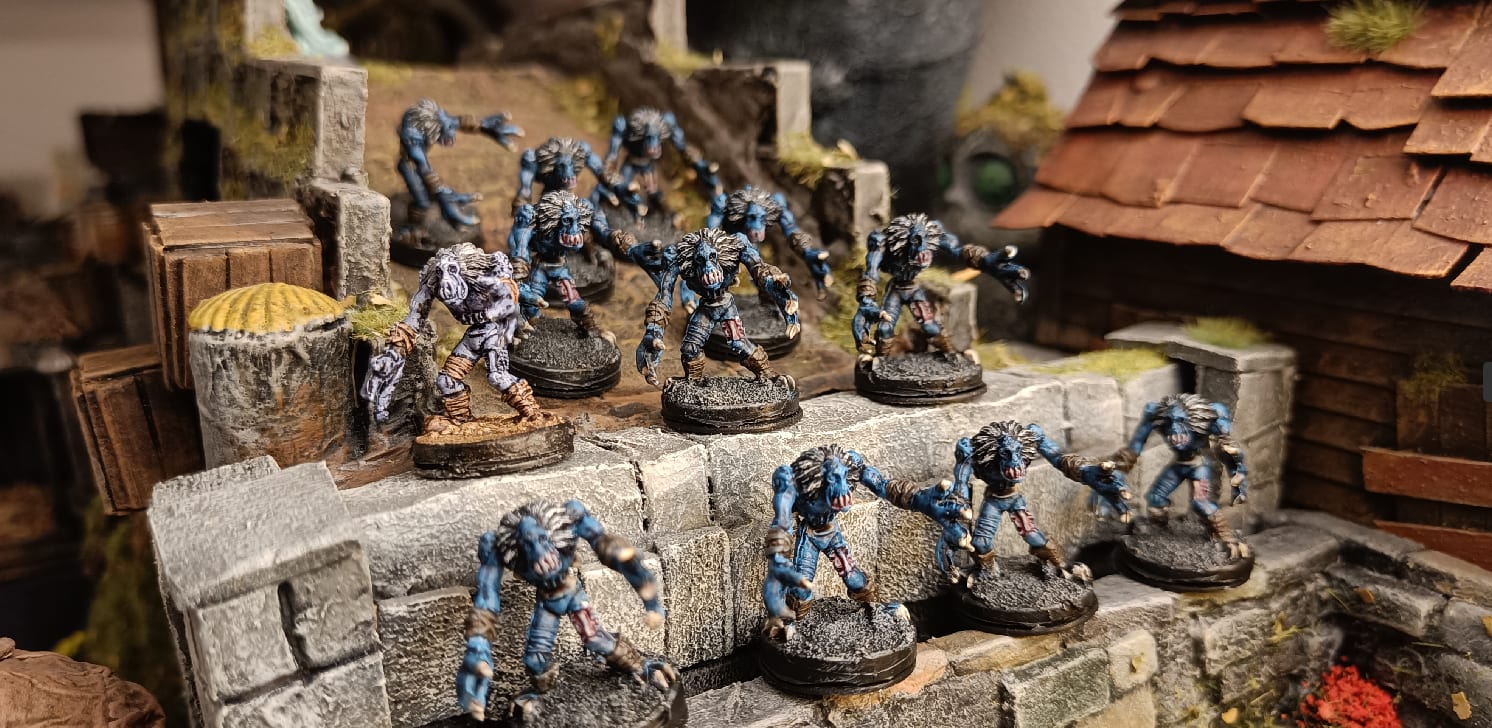
The ghouls I had already started painting in a more traditional fashion before getting the Speed Paints, though.
Grrmrlllbbbb!
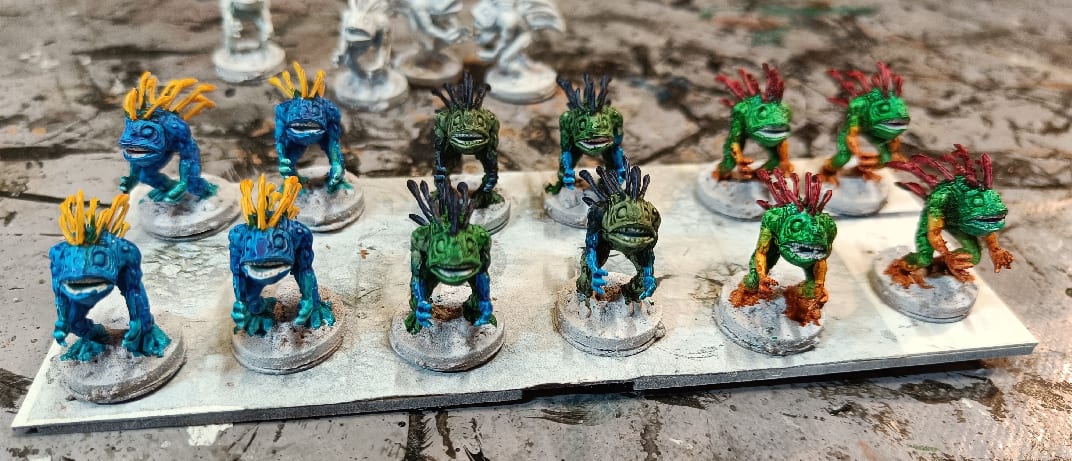
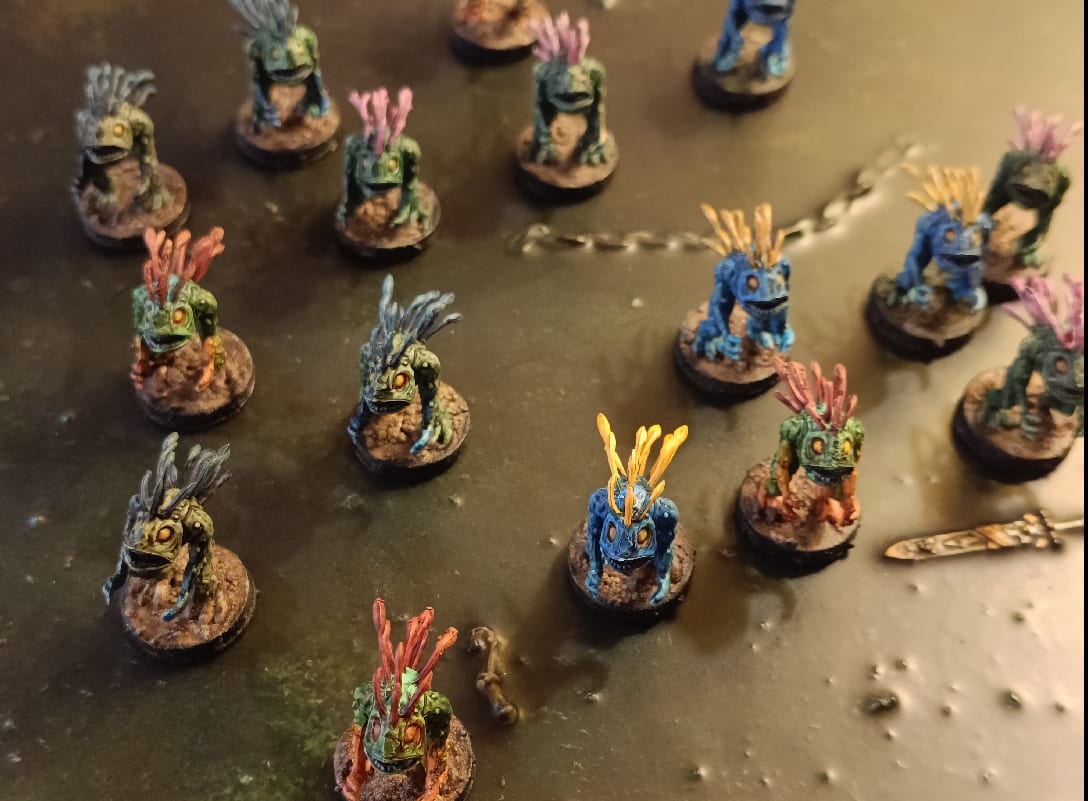
For the murlocs, I did the traditional Murlocs colors, and some I painted in more muted colors, like the Drowners from the Witcher serie.
With the Tritons and Murlocs, I have enough miniatures to populate a Sea/Swamp type encounter if needed. They are smaller scale than my usual miniatures, so they could easily represent low level creatures.
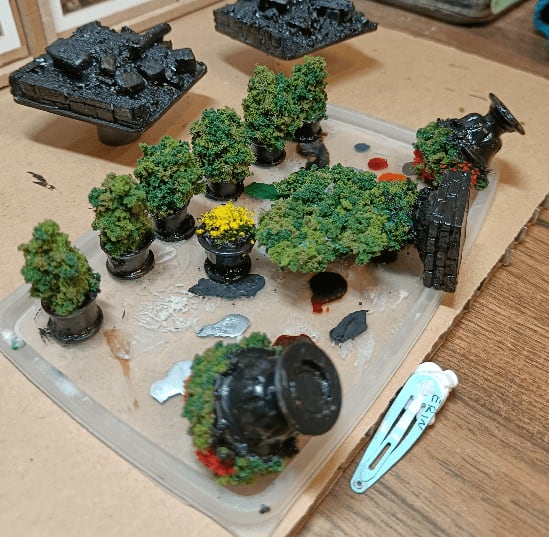
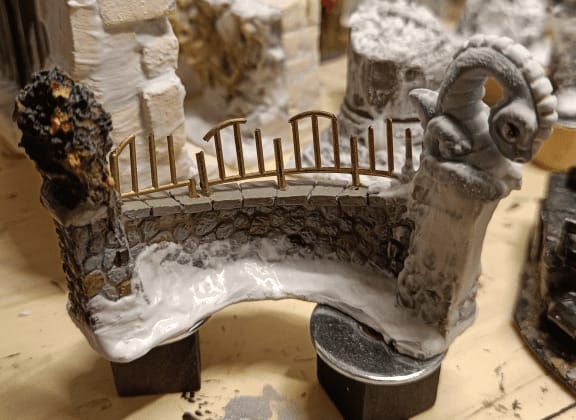
Random Scatter: Pillars, Walls and Altars

This is one of those builds I didn't really know where I was going with it, but just kept building, and learn along the way.
Pillars
I was watching an episode of Critical Role, and there was a nice epic battle in a cathedral, with huge pillars blocking line of sight and adding interesting tactic to the battle. That made me want to have some large pillars as well. Not only small ones for dressing, but larger one that force players to take line of sight and movement into account.

So I gathered everything I had that could remotely help in building pillars. Plastic tubes, foam tubes, corrugated cardboard, etc.

For the large ones, I cut a bevelled base in the foam tube, added a heavy metal washer for weight and glued everything on a square wooden tile (the same I use for my dungeon tile system).

I then glued old pharmaceutical tubes in a circle to simulate columns, and topped it with another bevelled foam slice.

To make the texture a bit more rough, and cover the areas where various parts meet, I covered it all with a goo made of glue, paint, sand and small rocks. In retrospect, it wasn't such a good idea because it gave a too rough texture. I was planning to have them work as underground dungeon pillars, but the texture was so rough that I had to turn them into outdoor overgrown temple pillars.

For other pillars, I directly used well textured MacDonalds toys that I topped up with some circular foam.

Another one I built with straws glued together around a empty roll of thread. I used old Scrabble tiles for the floor and once again a top carved in the foam tube. The straws have some visible lines that I will manage to hide with the goo, but once again, it will look like an overgrown outdoor pillar.

I made some simpler, ornamental pillars as well, for simpler dressing.

But once again, the too rough texture kinda ruined the effect. It didn't look like an old stone pillar forgotten into an old crypt anymore. It more looked like a half-buried pillars that had stayed outside against the elements for years.

This broken column was part of a plastic toy. I covered it with my goo to roughen the texture. I didn't go too much overboard here, so the end result was fine.
I also tried to do some with corrugated cardboard glued around smaller foam tubes. I ended up not finishing those, and kept them in my bits drawer for later, though.

What I did finish though were those pillars made out of foam tubes, with poker chips at the top and bottom. It might have been a good idea if I knew how to cut straight (which I don't), so all pillars are slightly slanted. Also, the very light nature of the foam added to the very heavy nature of the top/bottom poker chips make those pillars have a weird center of gravity. The heavy metal washer I added at the bottom prevent them from falling, but they still feel clunky.

I carved the foam to make it look like it's made of several stacked stones and also added some cracks. The goo texture was the worst on them. They really look like they beet sitting at the bottom of the ocean for decades.

Here you can see them after the first grey coat.

I added some oil washes (one of my first try with them), and they turned way too green. The green aspect plus the too rough texturing is what decided me to turn them into outdoor pillars.

Once covered with flocking, they look a bit better, but that was not exactly what I was aiming for initially.
Garden gates

I took some Christmas decorations, and glued some Kinder (I think?) toyr on top, to make them look like gargoyles. I would have rather have too similar, but I didn't.
I made the texture more irregular with simple spackle added.

And added some sand to turn the initial snow into dirt.
Not seen on the pictures, I finally added some flocking to the bushes, to make them more real, and the end result is great. It's actually one of my favorite builds of this session.
Skull Altar

Another build where I wasn't sure where I was going was this skull altar thing. I took an Halloween decoration, glued it on top of an Action Man prop, added some fake metal swords around it and kept adding stuff.


I added a rim of skulls, more horns and texture.

I don't have a good picture of the end result apart from that one, but it's not looking very good in my opinion. The initial skull sculpt was too cartoonish, and I didn't really manage to make it look dark and oppressive as it should be.
Misc

I also made a gated wall section out of a Megablocks piece.

A coffin from what I think was a Playmobil chest.

This is a picture during the first stages of painting. It isn't finished yet, but it already looks more like a coffin than a Playmobil piece.
More scatter from Megablocks bits and other toy soldier items.
I painted those into more earthy tone. They are really nice looking, and quick, cheap and easy to make: my favorite kind of terrain.